Fun fact: Animals have never been my strong suit, though I’ve always loved drawing them. My cartoon horses always have and will likely forever look like donkeys. I can only draw a dog sitting or standing, nothing else. Animal faces are so different from humans and it’s hard to get the proportions right…can you relate to any of that and you still want to draw them too??
If yes, don’t worry and please don’t give up.
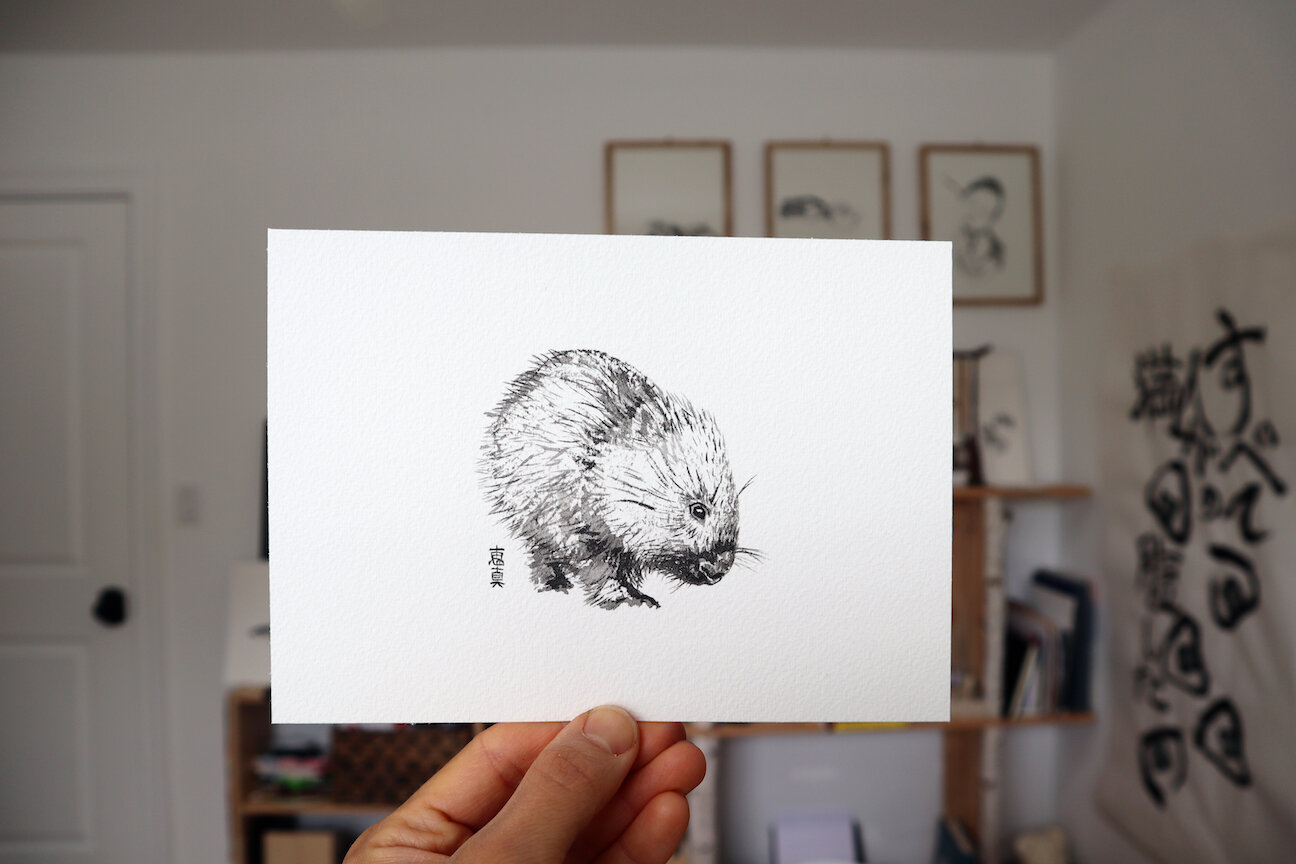
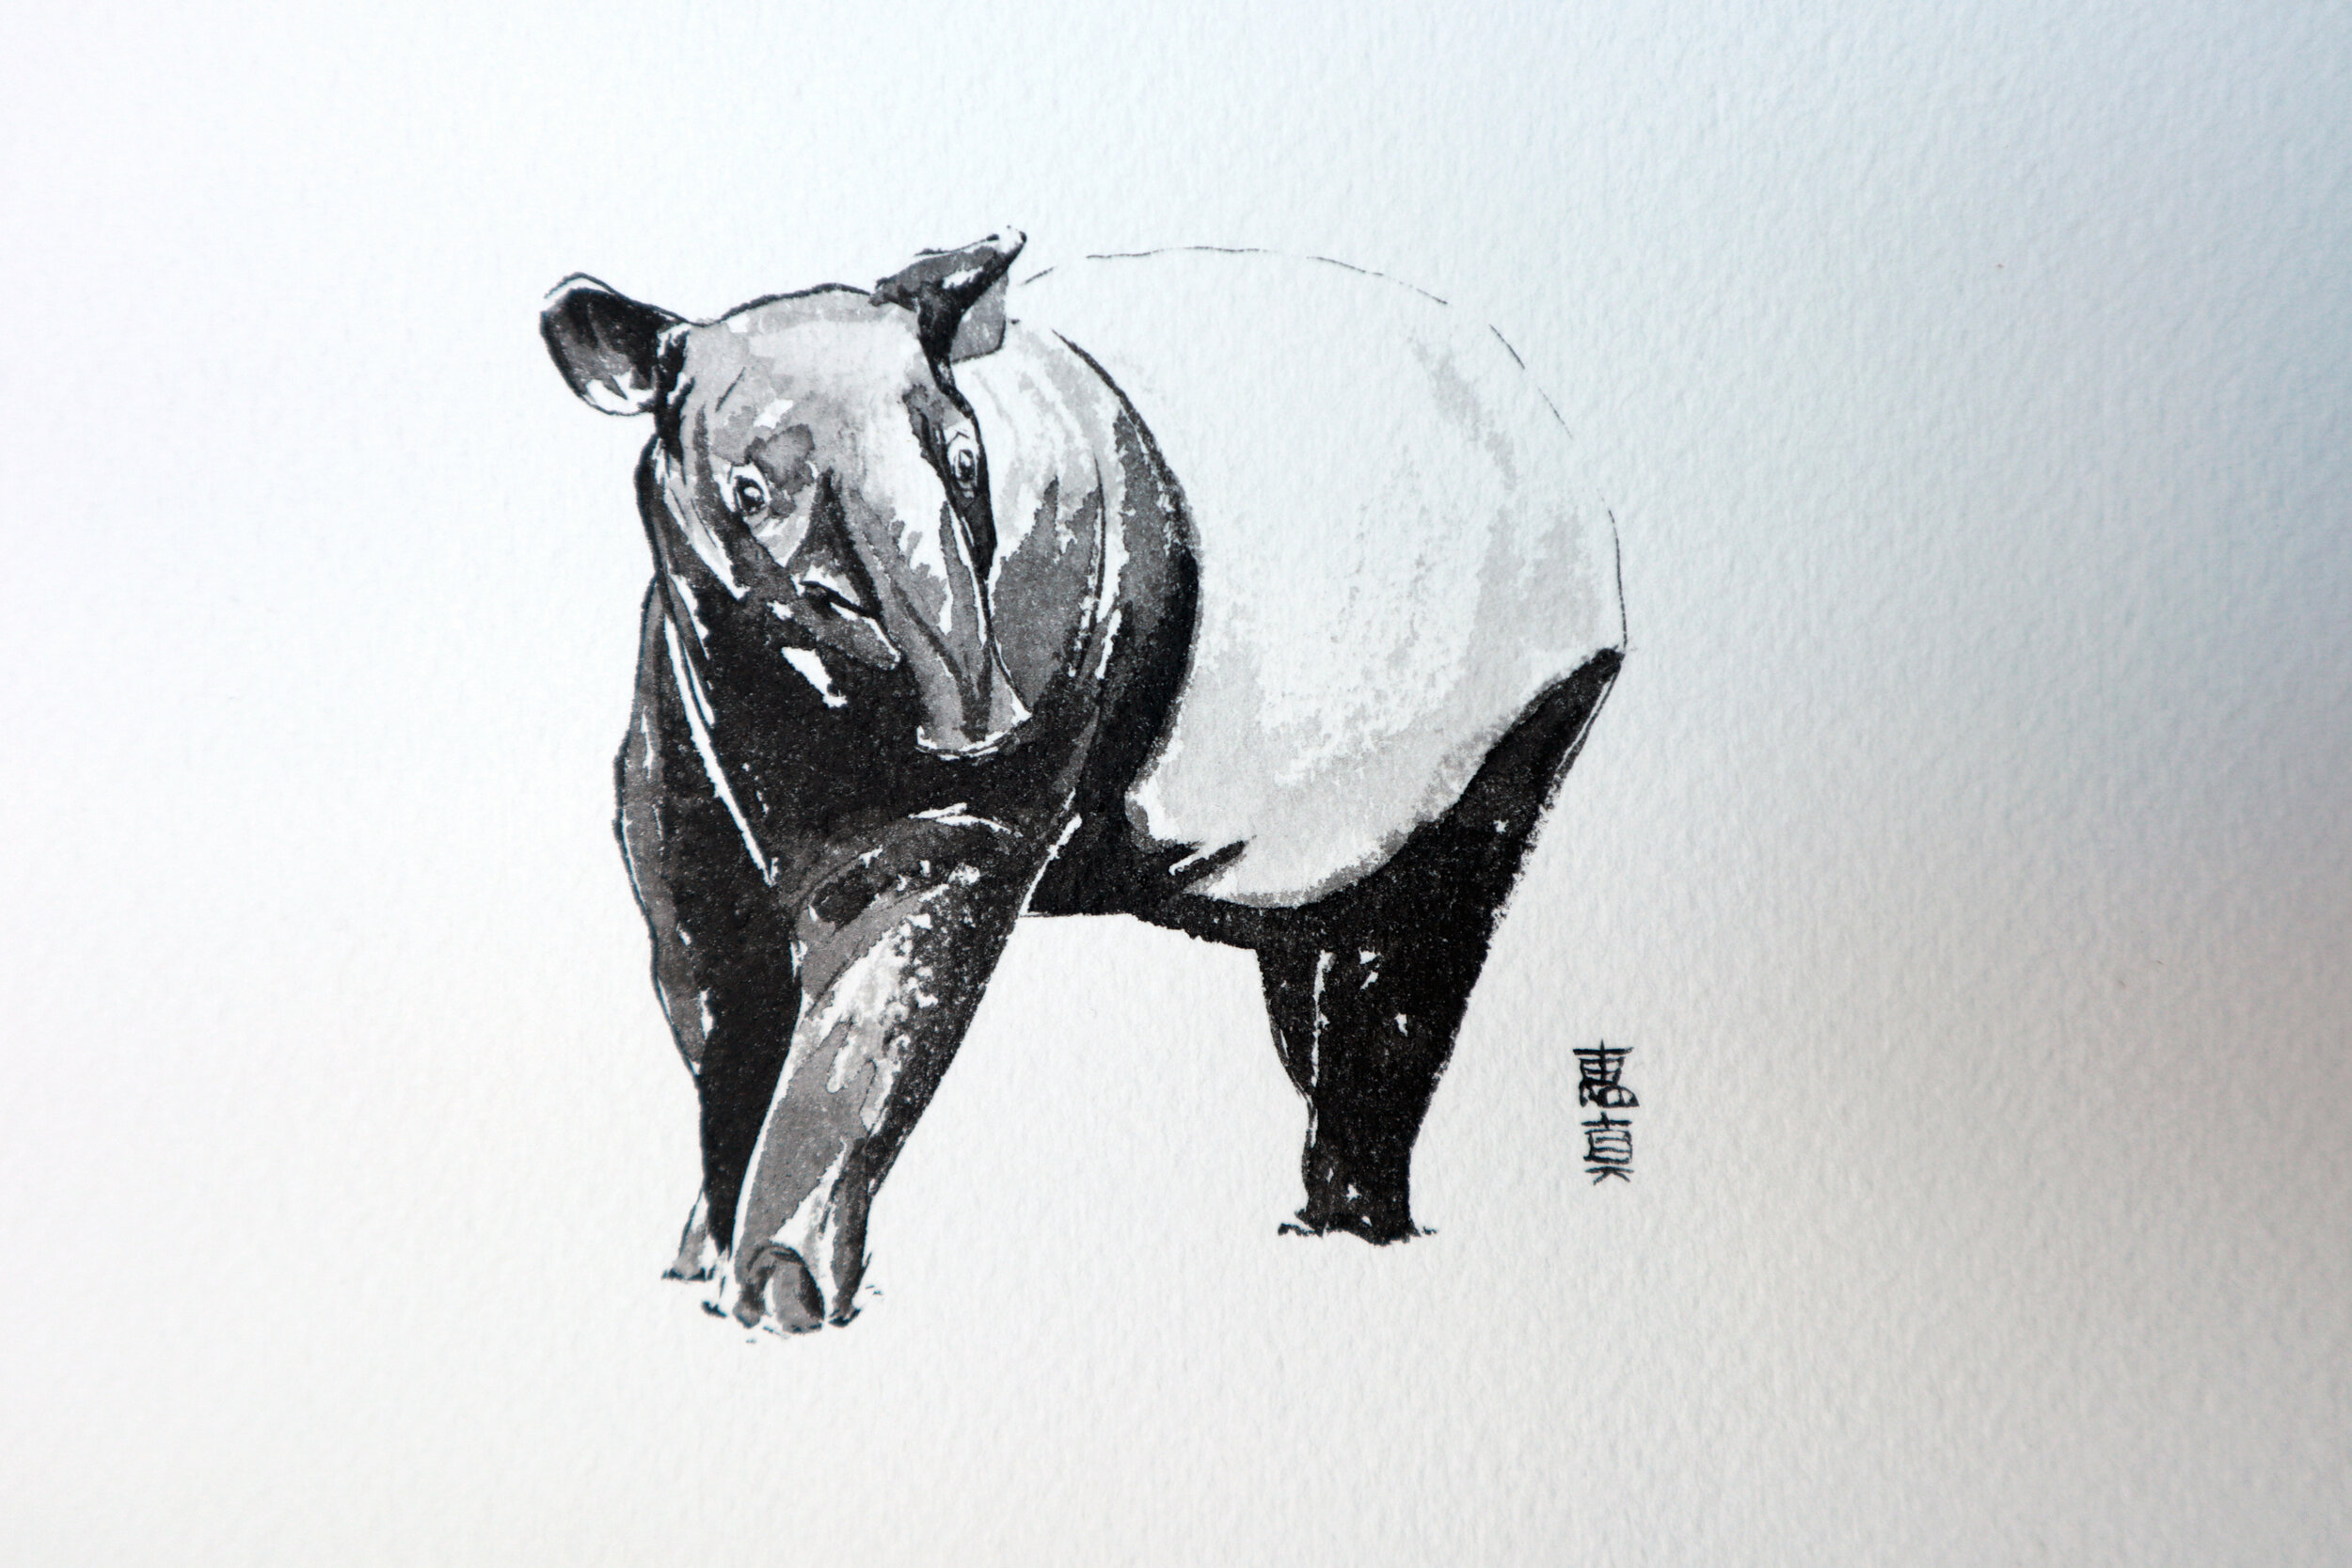
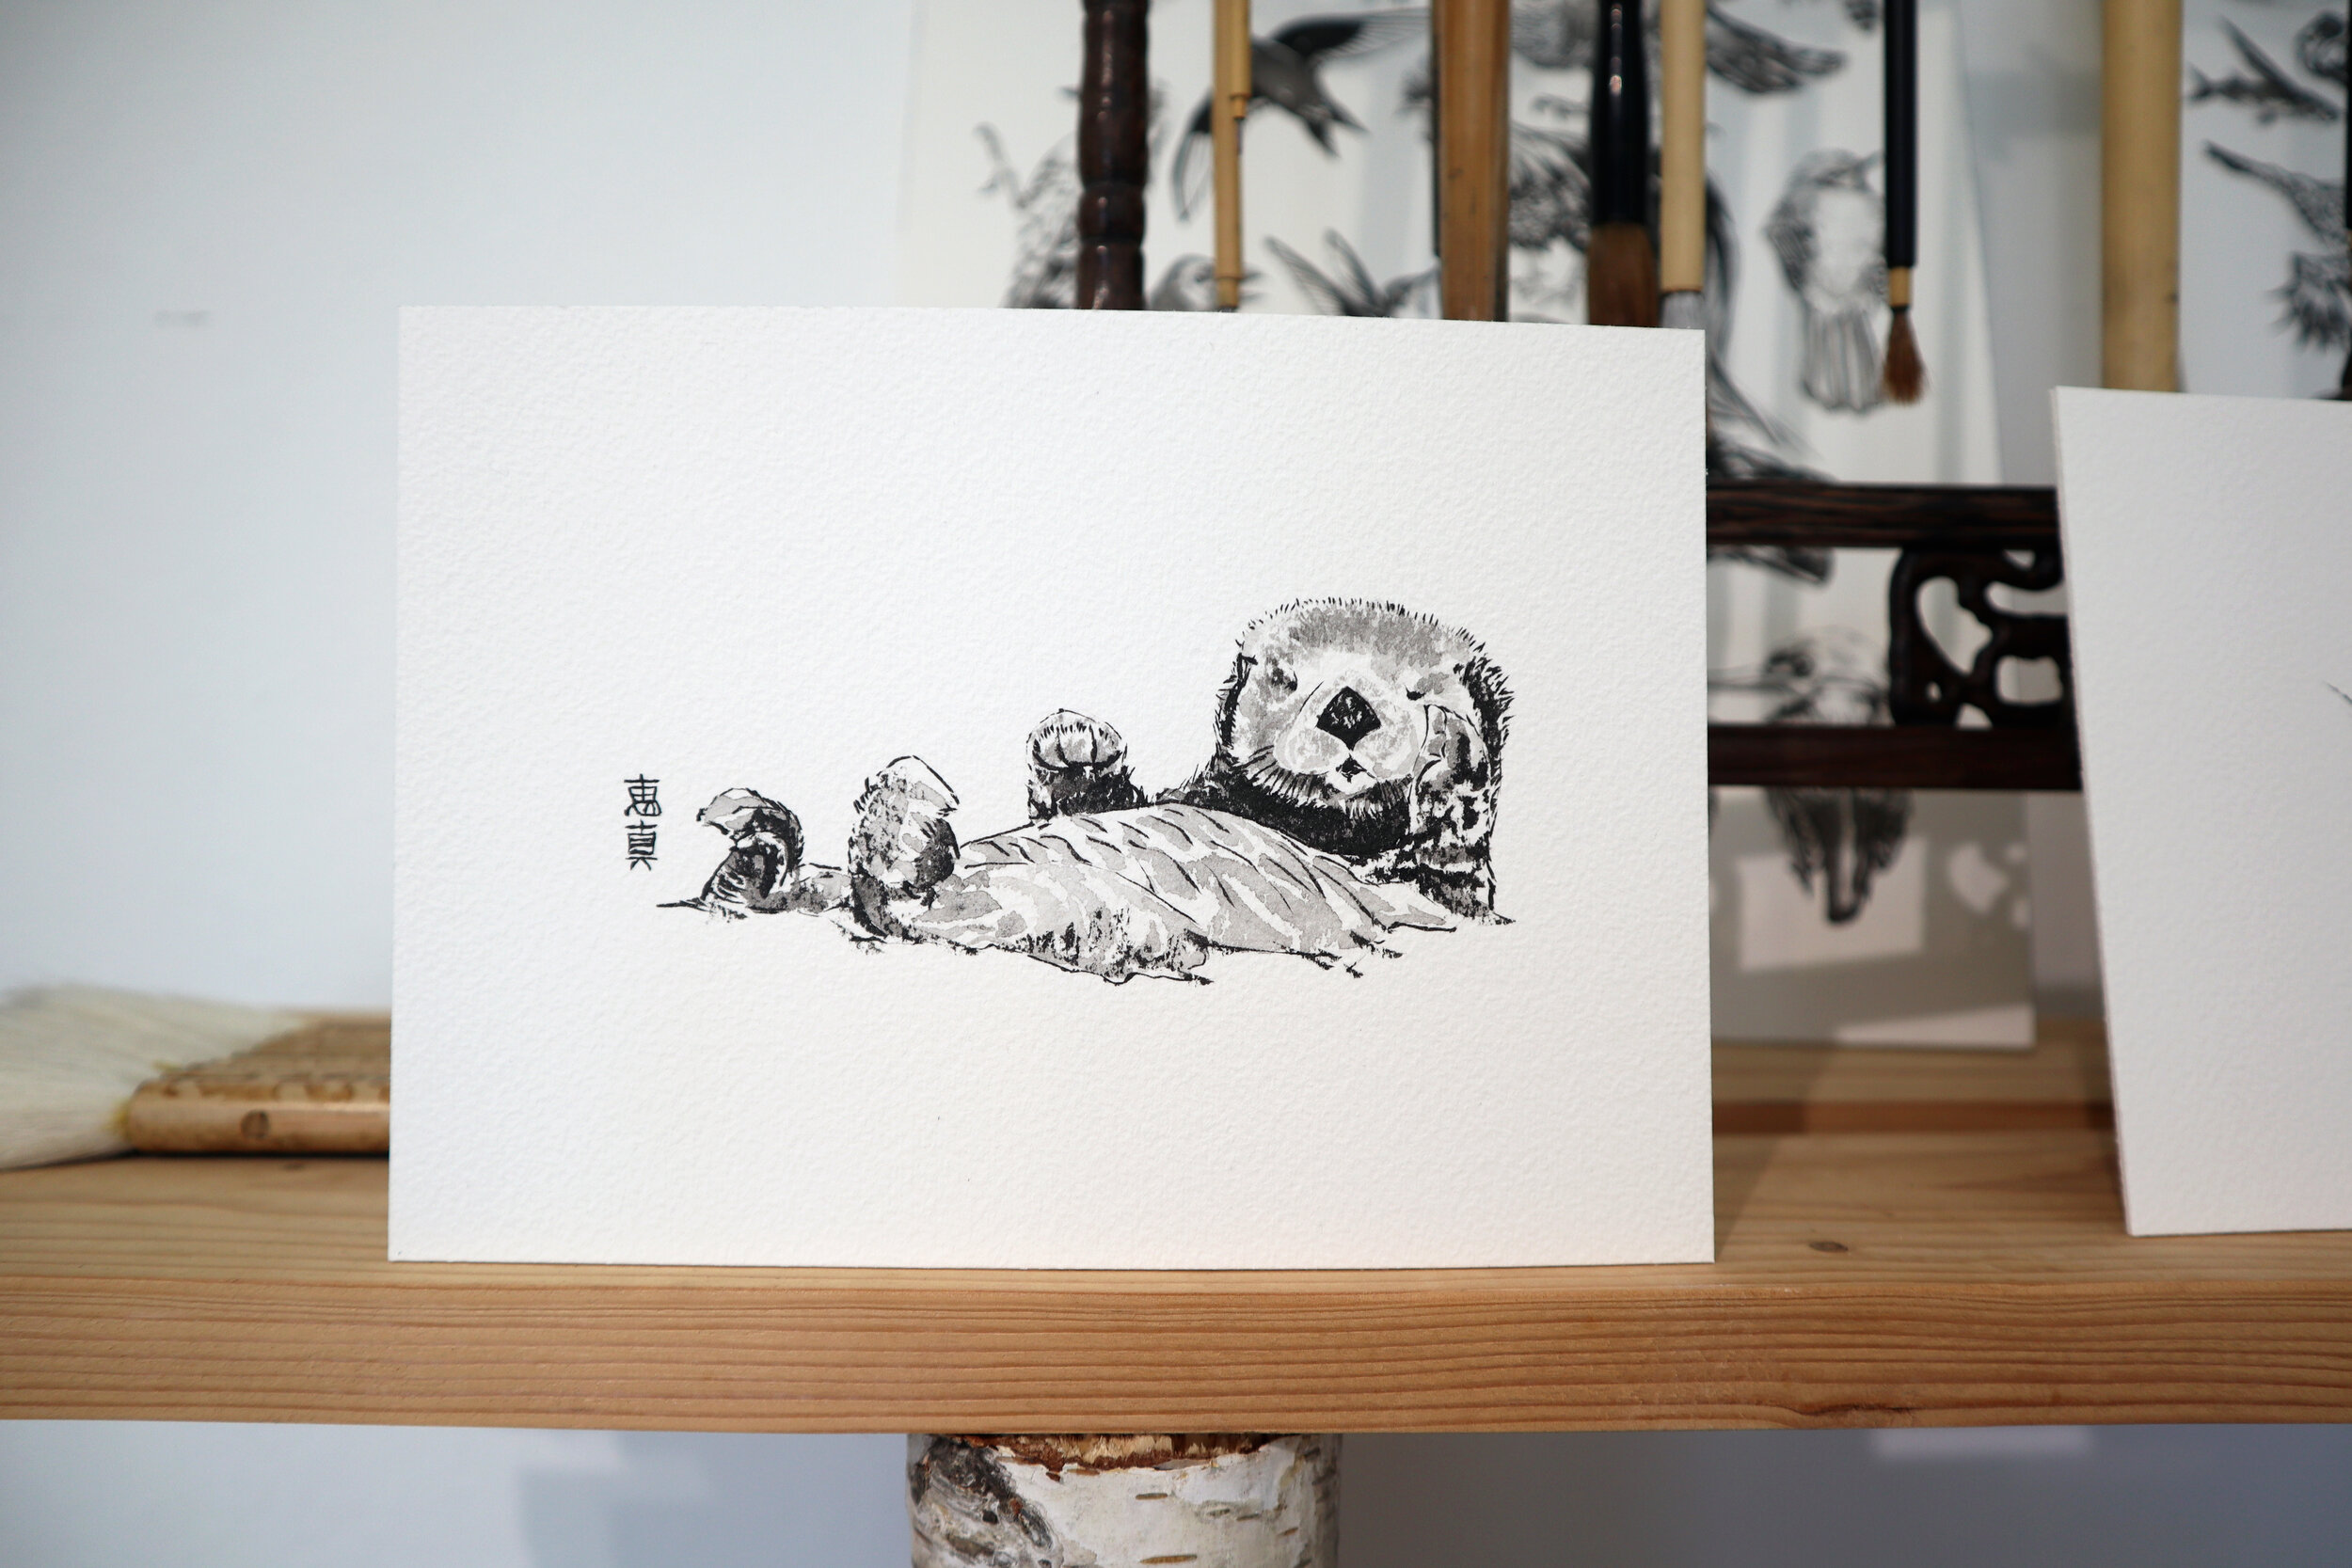
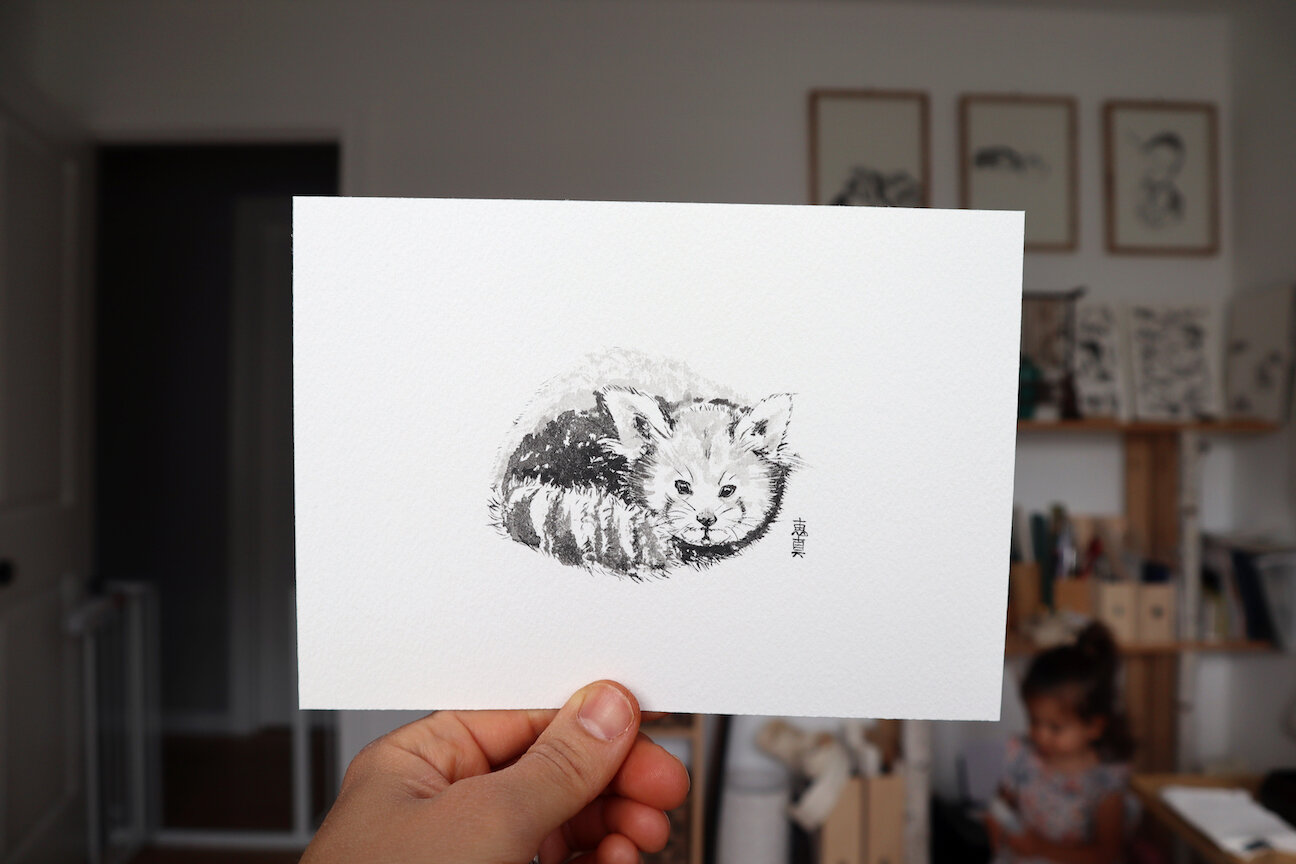
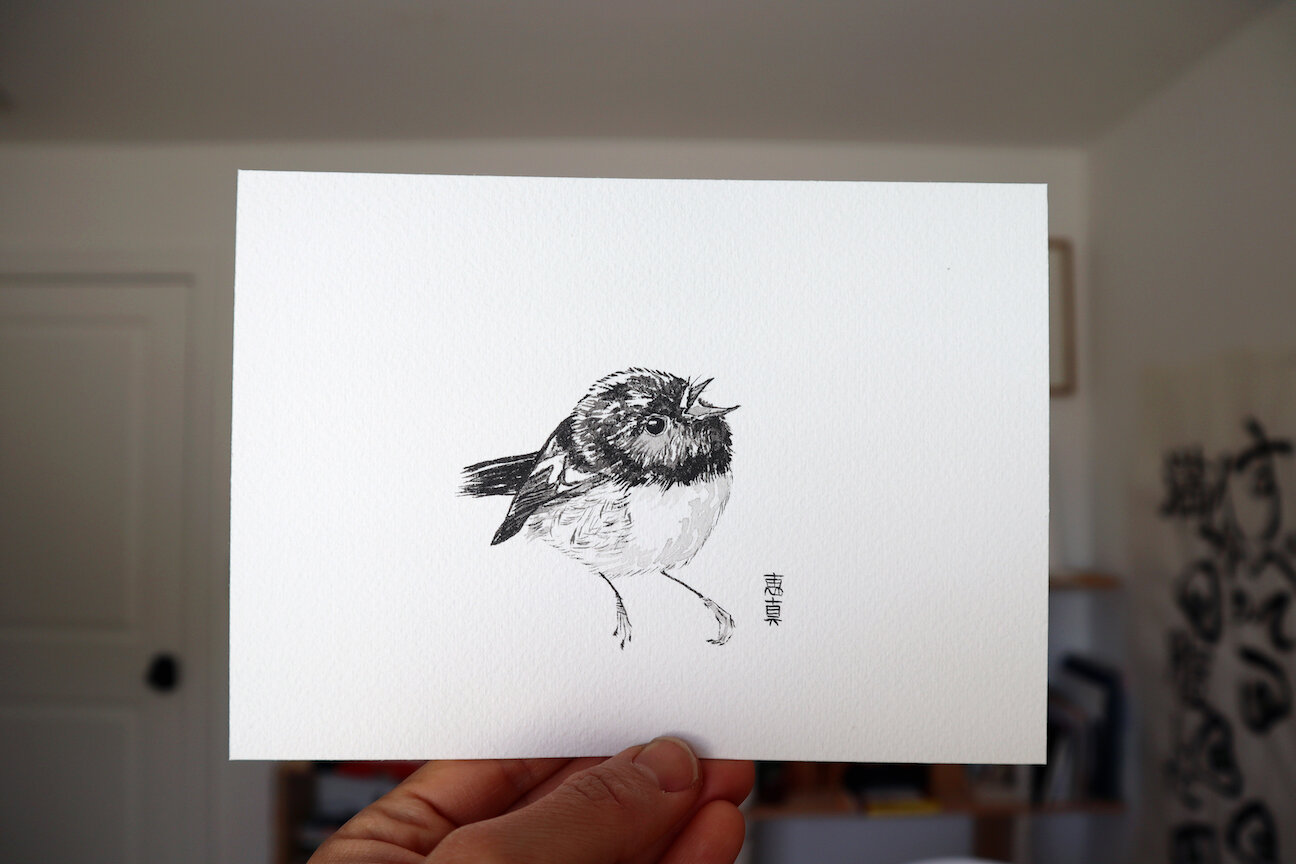
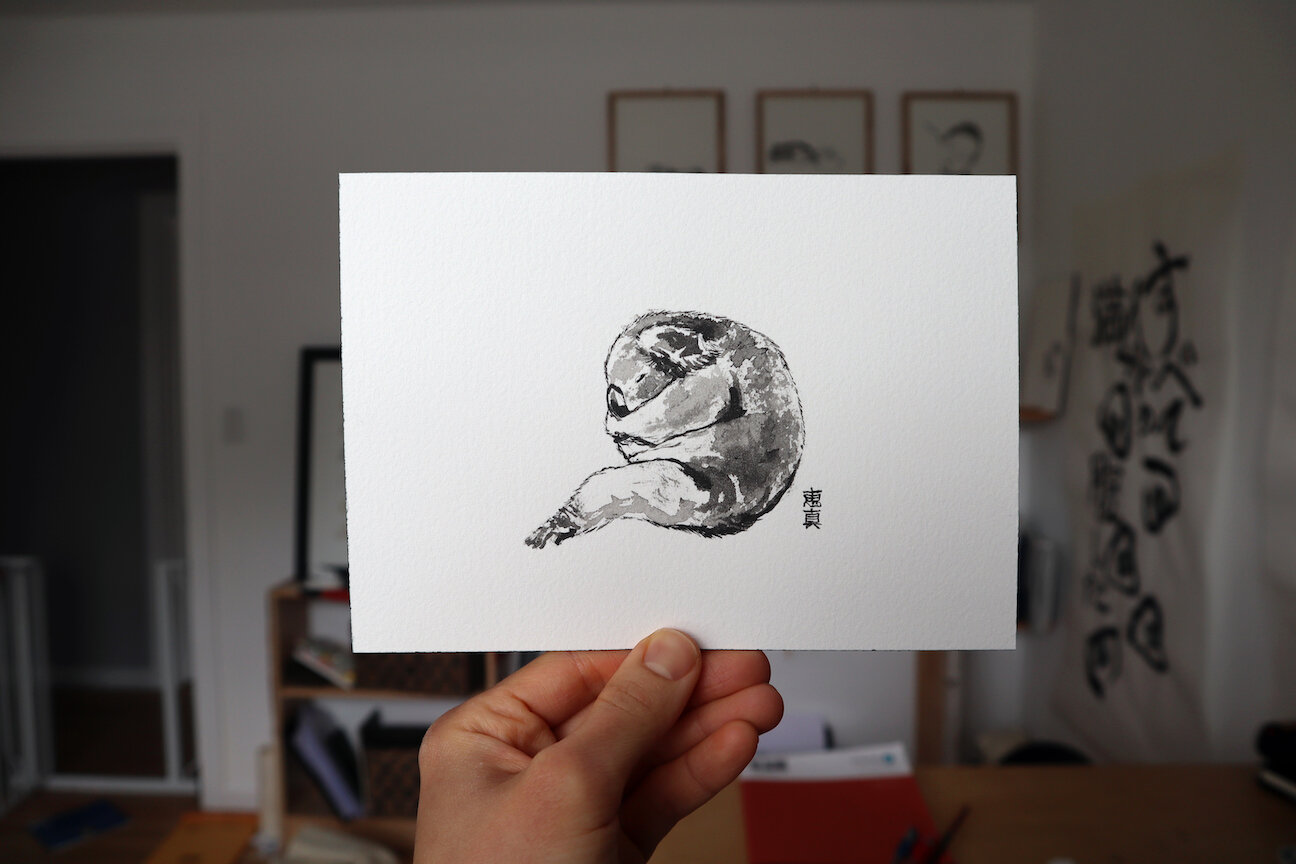
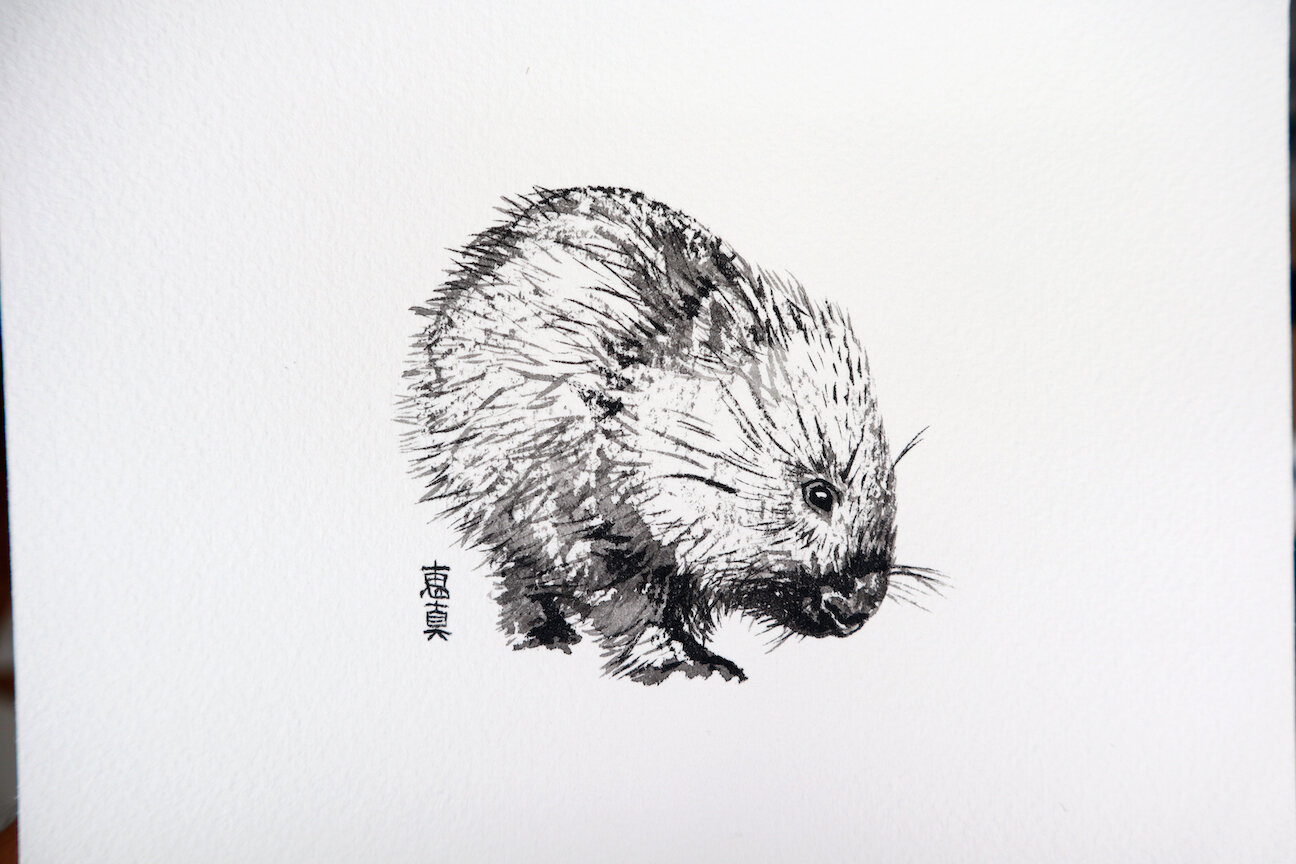
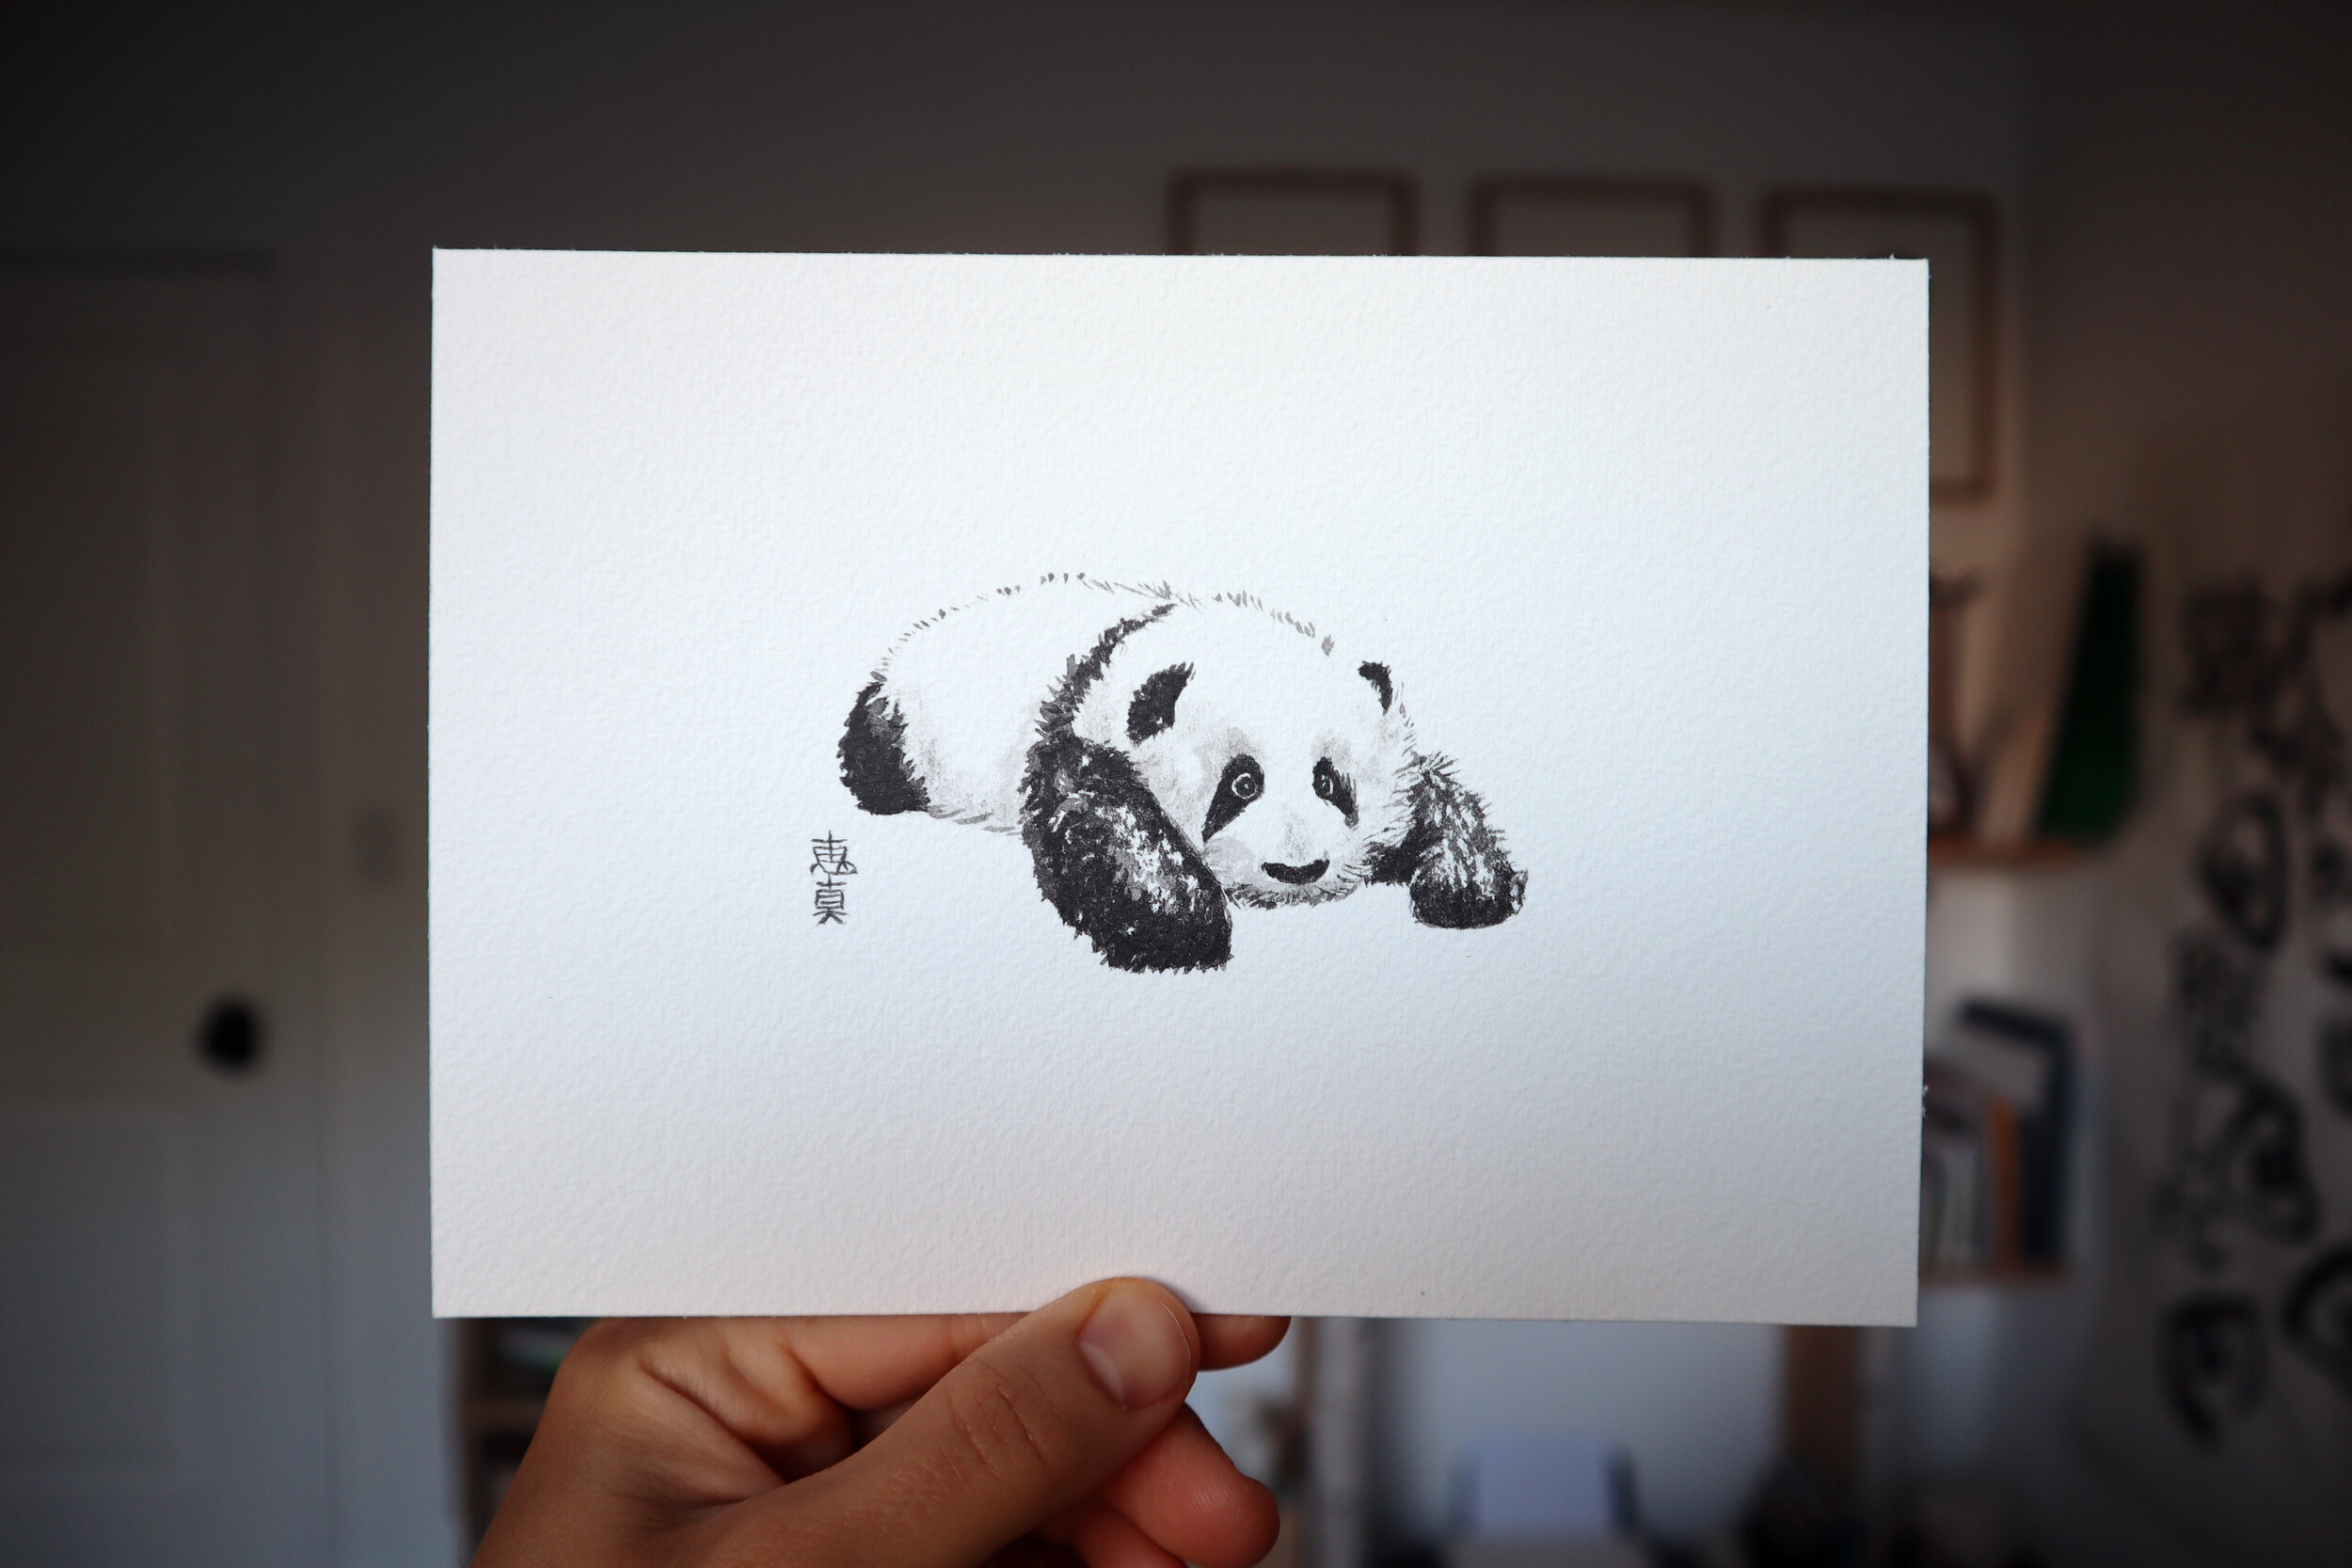
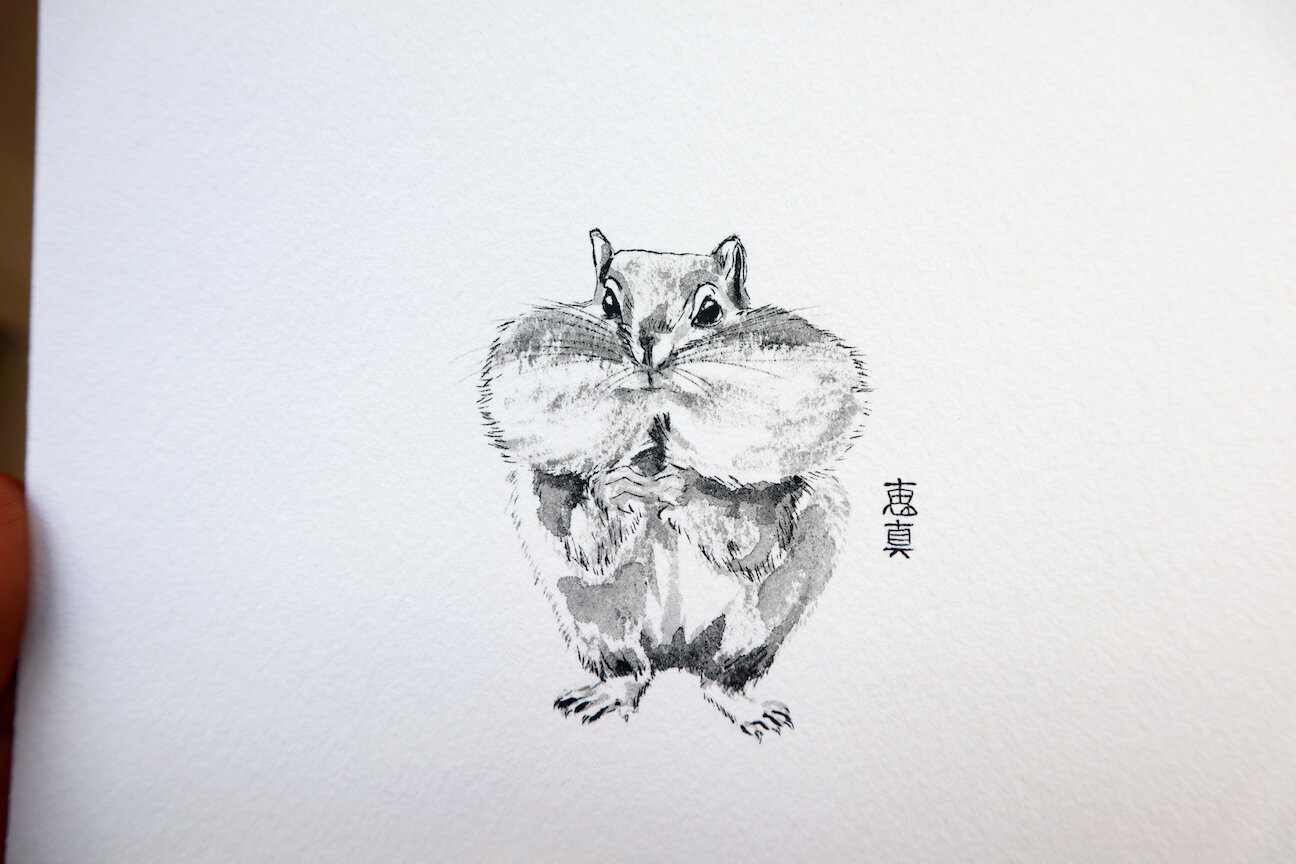
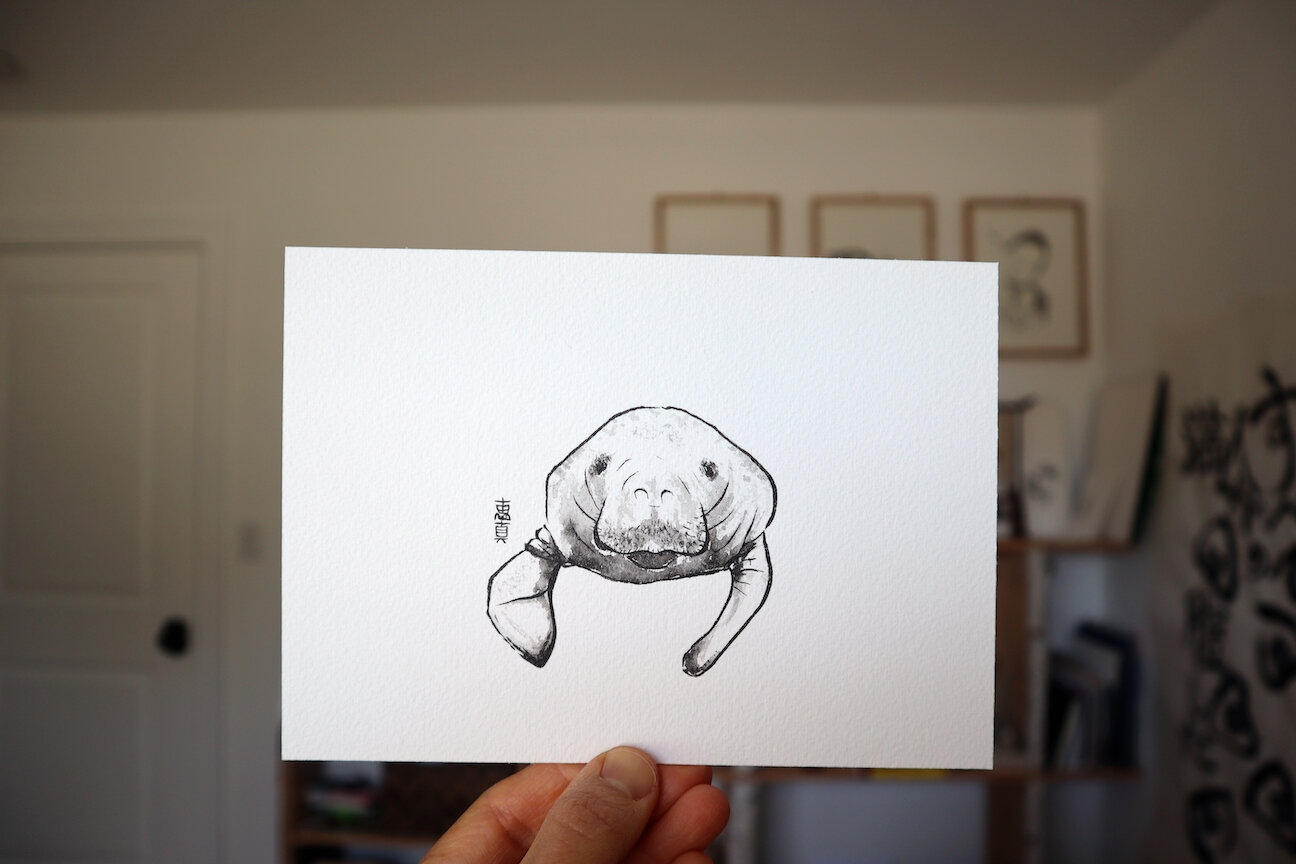
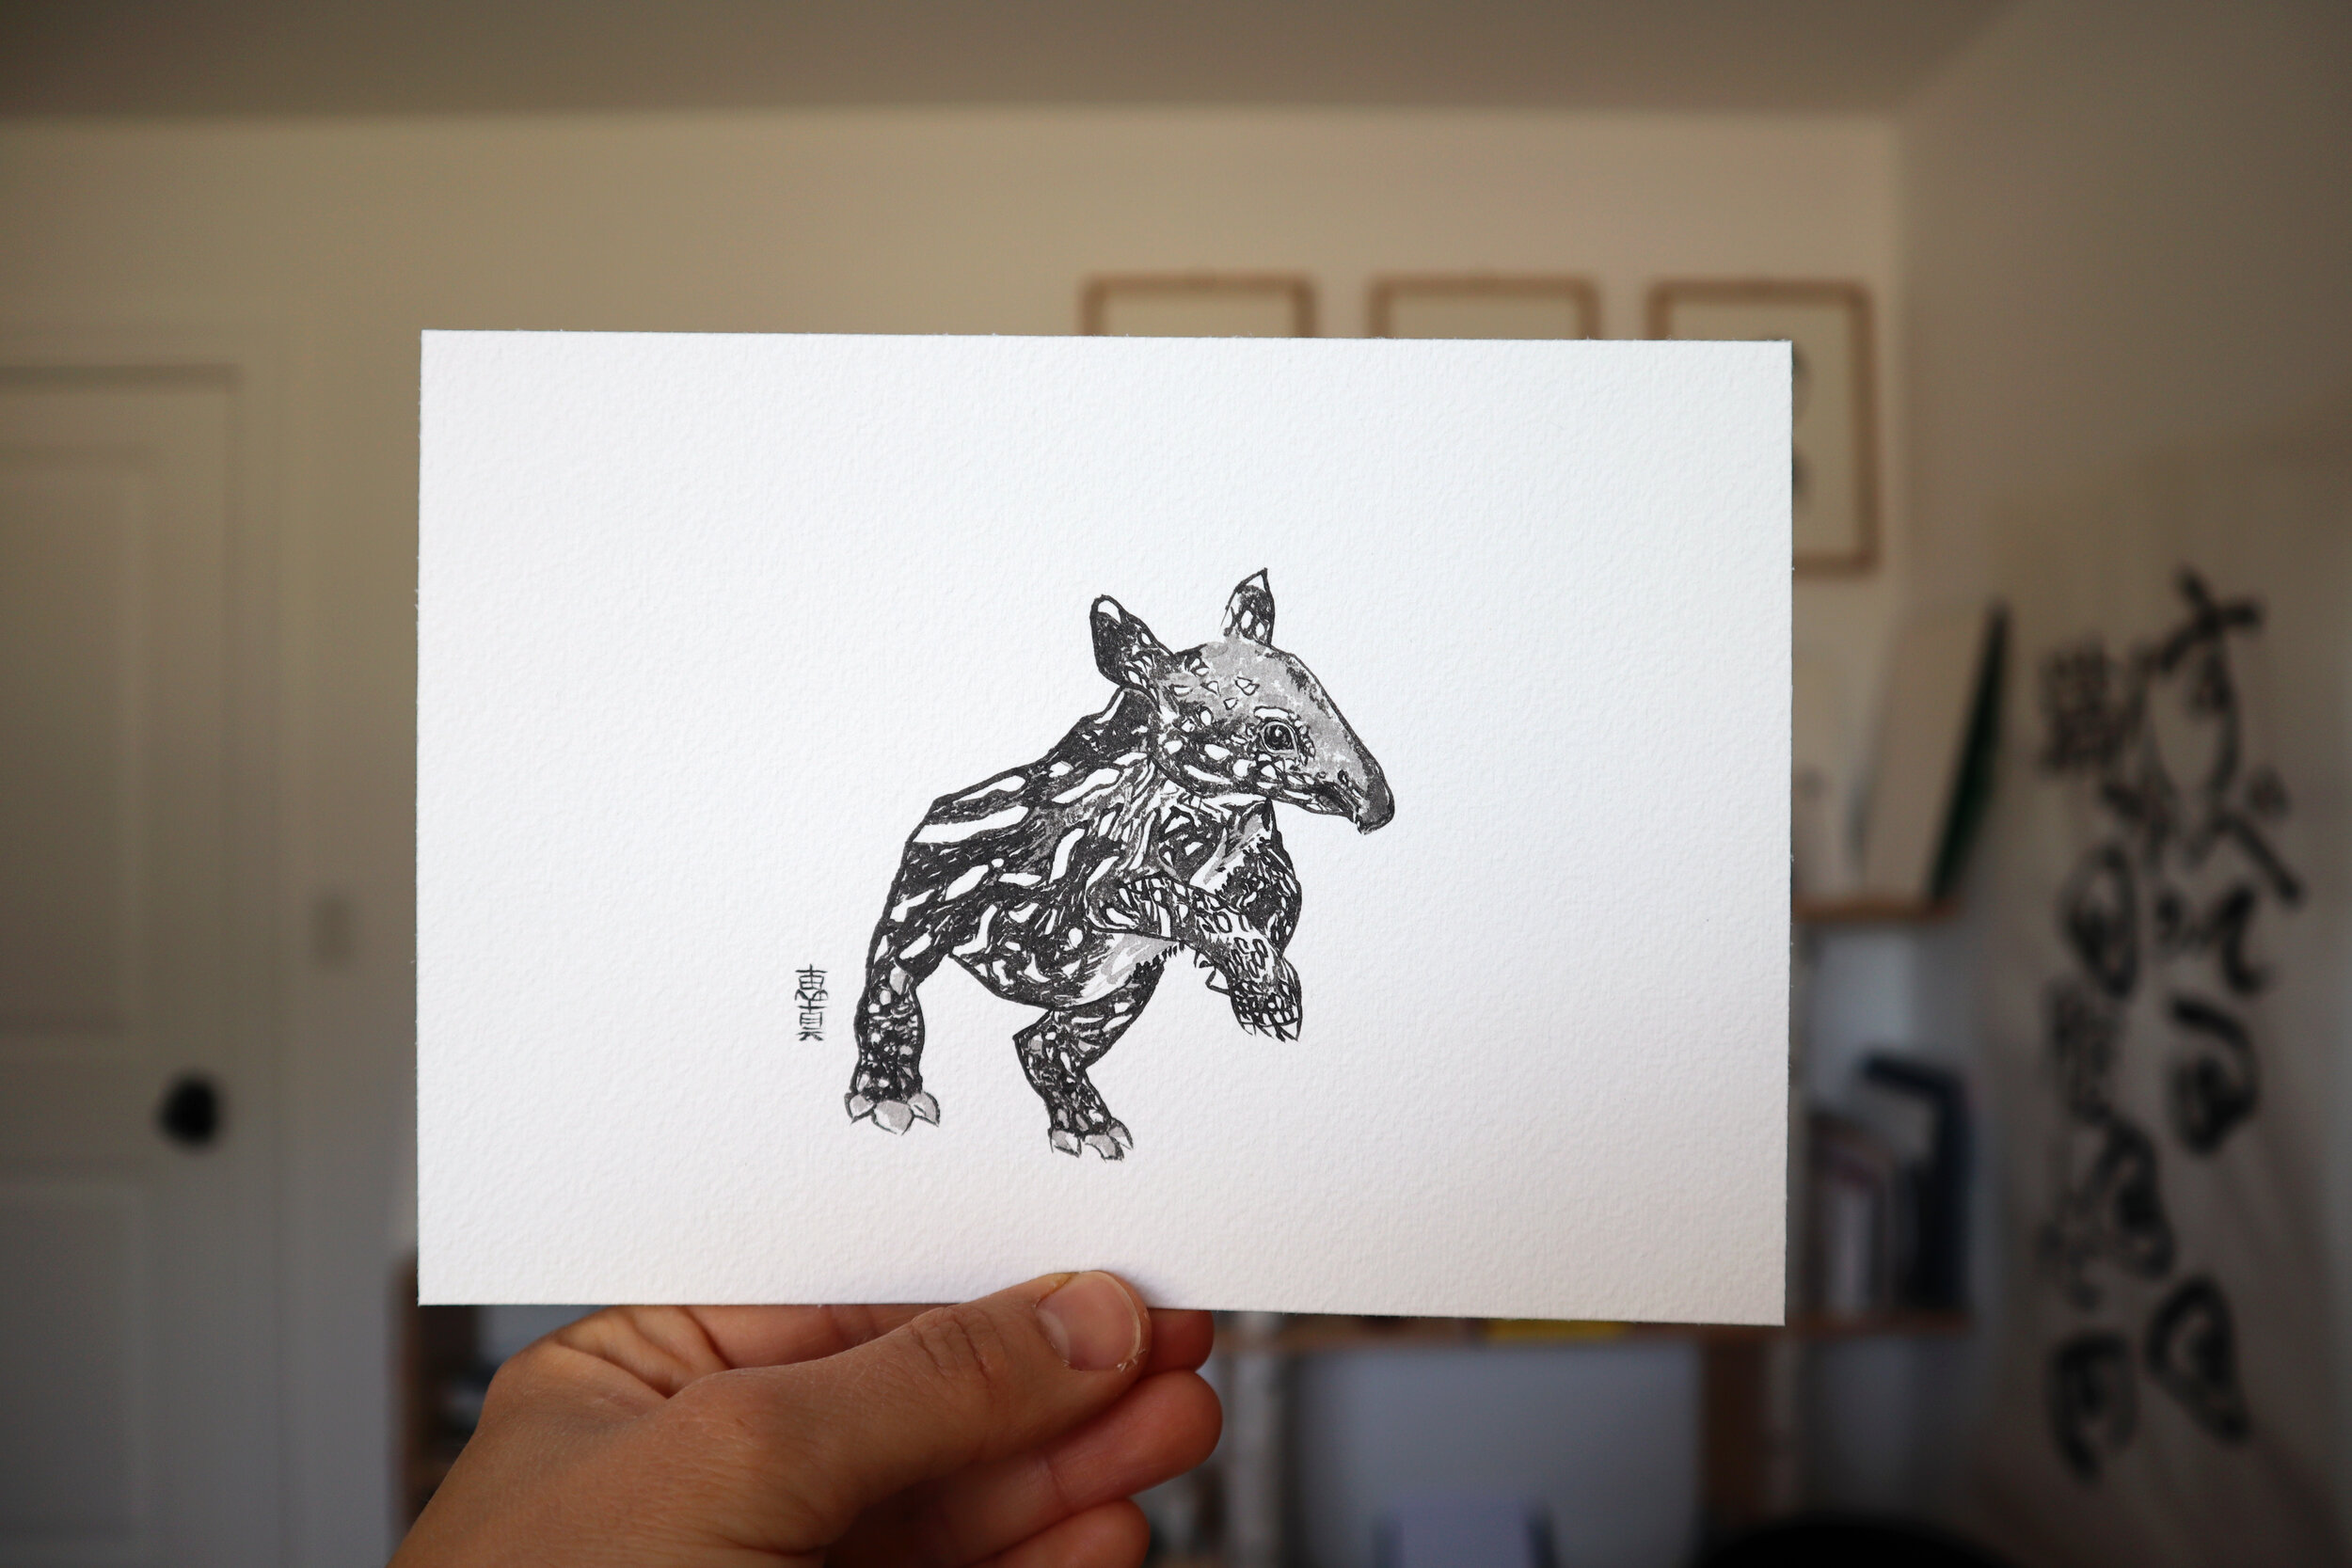
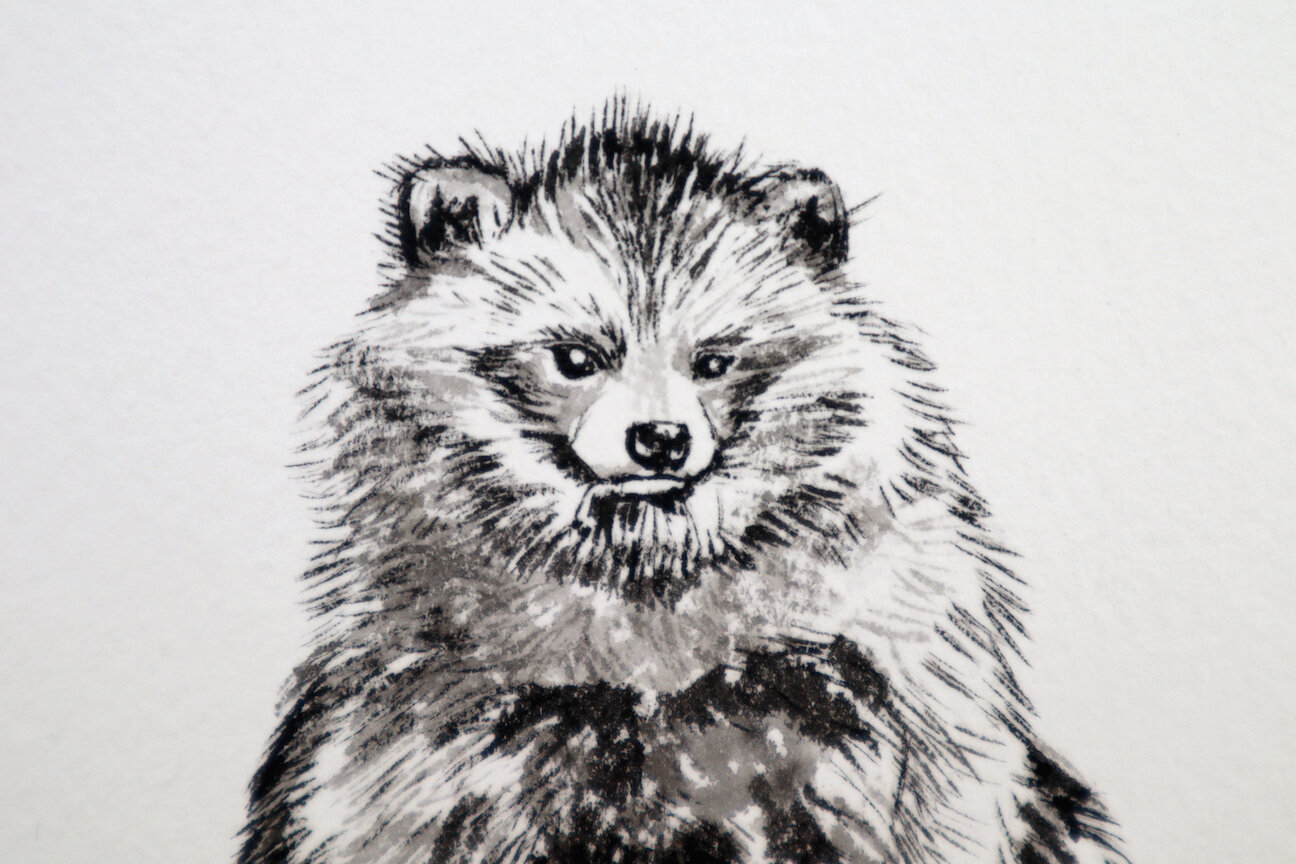
These are my 5 STEPS behind the scenes of what goes into one of these #100DaysofHowitFeels animal paintings.
This process isn’t just for animals.
It’s the same when I paint tea bowls, rice balls, plants…
you can replace “animals” (below) with anything!
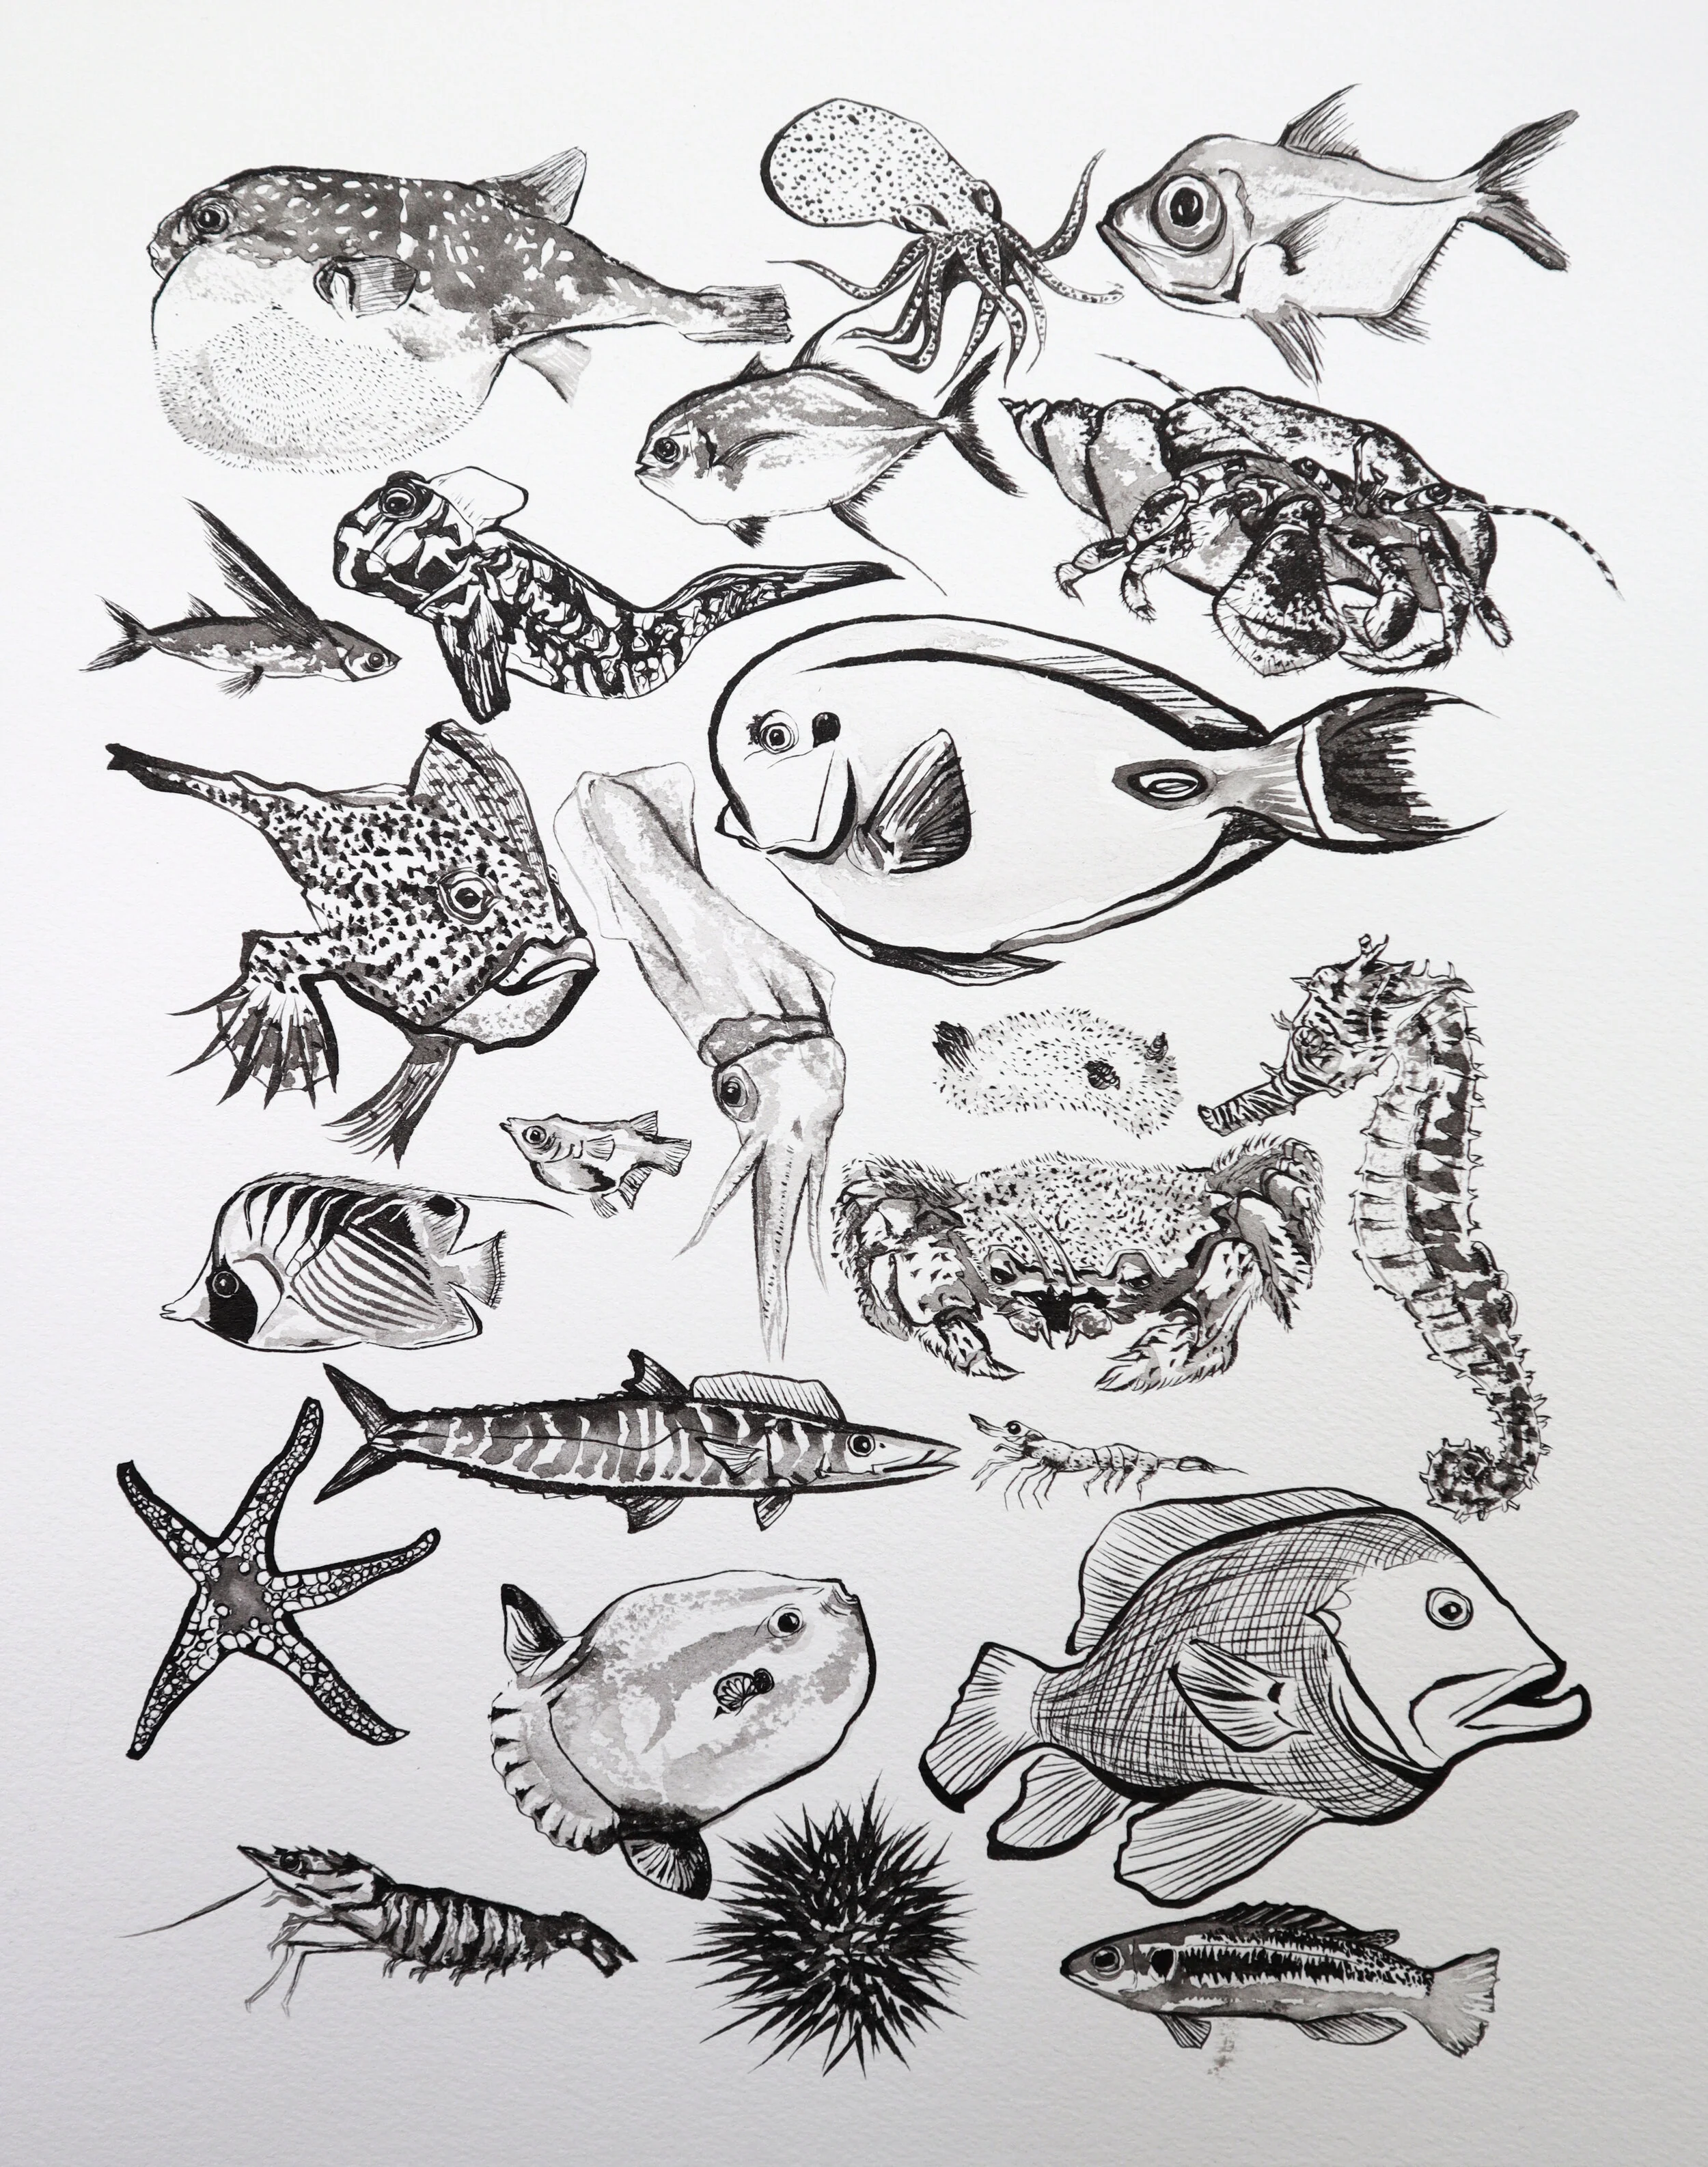
FIND IMAGES
This step is my favorite. Get to know the animal you want to paint! I have LONG Google docs with images and notes. After browsing images, find 3 specific kinds:
zoomed in (to see details of the face or fingers)
full body view (to know the body proportions)
action shots (to get to know the body)
Make sure the images you find are high quality enough that you can reference them to draw or paint.
2. PLAN COMPOSITION
Placement: Eyeball where the furthest edges of the animal will go like the tail, top of the head, the furthest edge of a feather, etc.
Value: Squint until your vision is blurry to notice what stands out - the darkest and lightest areas.
Where is it dark? Those are key areas that will likely be your boldest or darkest strokes.
Where is it light? Those are areas you’ll barely want to touch. Leave room for that animal to breath on your paper!
3. PRACTICE (x10)
I’ve drawn thousands of animals and painted hundreds, so for my daily 5x7” paintings #100DaysofHowitFeels, I don’t practice BUT for larger paintings I always do rough drafts. I sketch many, many versions in my sketchbook before moving on to the final draft.
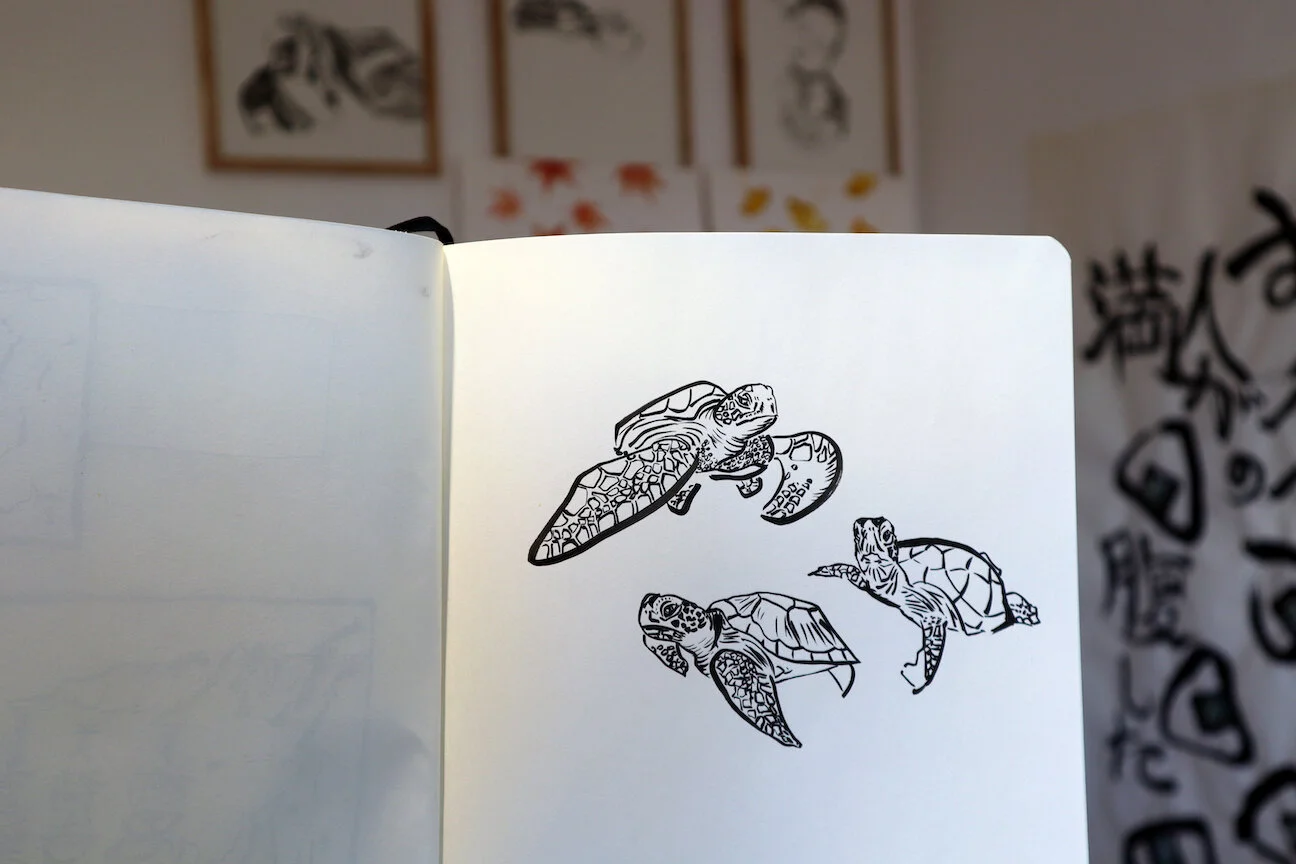
Practice with Kuretake brush pen in my sketchbook
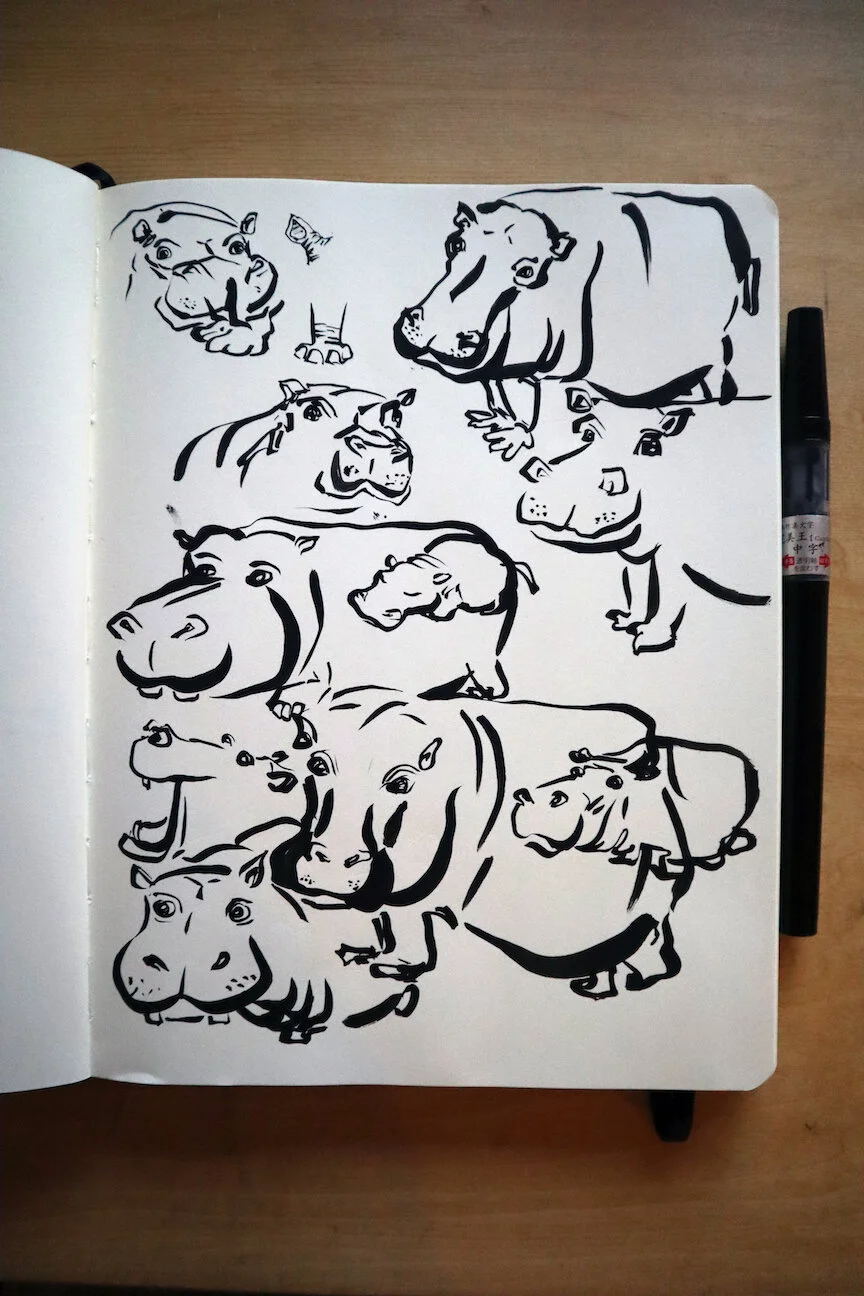
Practice with Kuretake brush pen (to the right of my sketchbook)
4. BE BOLD
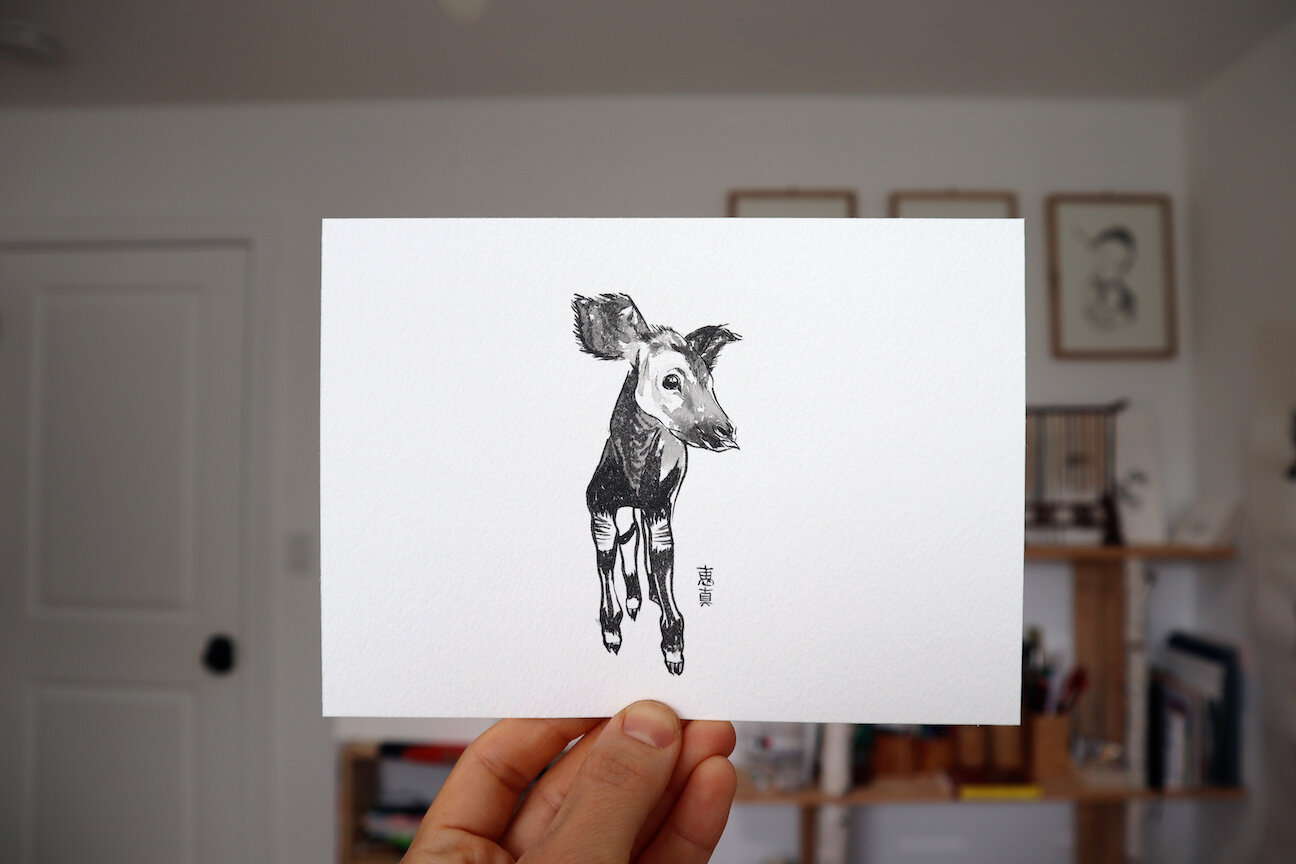
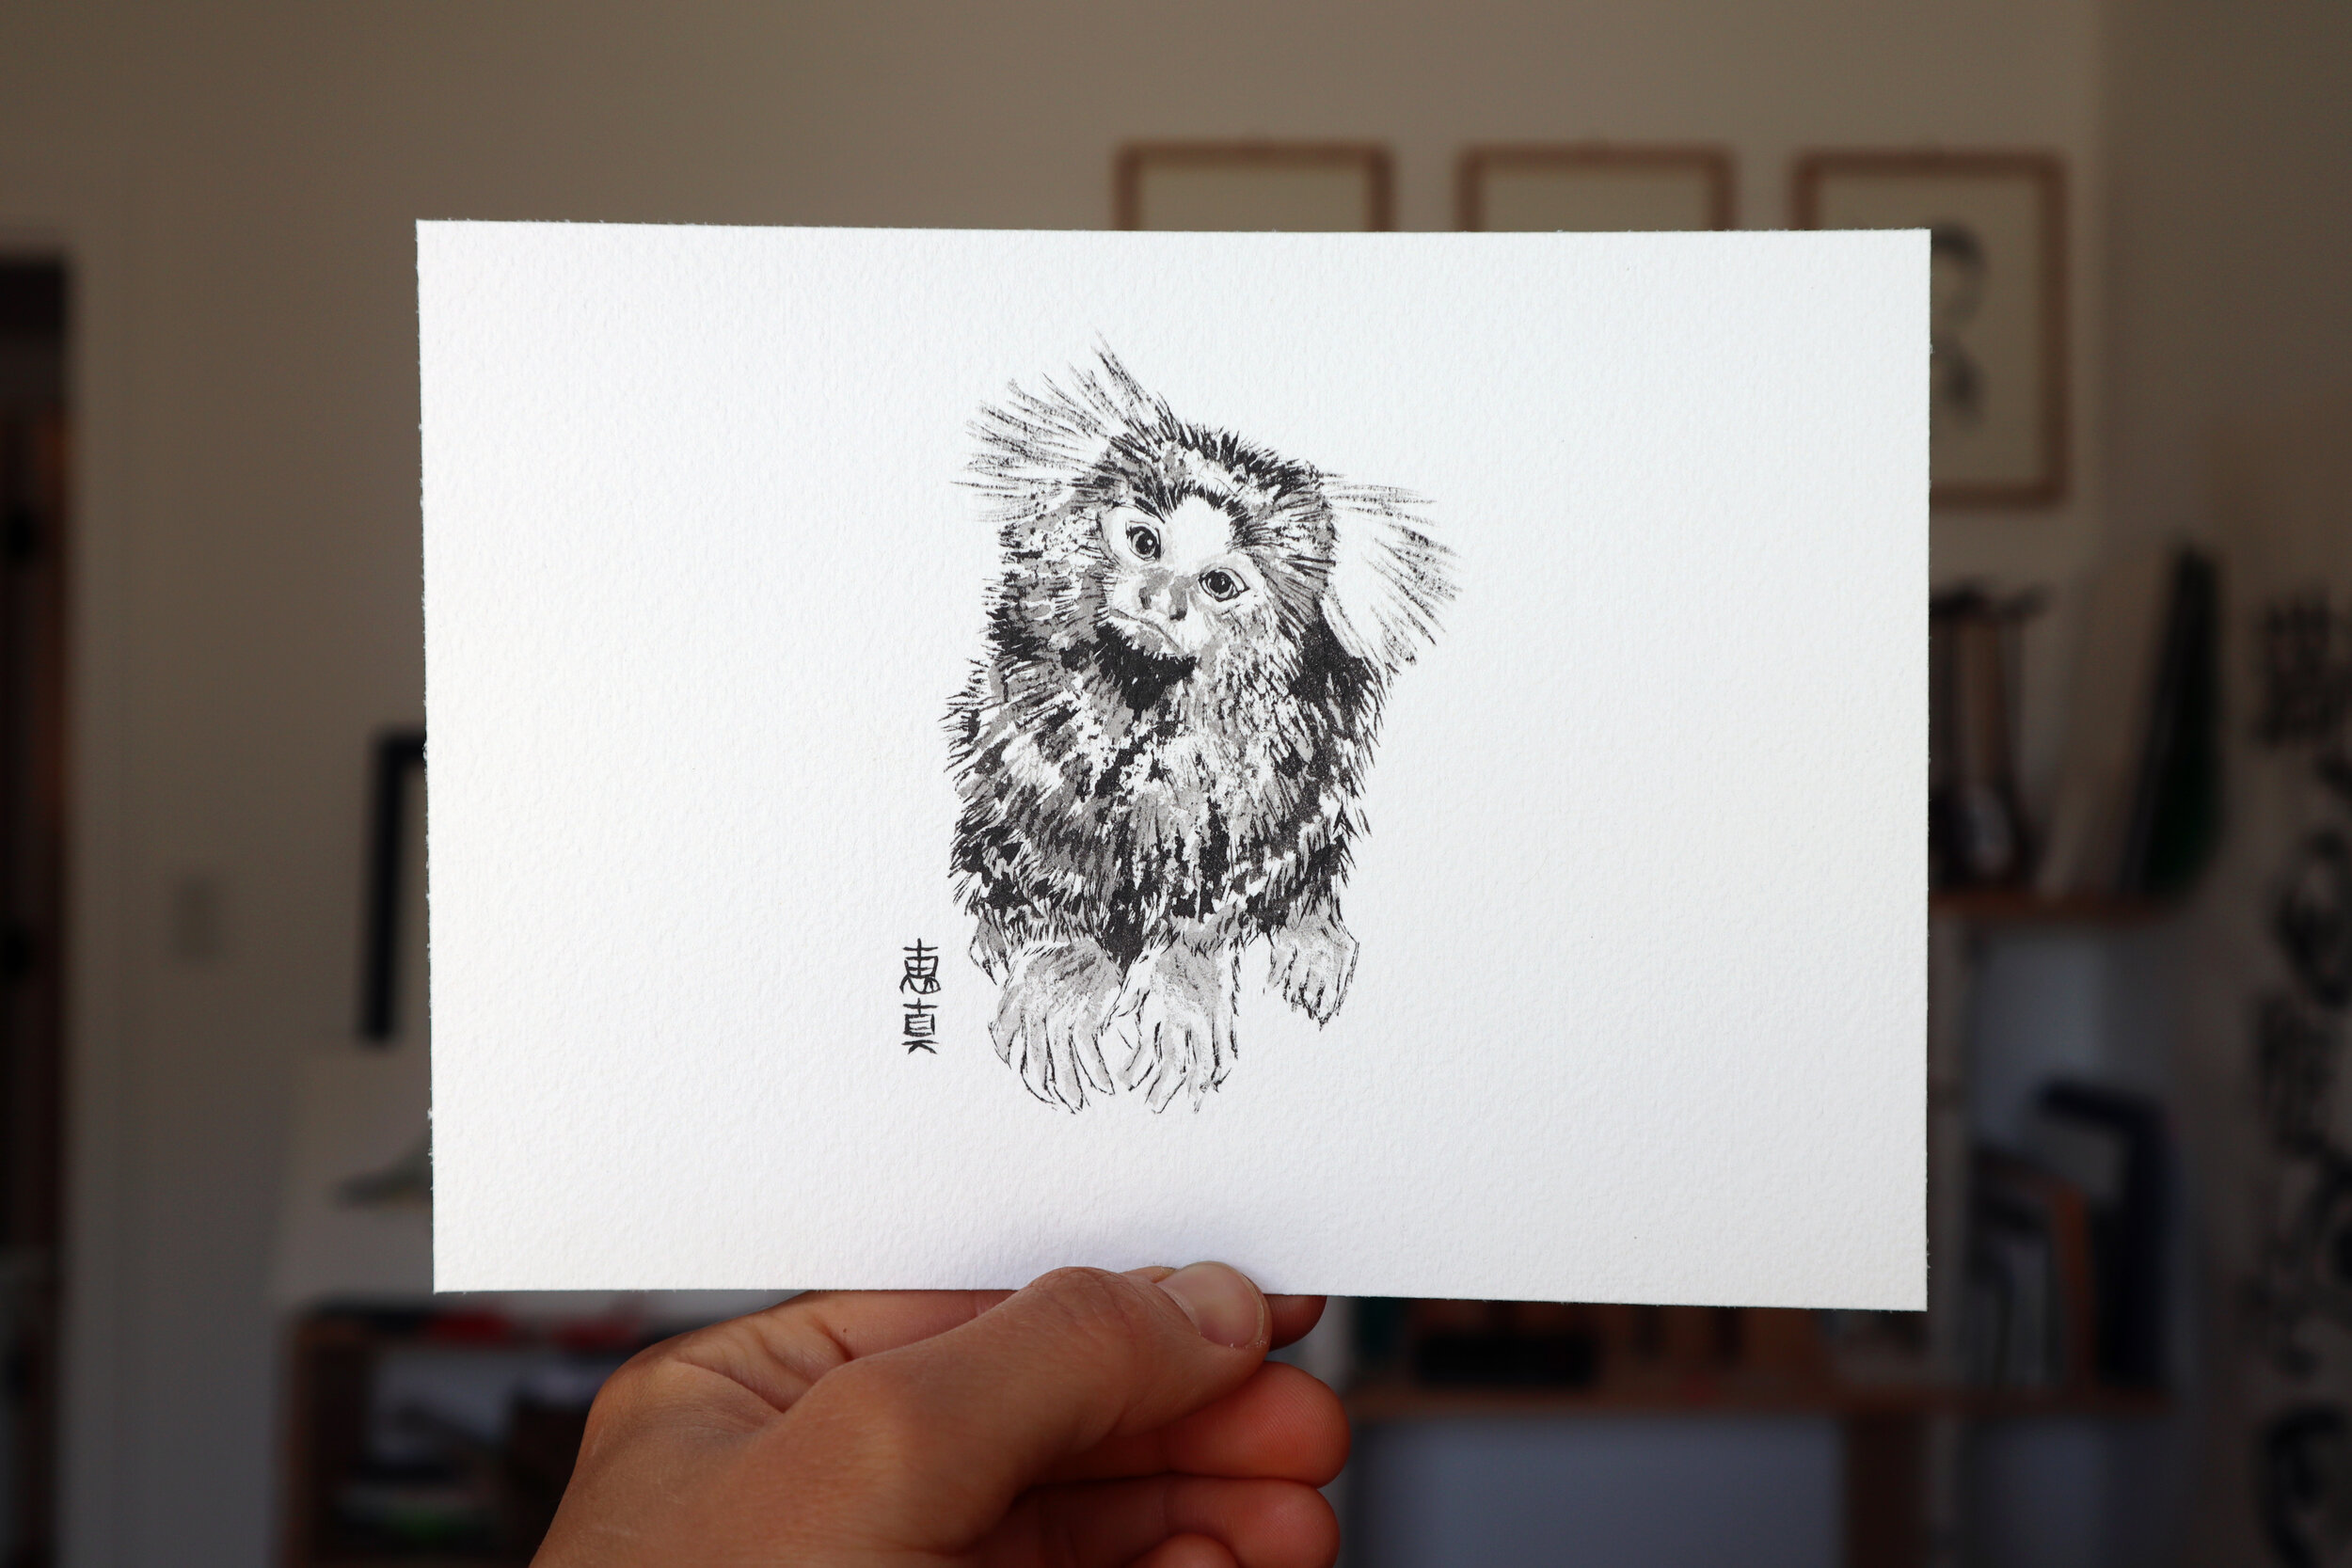
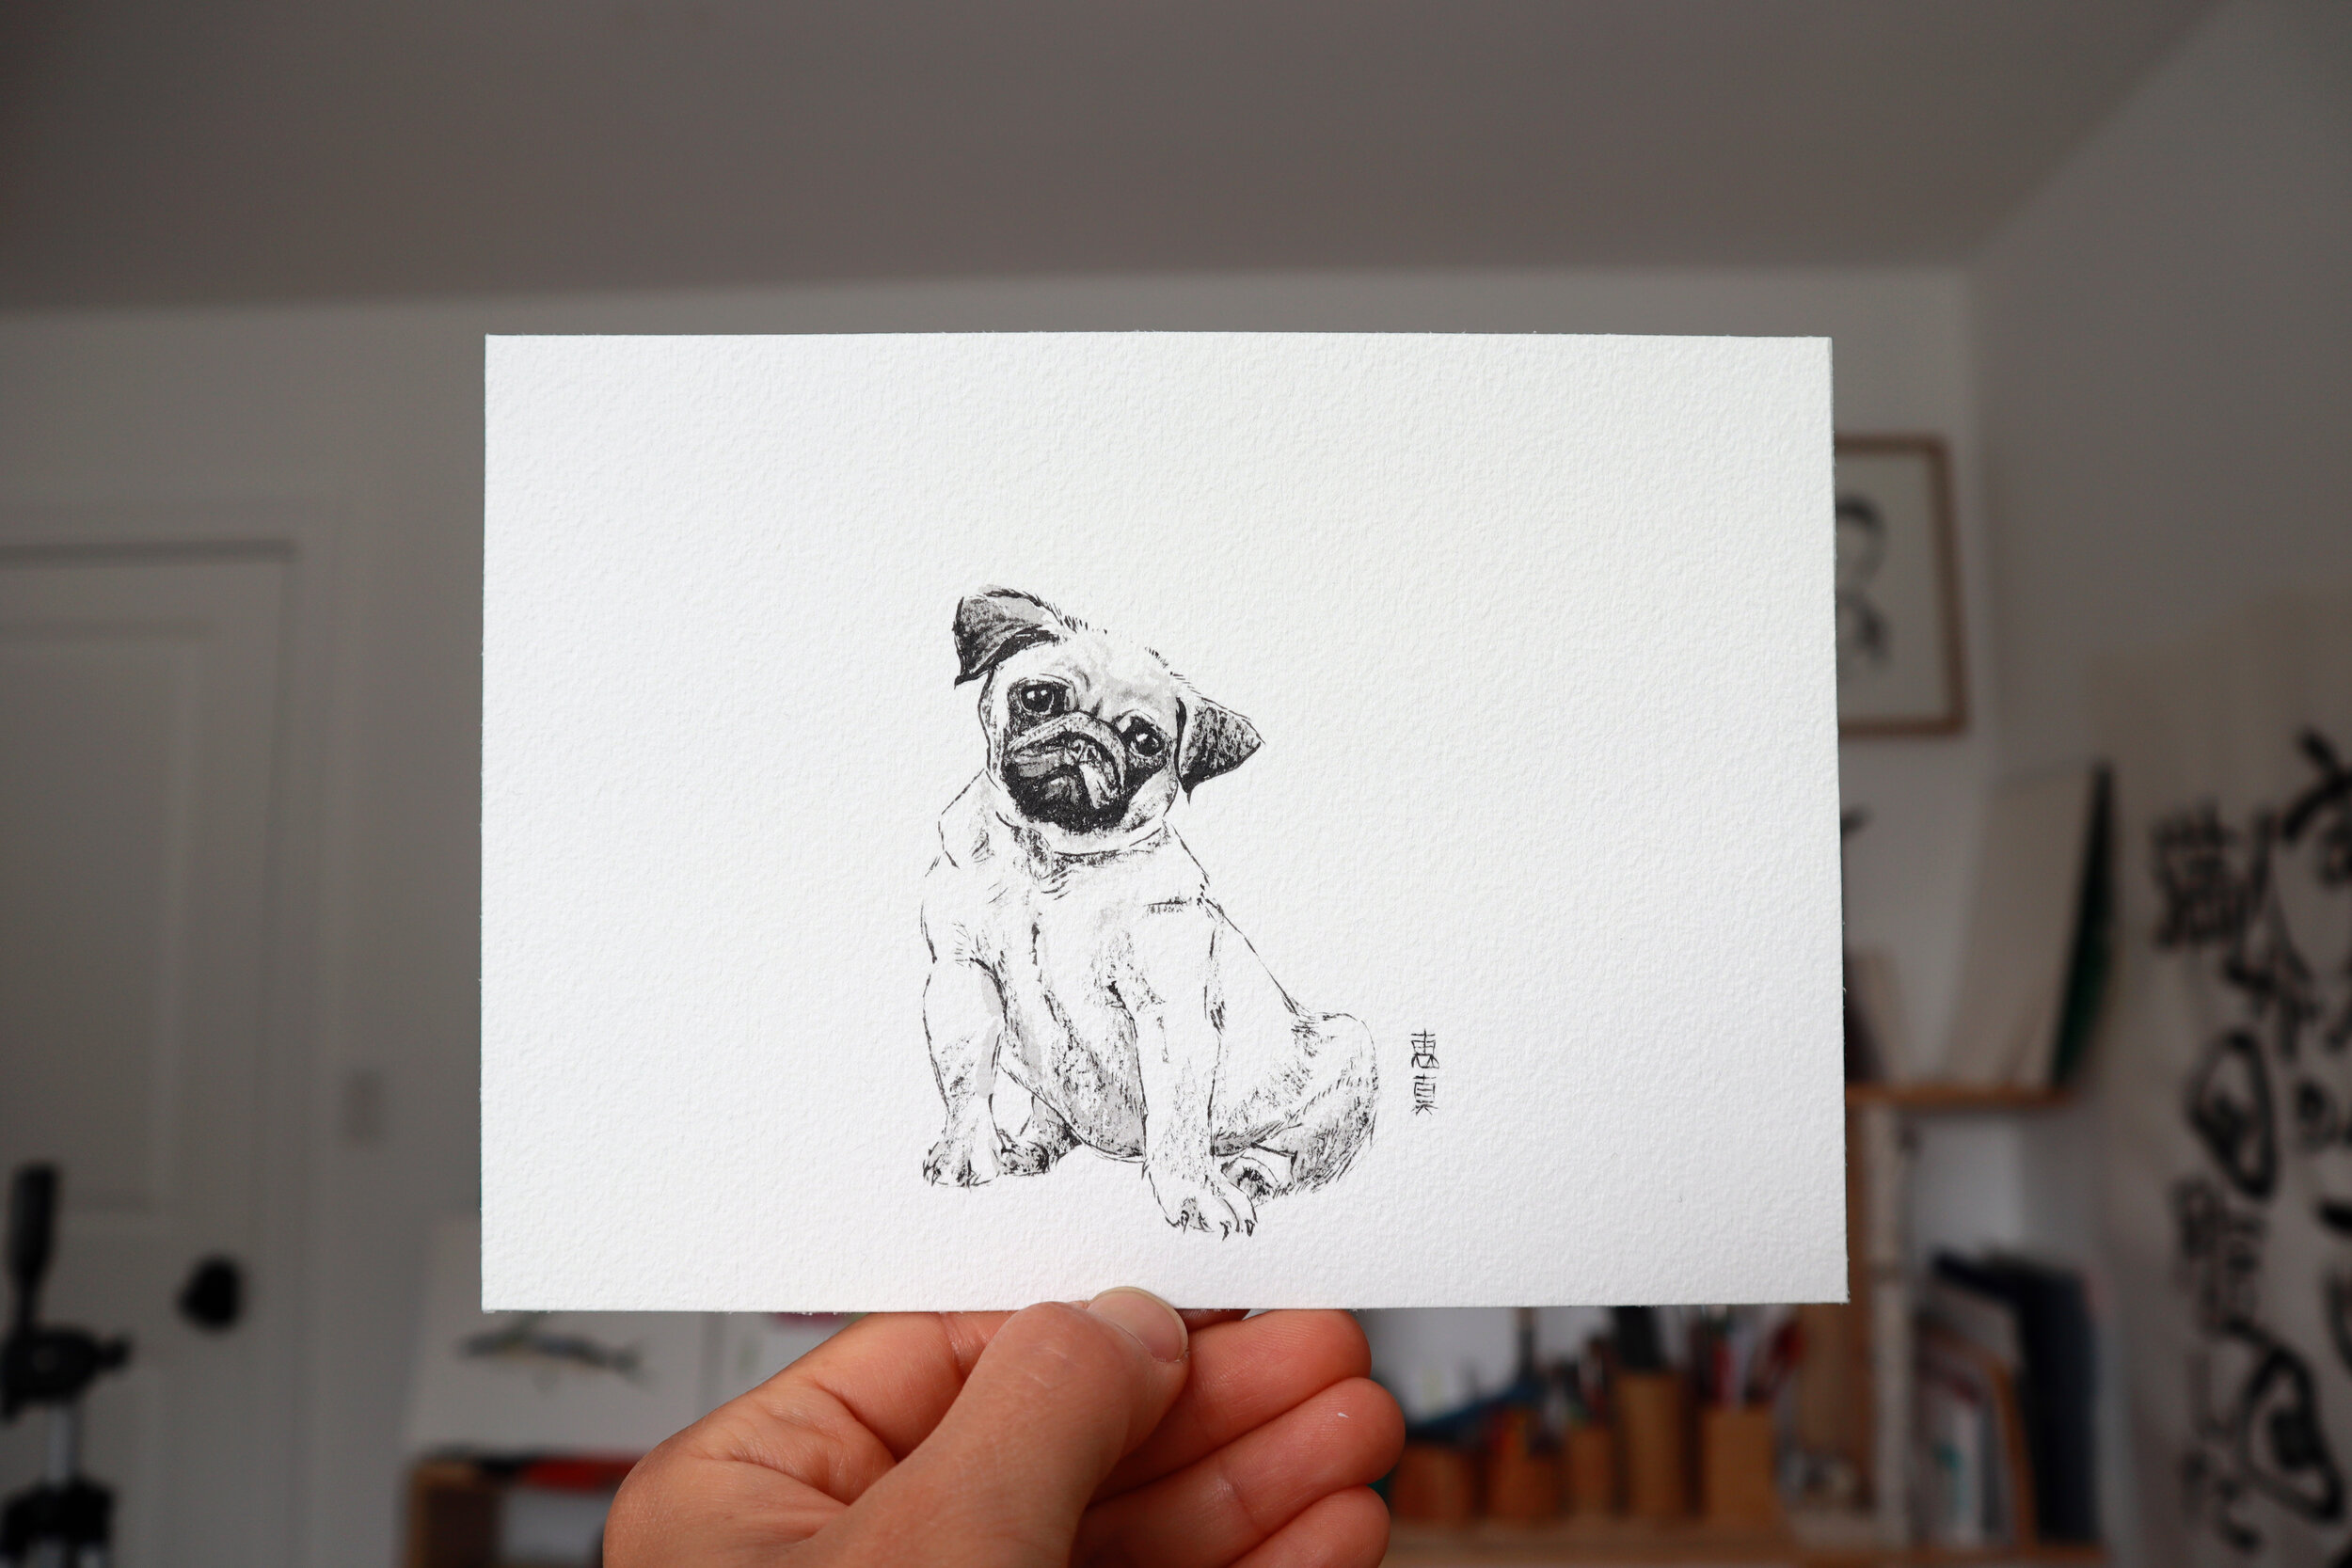
The fun part about drawing or painting is that it’s a reflection of what YOU see, and doesn’t have to an exact replica! My favorite animal drawings aren’t like photos, but those with bold character - I can see the artist’s hand in it.
SO WHAT DO I DO?
Use something permanent
My favorite sketching tools for rough drafts are Kuretake Cambio brush pens. They have a brush tip and the body is full of ink so it replicates what a Japanese brush and ink would do BUT the ink is black and watery so you have to move quickly, or you’ll get pools of ink like a marker. This is a good thing though, so you don’t second guess each stroke.
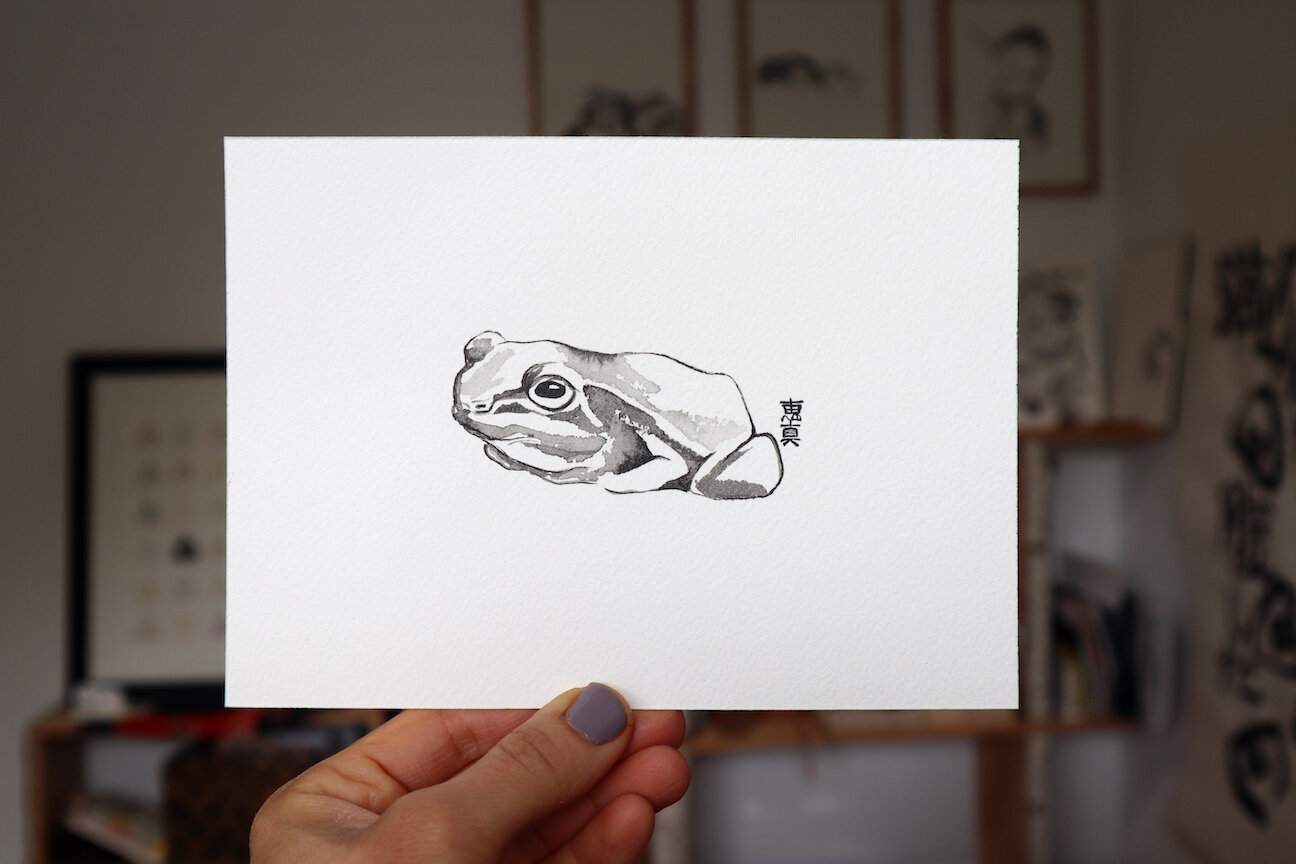
I also love Pigma Micron pens. They don’t bleed so if you plan to draw first, then add color with watercolor etc., I’d recommend them over brush pens. I use these for drawing/painting cards for family.
Emphasize what you see and like
There are no rules unless you’re illustrating a zoology textbook! Sometimes I’ll make a head bigger for emphasis, the eyeballs bigger to make the expression look softer or more animated, sometimes I make the tail shorter to fit my paper… it’s your drawing to do as you please.
5. REPEAT
THIS is the most important step! Your first drawings are likely not going to be your favorite, but over time the only direction you can go is up. Keep making mediocre drawings, and you’ll look back and see what to change. Each drawing is a step up!
LASTLY
I hope to bring joy to you or anyone looking at my animal drawings by celebrating beauty and incredible diversity in creation. Focusing on that intention (rather than perfection for my own satisfaction) ends up with a more natural, relaxed drawing or painting. It’s ok to let go and let accidents happen. Those have lead to some of my favorite techniques that I replicate later on purpose!
Is there an animal you’d like to see a more specific tutorial to paint or draw? Let me know and I’d love to share it!