• Gallery
  • SHOP
  • About
  • Contact
  • Journal
Menu

Ema Kubo

Japanese American artist and art historian
  • Gallery
  • SHOP
  • About
  • Contact
  • Journal
Holding small watercolor painting of pink plum blossom

How to Find Inspiration to Paint

April 2, 2022

There are seasons when ideas are abundant beyond humanly-possible hours to create, and seasons when it feels like there may never again be another good idea in my tired mind.

I lean towards the latter season now, most likely related to caring for 2 little ones. They fill the days with joy AND expend all my energy (including, but not limited to physical energy). But over the years, I’ve become less and less bothered by these “dry” seasons because I now see that they’re a normal part of creative process, and this season will pass.

In the meantime, instead of throwing in the towel and giving up painting (which I could never do as long as I’m physically capable), the best thing for me to do is to keep painting what’s familiar.

The inspiration for this recent plum blossom painting came from a trade with an artist friend I met on Instagram. She painted an origami t-rex for Mia, and I decided to paint one of her favorite flowers in return.

Since my mind is lacking lively ideas, I needed outside inspiration and went to my trusted color palette book.

Photo of book on desk Traditional Japanese Color Palette

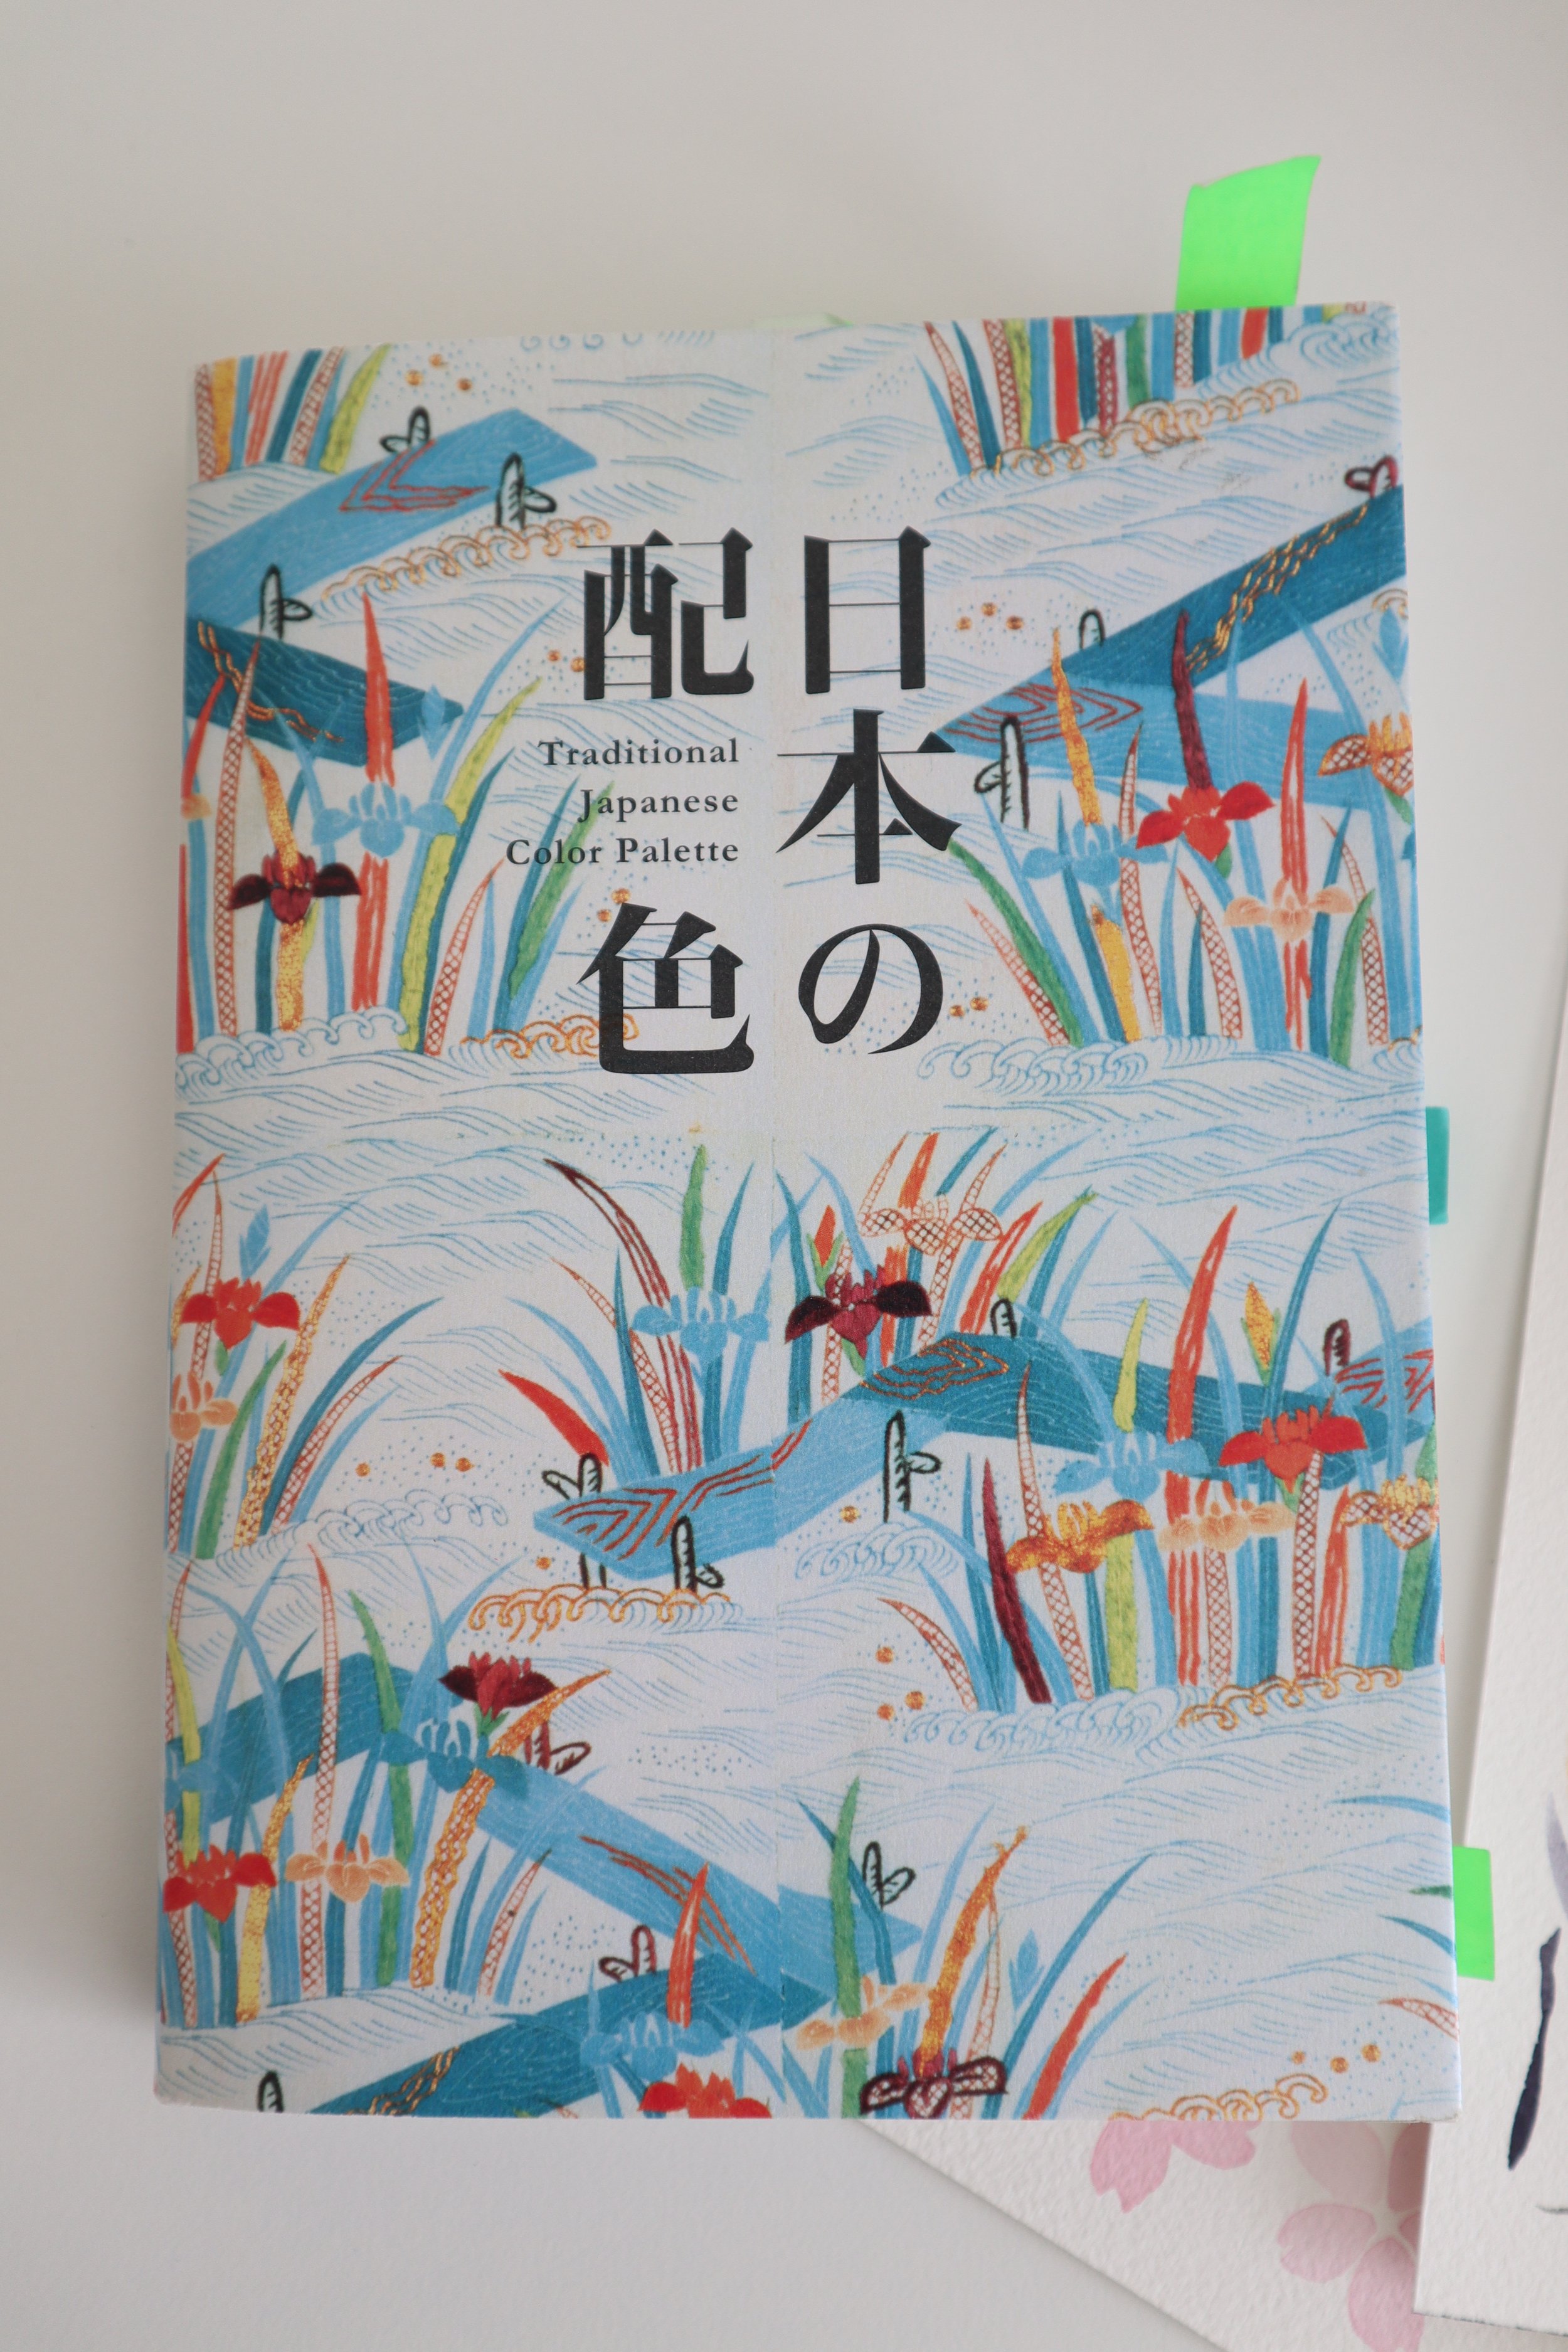
The book Nihon no haishoku is available on Amazon so maybe you can order it through a local bookstore too. I’ve referenced this book countless times for watercolor painting palette ideas. It’s in Japanese and English.

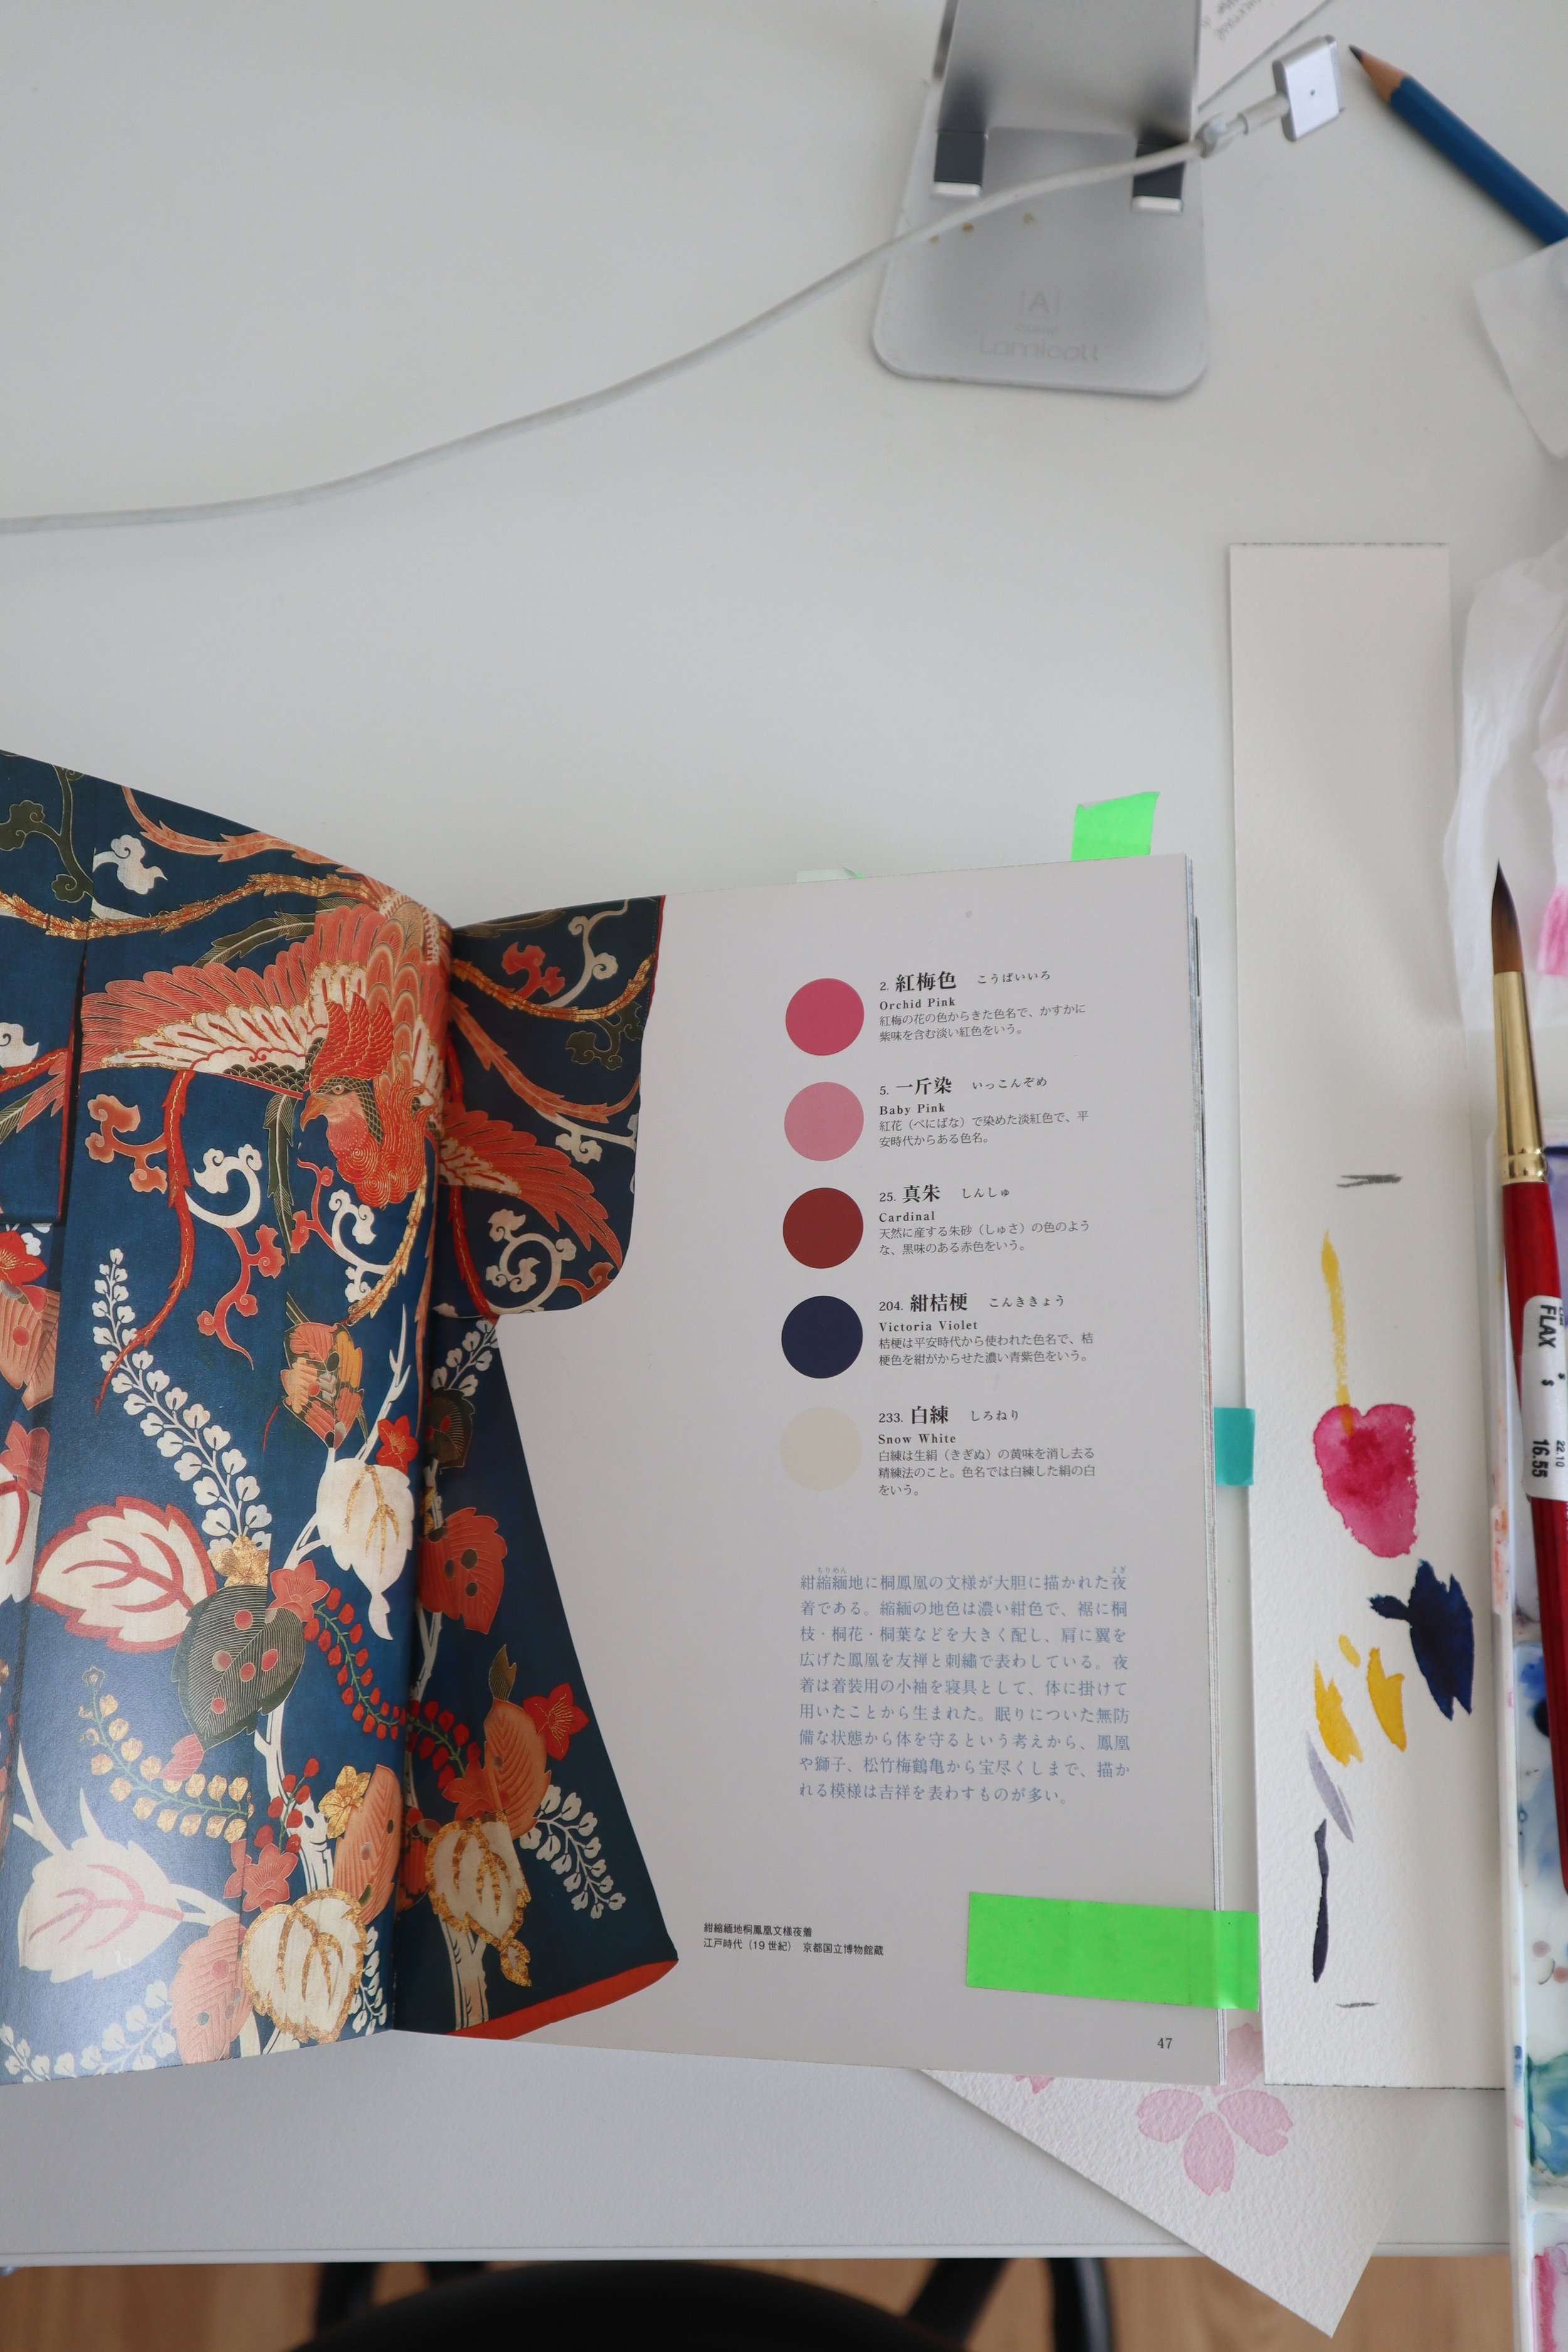
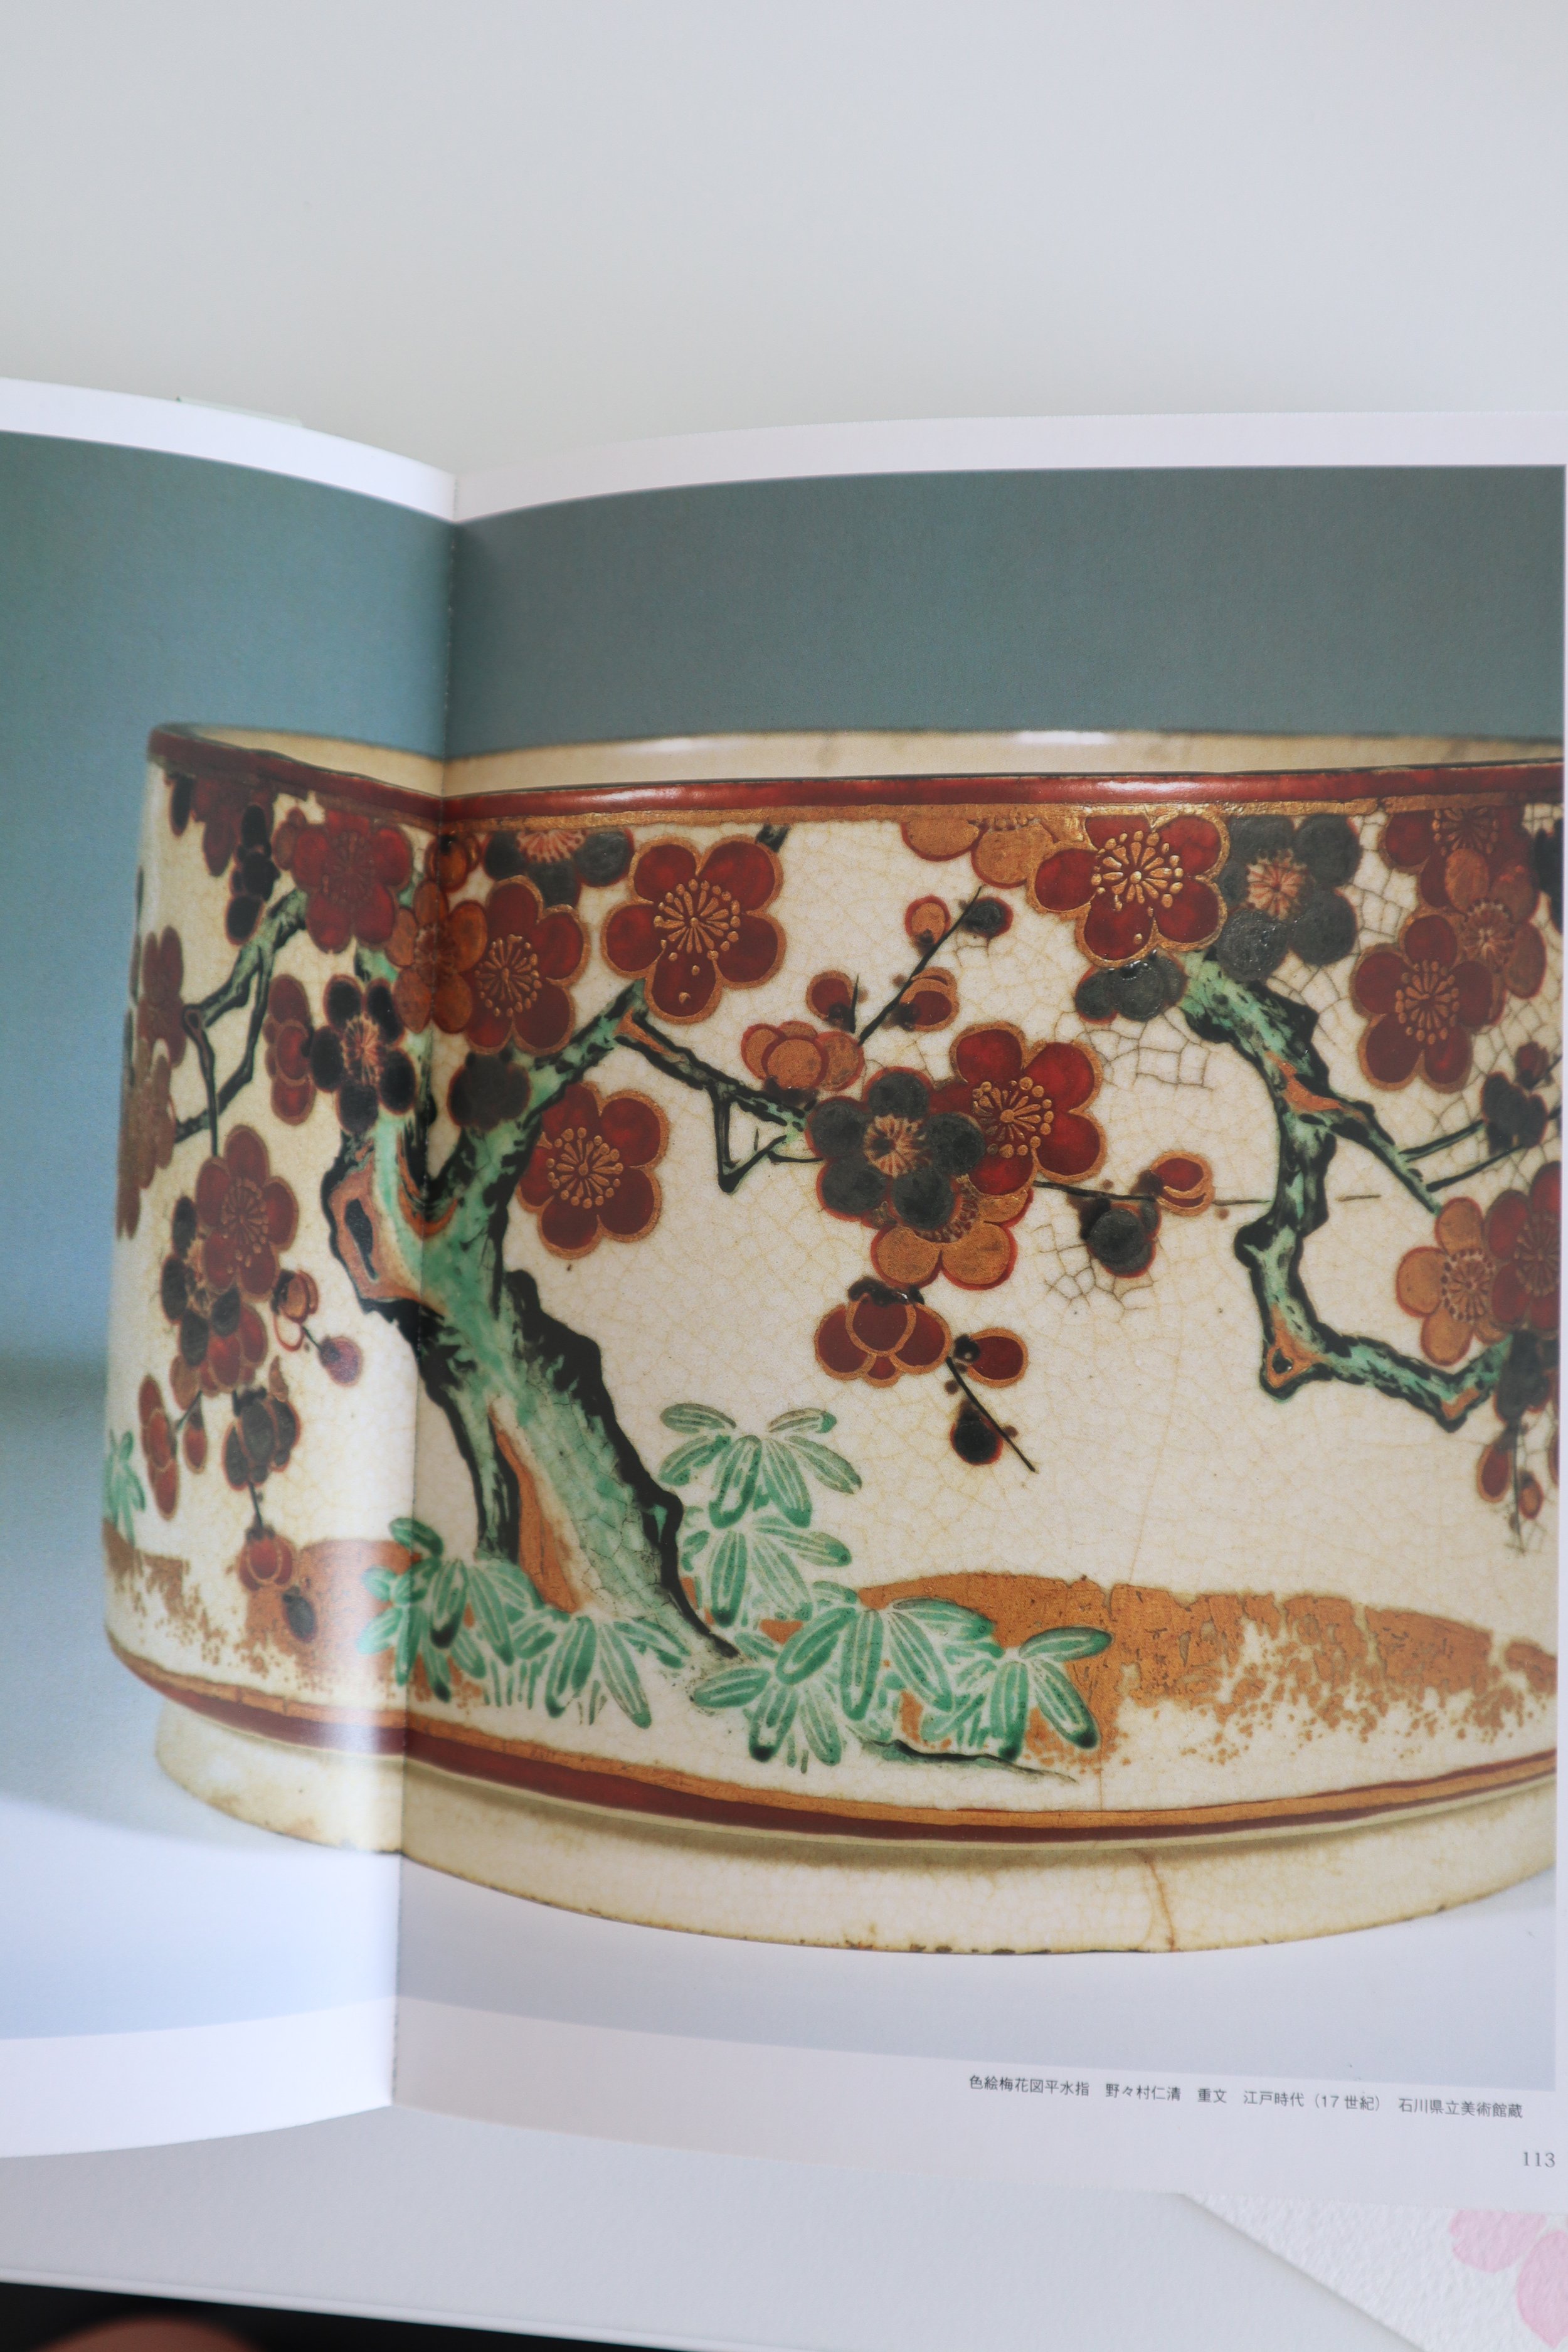
I used the color palette from the left photo (below) that I had bookmarked before. For the composition and blossom design, I used the right photo.

IMG_6004.JPG
IMG_6006.JPG

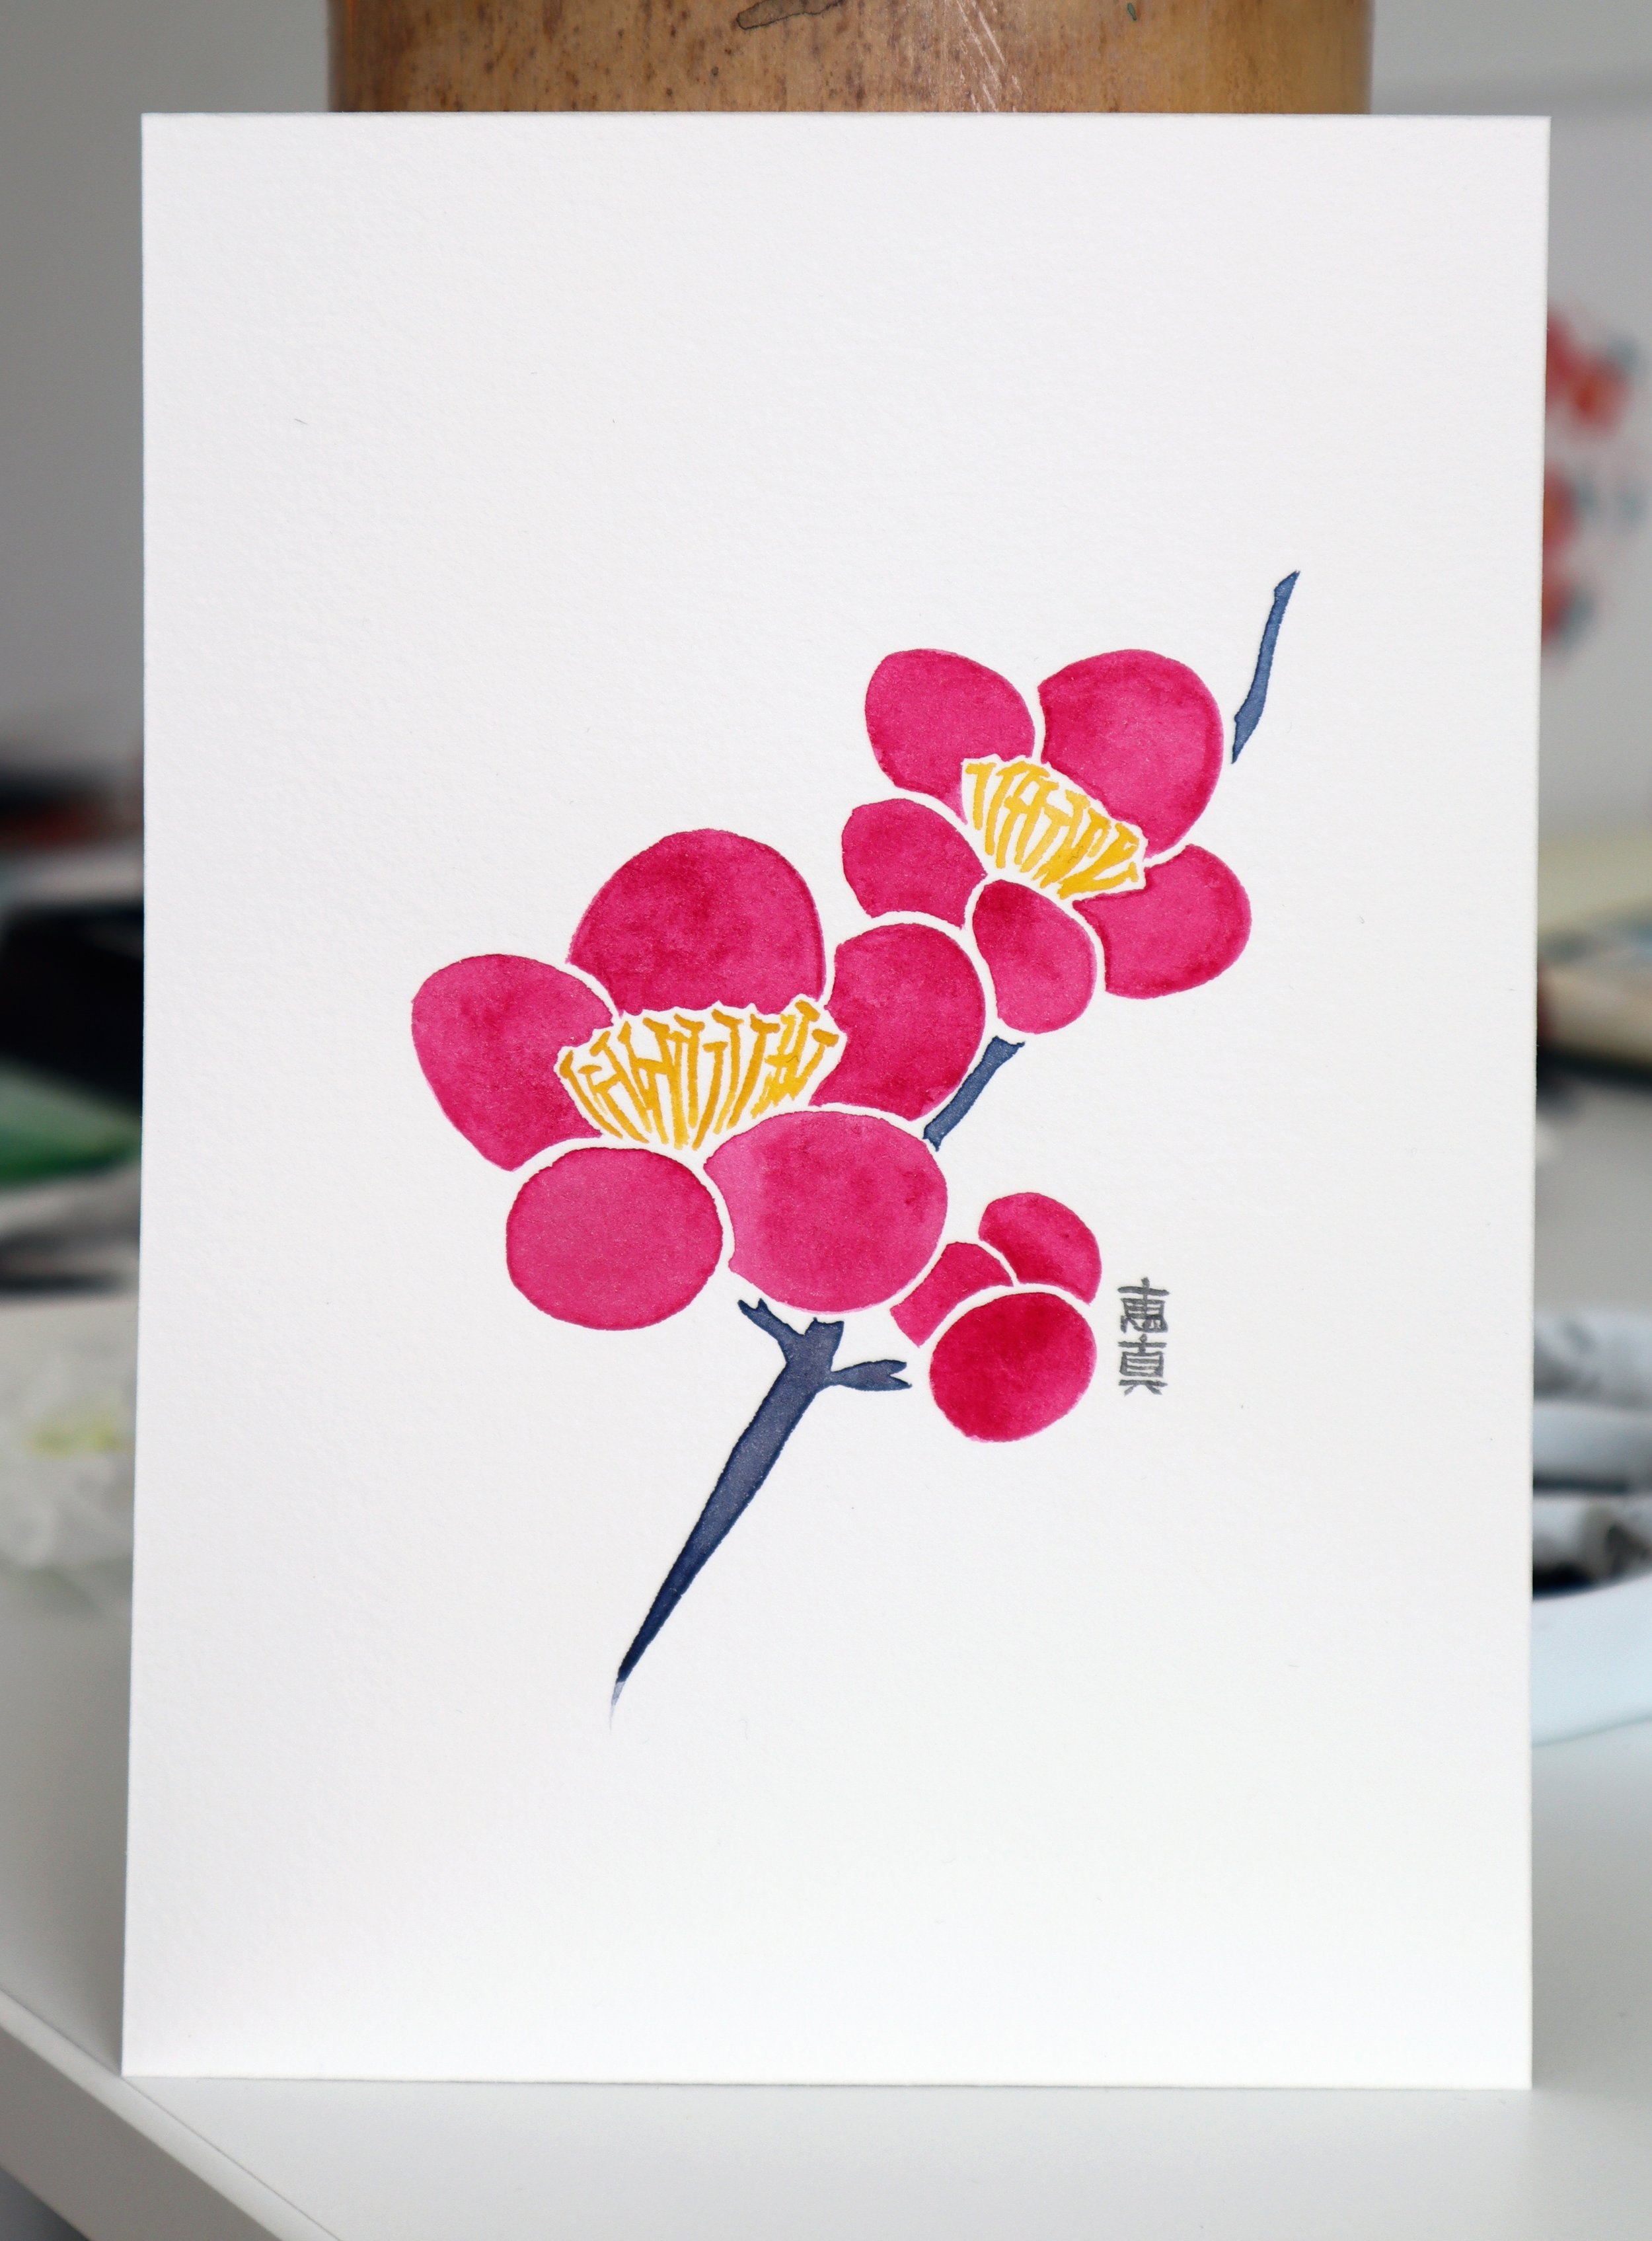
I also referenced another painting of quince blossoms I painted last year since I was very close to choosing plum blossoms instead. (Last year I ended up choosing quince blossoms because of the blooming season with the early-blooming cherry blossoms I paired them with.) I used the same style and method, leaving white space between each highly pigmented petal.

The changes included a new color palette and new composition. I painted in silence as I often do, and an hour later I had this finished painting on my desk.

Here are a few tips to find inspiration when you hit a creative rut:

  1. Talk to an artist friend and take interest in what they’re making. (Not for comparison, but for encouragement and to get outside your head.)

  2. Think about painting for someone else. (Most of my new ideas have come from wanting to share something or thinking about what to give someone.)

  3. Start with a short studio session. (I chose 1 solid hour while my toddler was in a class and the baby napped so it was short enough to not be overwhelming but long enough to finish a small piece.)

  4. Do something familiar. (The flowers were similar to a painting from last year.)

  5. Use outside references, especially ones that have helped before. (In my case it was this color palette book. I also borrowed a few art books from the library for later.

I also borrowed books from the library for later and am looking forward to browsing these 2 I came across for more ideas:

  • A Big Important Art Book (Now with Women): Profiles of Unstoppable Female Artists--and Projects to Help You Become One by Danielle Krysa, also known as The Jealous Curator

  • Flower Power: The Meaning of Flowers in Asian Art by Dany Chan, from the collection at the Asian Art Museum.

What has helped you through a creative rut?

circular painting of pink cherry blossoms and red quince blossoms

Blossoms 16x12” 2021


In Art Tips, Japanese Painting, Art Tags painting, flower painting, creative process
Comment
HowtoHangARt

How to Hang Art (Step-by-Step)

July 16, 2020

If you want just one takeaway that will make your art-hanging consistent, skip to the bottom and see the last tip!

We’ve all been home for a long time now, and I don’t think I’m the only one rearranging things around the house.

There’s always the option of hiring a professional who hangs art for a living, but it’s possible to do it and make it look good by yourself too!

If you’re intimidated by hanging artwork, I’m with you. We have lived in our house for almost 3 years and still have very few things on the wall — but my studio is overflowing with artwork.


Two thoughts that keep my walls blank and —> what I tell myself to commit to putting something up:

  1. What if I change my mind and don’t like it later? —> You can change it when that day comes. It’s not permanent! You can even keep the frame and change just the inside.

  2. What if I mess up the wall? —> The extra hole or two will likely be covered by the artwork. With these instructions, it’s less likely to happen! But, there’s always putty.

IMG_4390.JPG
IMG_4400.JPG

Supply List

Pictured above from top left to right:

  • Screwdriver (if needed only to attach D-rings)

  • D-rings

  • Hanging wire

  • Hammer

  • Picture hanger (hook with nail)

  • Measuring tape

  • Level

  • Scratch paper

  • Pencil and good eraser

  • Framed artwork/picture

Here are the steps I take to HANG ART

Select the location

I had two spots in our living/dining room area that I wanted to use.

Spot 1: Above the blue chairSpot 2: Other side of the wall in the dining room, right where that leaning painting is just barely visible

Spot 1: Above the blue chair

Spot 2: Other side of the wall in the dining room, right where that leaning painting is just barely visible

Prepare the artwork

Image from West Elm. Oversized mat collection.

Image from West Elm. Oversized mat collection.

FRAMING: I like to add mats between the frame and artwork but it depends on the space available. A large space doesn’t mean you have to have large artwork. You can also use a smaller piece and add a large frame and mat. Those will bring further attention to highlight the artwork!

>> Cost-saving tip: If your artwork is an unusual size, use a standard frame and get a custom mat cut for your artwork at any frame shop.

HANGING & SAFETY: Once it’s framed, add D-rings and wire on the back of the frame.

Balancing the artwork on a nail rather than hooking it securely on the wall with wire can be dangerous in any shared living space. I don’t want any chance of a heavy frame falling onto anyone shorter than 58” (like our toddler and her friends).

Many frames include D-rings and wire, but if yours doesn’t, this picture hanging kit may be helpful.

If you have a heavy frame, you may want to use two or more nails. You can use two wall anchors with screws or a three-nail picture hanger. If using wall anchors and screws, I would twist the wire around a screw to make sure it’s extra secure.

My riceball painting has a heavy wooden frame with glass so I used two picture hangers — one on each side of the original nail hole I measured.

Images below: (1) D-rings and wire on a frame and (2) single picture hanger

IMG_4410.JPG
IMG_4412.JPG

MEASURE & MARK the wall

The center point of all hanging work should be consistent in your line of view.

What does that mean? If you have 3 frames up, all different sizes, the center of each frame should be at the same height. There are exceptions if there is furniture right below, but it’s a general rule. The standard height of the center point from the floor is between 57-60”.

The few frames up in the living/dining part of our house are at 58” at the center so I’ll use that as my reference point with measurement examples. This is the technical part that I think may be easiest to mix up.

IMG_4421.jpg

First measurements to write down. Seriously, this has to be written.

  • Width & height of the outer edges of frame (9x11” and 23x27” for my two).

  • Width of the part of the wall you’re centering the art on.

Measuring the width with my assistant. The measuring tape was floppy so she really was helpful holding it in place.

Measuring the width with my assistant. The measuring tape was floppy so she really was helpful holding it in place.

Second measurements to write down below. Then I make 6 pencil marks on the wall, in this order:

  • 1 - Center point of painting

    • choose height between 58-60” from floor

    • e.g. 58” for this example

  • 2 - Top of frame

    • center point + half of frame height

    • e.g. 58” + (9”/2) = 58” + 4.5” = 62.5”

  • 3 - Bottom of frame

    • center point - half of frame height

    • e.g. 58” - (11”/2) = 58” - 5.5” = 52.5”

  • 4 - Far left edge

    • width of wall - frame width, divided by 2

    • e.g. (30” - 9”) / 2 = 21” / 2 = 10.5”

  • 5 - Far right edge

    • Same as above, 10.5”

  • 6 - Where to put the nail

    • top of frame - top point of the wire

    • 63.5” - 2” = 61.5”

The 6th pencil mark can be tricky. I circle only the 6th mark like a target because I have accidentally mixed up my top of frame mark and hole mark in the past.

Attached D-rings and wire on the back side, about 1/3 of the height from the top.

Attached D-rings and wire on the back side, about 1/3 of the height from the top.

How to measure your nail mark:

Pull the wire up to where it would be when hanging, and measure that distance from the top of the frame.

For example, if it’s 2 inches from the top, then your nail hole will be 2 inches from the top of the frame mark (mark #2).

Important note: If using a picture hanger, make sure the hook is aligned to the hole mark, not the nail itself. See below. Art will hang on the hook, not the top nail.

For my bigger painting, I ended up using 2 picture hangers, 1 on each side of the nail hole mark (mark #6), because the frame was heavy.

If using a hook like this, make sure the hanging part aligns with where you want your wire to hang. This was 1 of 2 picture hangers I put on each side of the original nail mark.

If using a hook like this, make sure the hanging part aligns with where you want your wire to hang. This was 1 of 2 picture hangers I put on each side of the original nail mark.

Time to hammer and hang the artwork!

IMG_4401 copy.JPG
IMG_4414 copy.JPG
IMG_4422 copy.JPG

Check your work

Place a level on top of the frame to make sure it’s straight.

The benefit of wire hanging is that you can wiggle the frame around some to get it right instead of being stuck on one nail hole. You can also tighten or loosen the wire itself to move the frame up or down on the wall if needed.

IMG_4419.JPG

Key takeaway

If nothing else, remember this tip! Make sure your center line is the same across your line of view.

For example in the photo below, I’m standing in the living room looking towards the dining room, and all 3 frames are centered at 58” so my eye doesn’t bounce around.

This makes a streamlined view across the room. It takes extra time to measure, but saves you time from never redoing the previously hung work when you add something else later. That empty spot in the far corner is calling my name!

View from the living room where you can see all 3 frames along the same center line

View from the living room where you can see all 3 frames along the same center line

View from the dining room

View from the dining room

What if I’m doing a gallery wall?

Set it up on the floor first! Consider the entire gallery as one artwork, and your center point is in the center of the entire gallery.

If your frames are a variety of sizes: Using paper cut to the approximate sizes of each frame and placed on your gallery wall would make it easy to know if it’s exactly what you want.

What if there’s furniture?

For placement and size of artwork, check out this great guide by Emily Henderson: How to Hang Art Correctly with many helpful photos of artwork above furniture and in a variety of contexts.

Questions?

I’m no professional art handler, but I’d love to chat if you have any questions! Comment here, DM on Instagram or Facebook, or email through the Contact page.

In Art Studio, Painting, Art Tips Tags art gallery, hanging art, framing art
1 Comment

Subscribe

for painting tips, behind the scenes, Japanese recipes, and mini art history lessons!

Thank you!

Latest & Greatest

Featured
How to Find Inspiration to Paint
Apr 2, 2022
How to Find Inspiration to Paint
Apr 2, 2022
Apr 2, 2022
3 Tips for Framing Artwork
Sep 27, 2021
3 Tips for Framing Artwork
Sep 27, 2021
Sep 27, 2021
Japonisme: How Japanese Art Inspired Monet, Degas, and many more!
Dec 4, 2020
Japonisme: How Japanese Art Inspired Monet, Degas, and many more!
Dec 4, 2020
Dec 4, 2020
Sharaku's Prints of Kabuki Actors
Sep 24, 2020
Sharaku's Prints of Kabuki Actors
Sep 24, 2020
Sep 24, 2020
Mia's First Japanese Bento + Recipes
Sep 17, 2020
Mia's First Japanese Bento + Recipes
Sep 17, 2020
Sep 17, 2020
From Japanese Armor to a Camellia Painting
Aug 28, 2020
From Japanese Armor to a Camellia Painting
Aug 28, 2020
Aug 28, 2020
Shop Launch: 6 New Prints!
Aug 10, 2020
Shop Launch: 6 New Prints!
Aug 10, 2020
Aug 10, 2020
How to Hang Art (Step-by-Step)
Jul 16, 2020
How to Hang Art (Step-by-Step)
Jul 16, 2020
Jul 16, 2020
Everyday Buddha Bowls
Jul 4, 2020
Everyday Buddha Bowls
Jul 4, 2020
Jul 4, 2020
How to Paint an Animal (or Anything Else)
Jun 23, 2020
How to Paint an Animal (or Anything Else)
Jun 23, 2020
Jun 23, 2020

Keep in touch

Be the first to know about new prints, available original paintings, the latest studio updates, and more!

Thank you!

Curious for more? See my journal!
And of course, Instagram
It’s been years since I’ve joined #inktober but I love seeing #inktober2022 posts (especially from @jcantyart 🙌)!

Which animals should I paint? Here are a few from my #100DaysofHowitFeels project to get ideas flowing.

I’ll paint