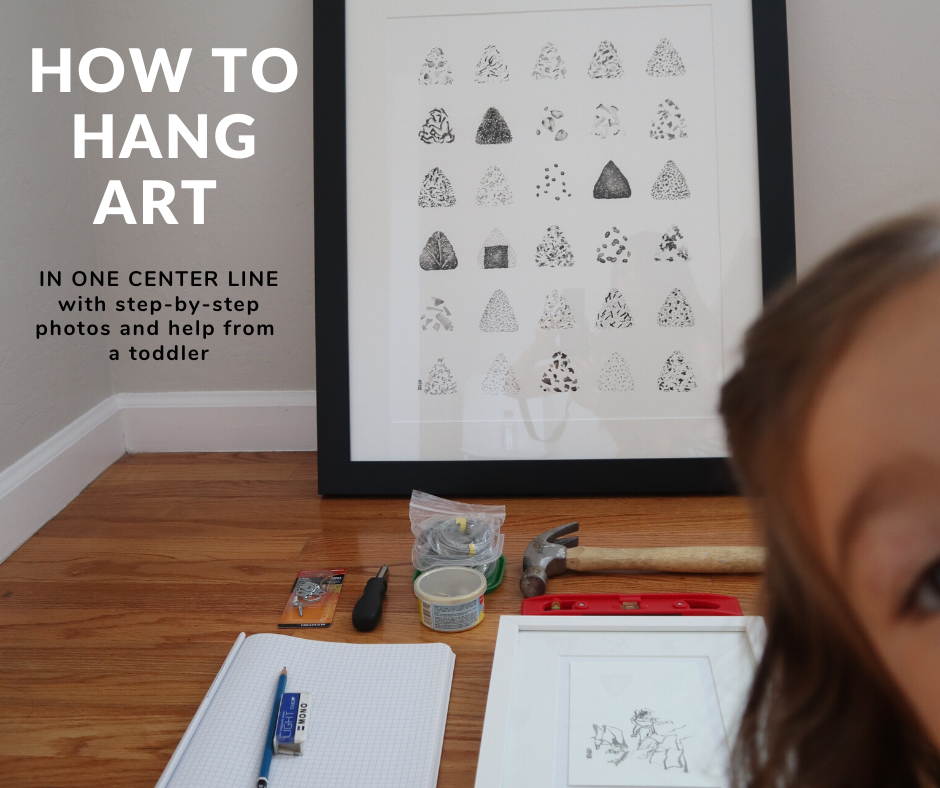
If you want just one takeaway that will make your art-hanging consistent, skip to the bottom and see the last tip!
We’ve all been home for a long time now, and I don’t think I’m the only one rearranging things around the house.
There’s always the option of hiring a professional who hangs art for a living, but it’s possible to do it and make it look good by yourself too!
If you’re intimidated by hanging artwork, I’m with you. We have lived in our house for almost 3 years and still have very few things on the wall — but my studio is overflowing with artwork.
Two thoughts that keep my walls blank and —> what I tell myself to commit to putting something up:
What if I change my mind and don’t like it later? —> You can change it when that day comes. It’s not permanent! You can even keep the frame and change just the inside.
What if I mess up the wall? —> The extra hole or two will likely be covered by the artwork. With these instructions, it’s less likely to happen! But, there’s always putty.
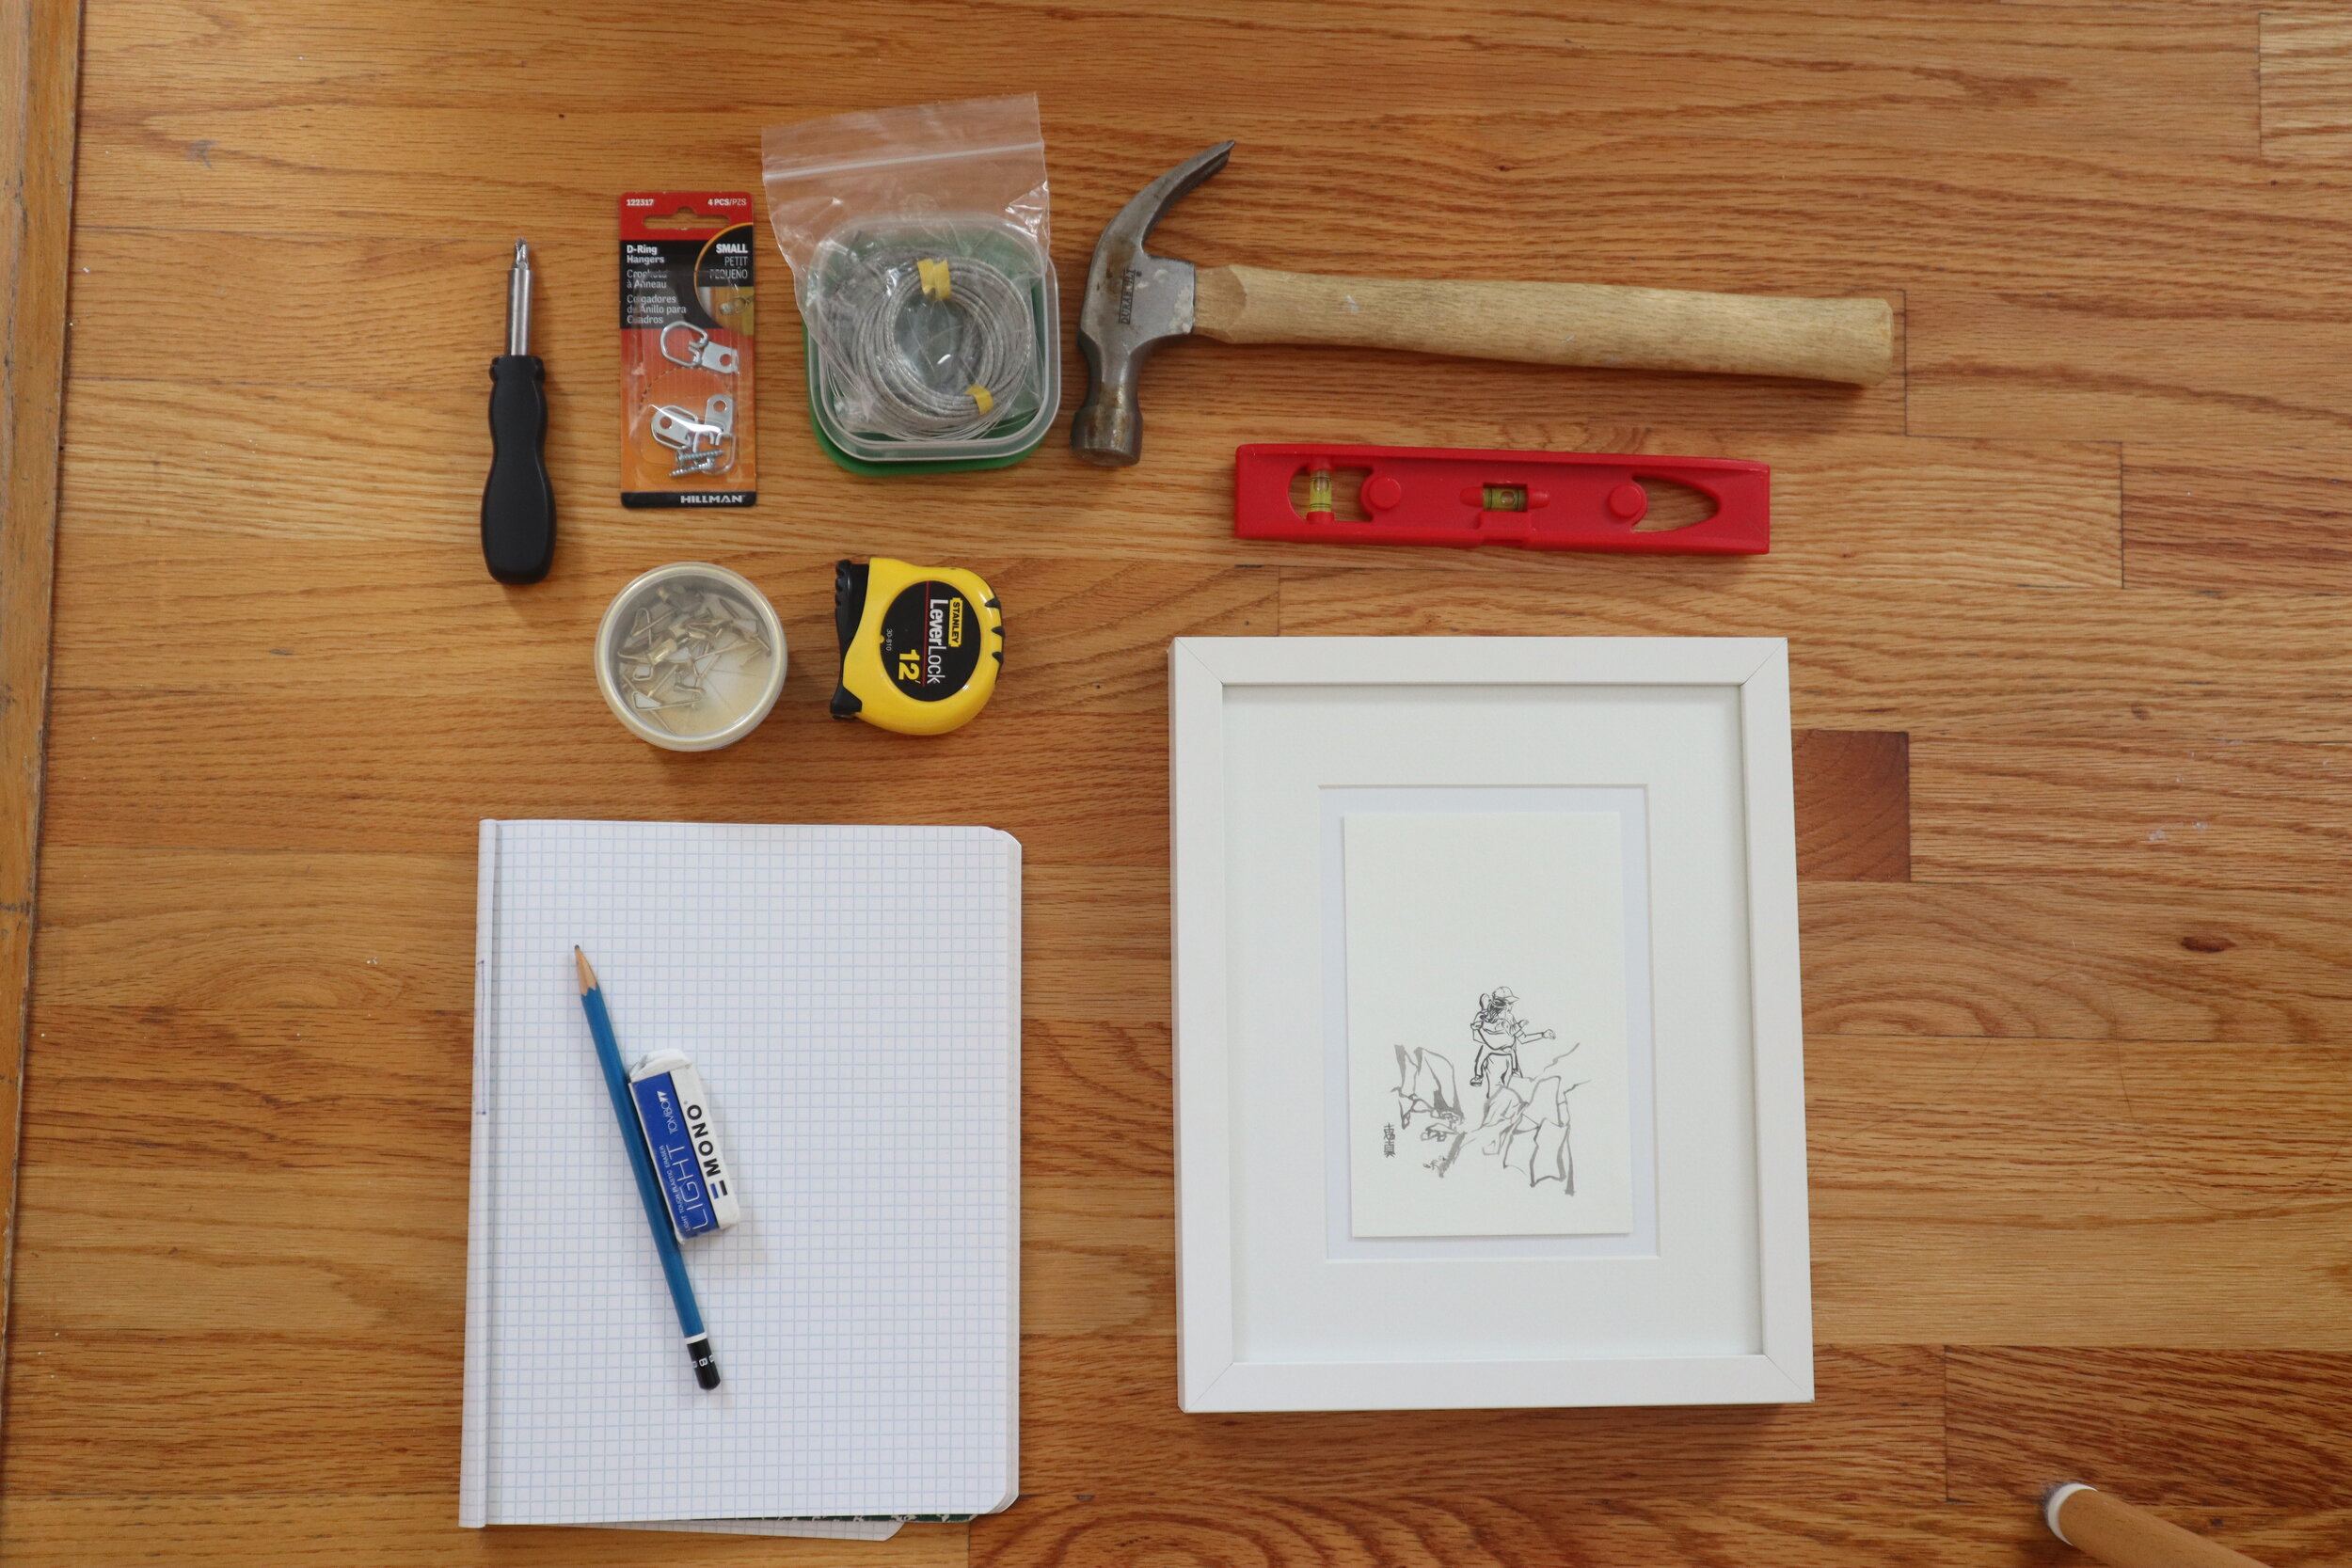
Supply List
Pictured above from top left to right:
Screwdriver (if needed only to attach D-rings)
D-rings
Hanging wire
Hammer
Picture hanger (hook with nail)
Measuring tape
Level
Scratch paper
Pencil and good eraser
Framed artwork/picture
Here are the steps I take to HANG ART
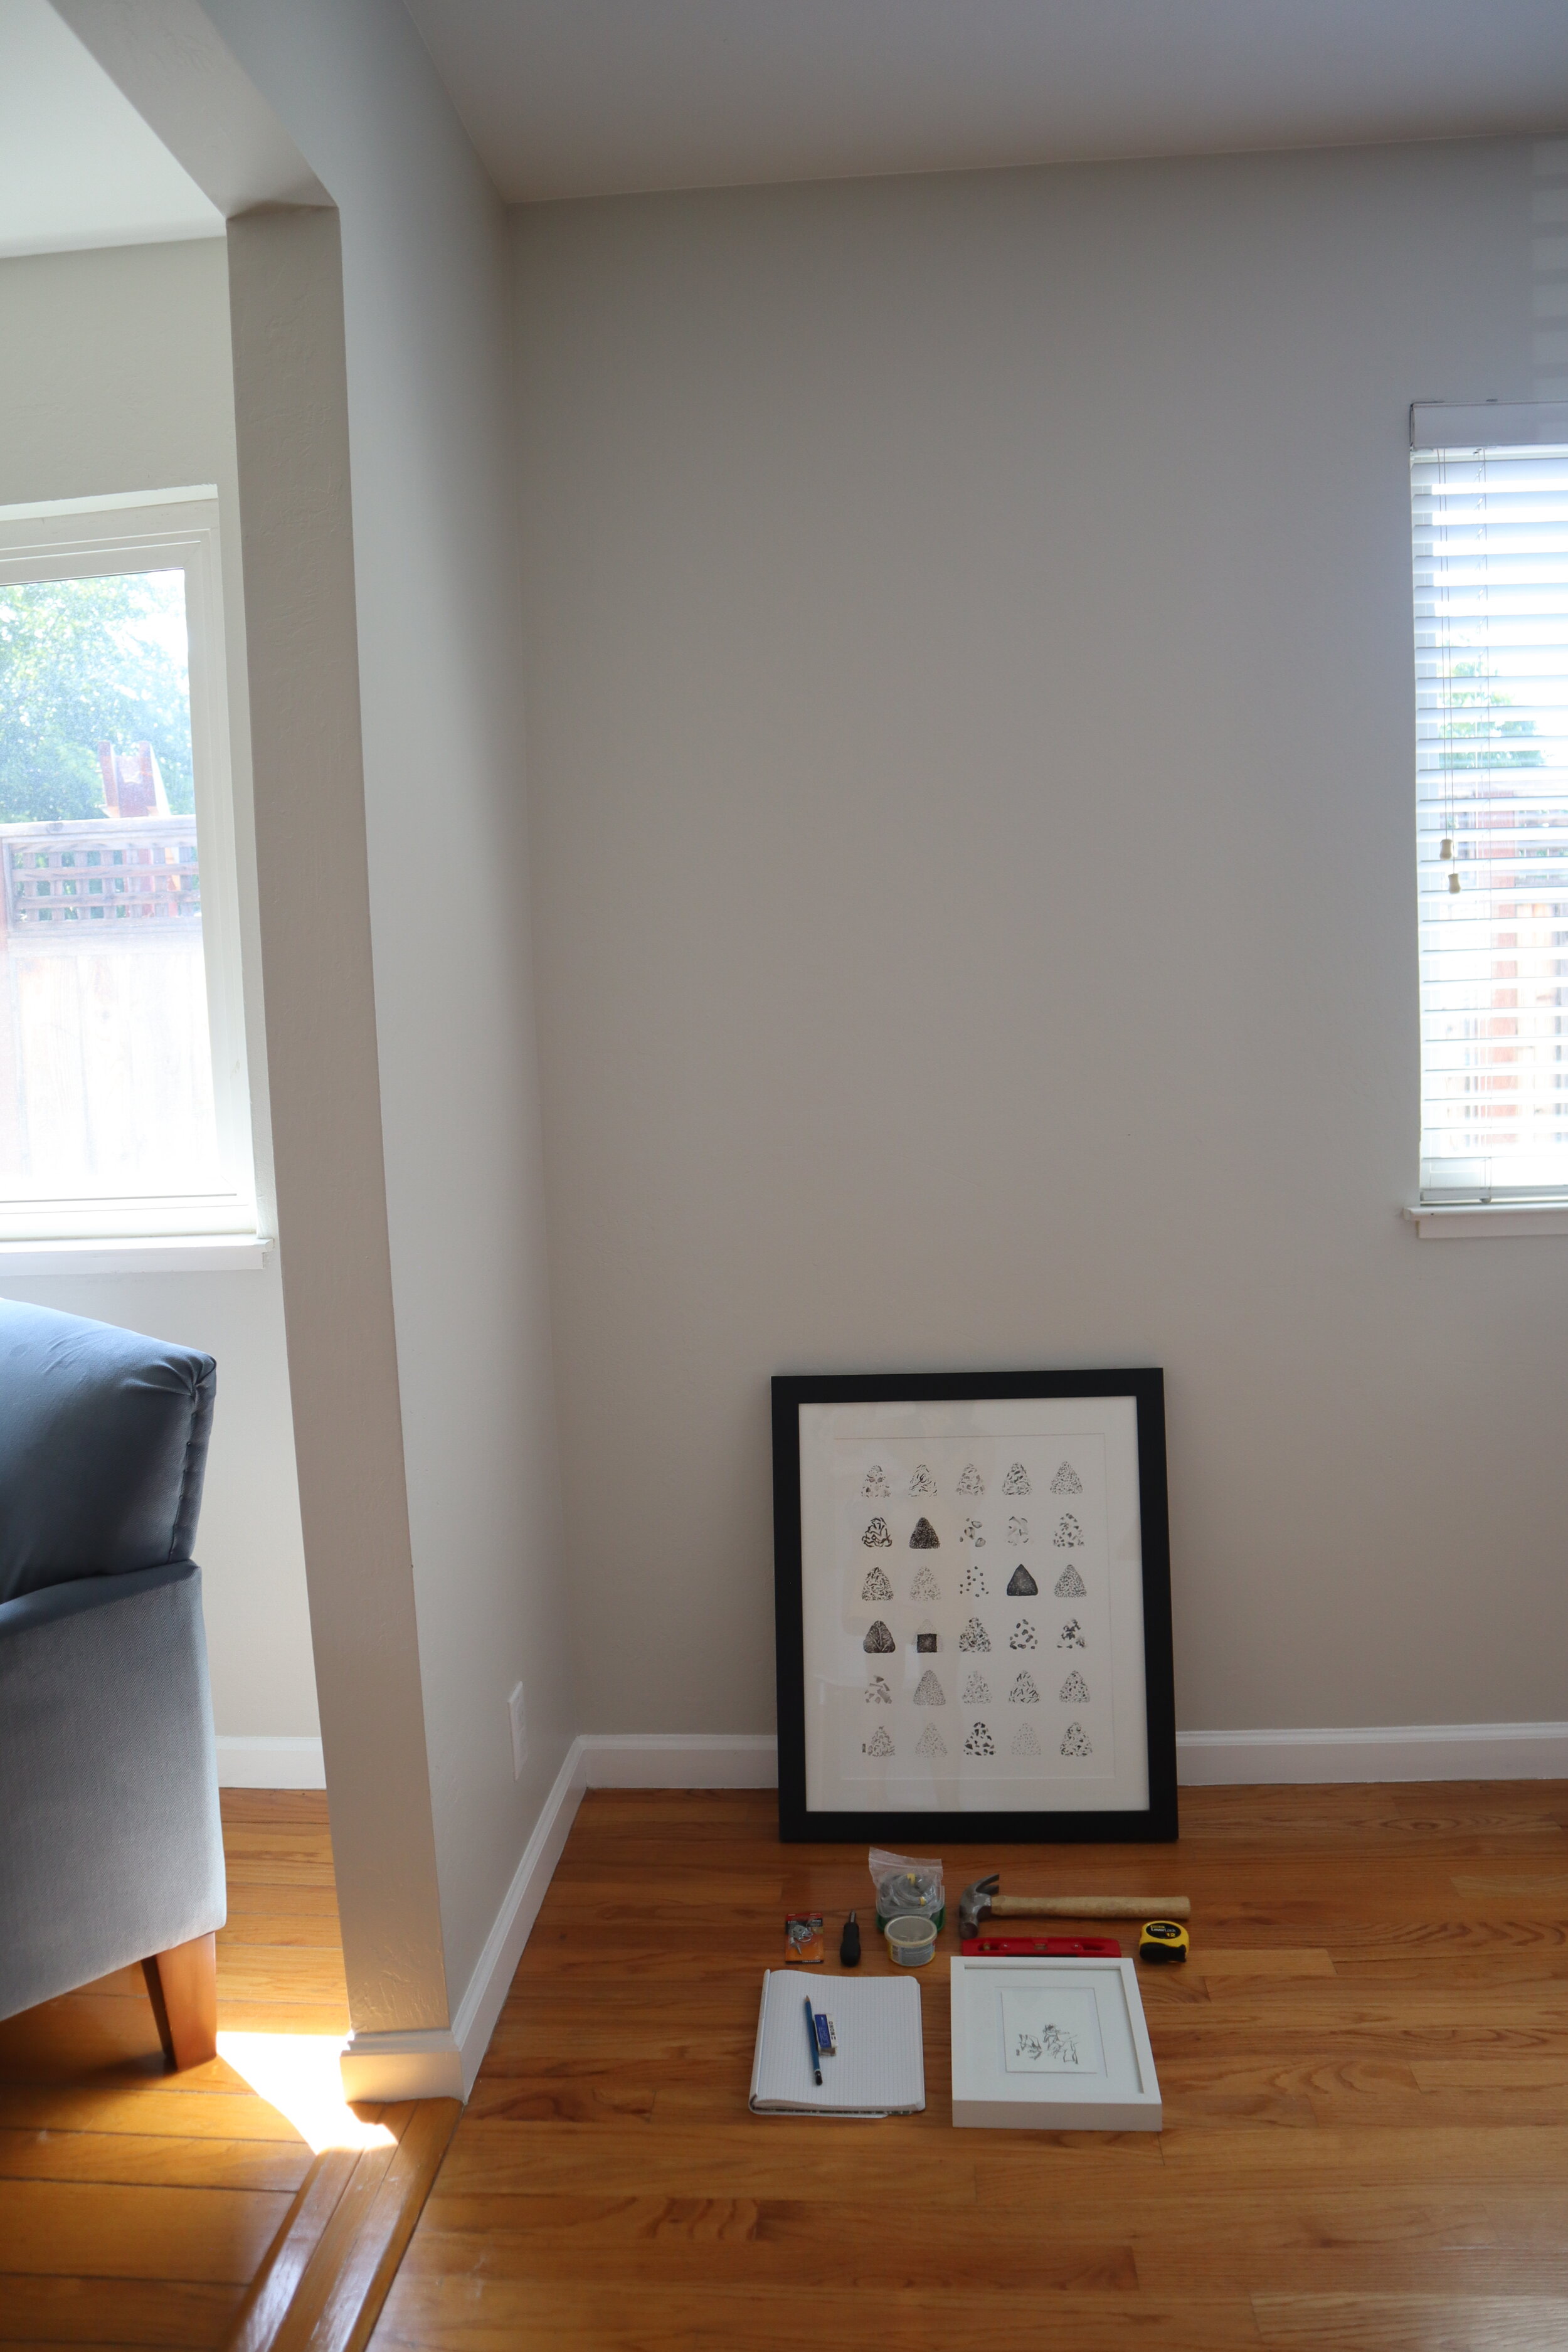
Select the location
I had two spots in our living/dining room area that I wanted to use.

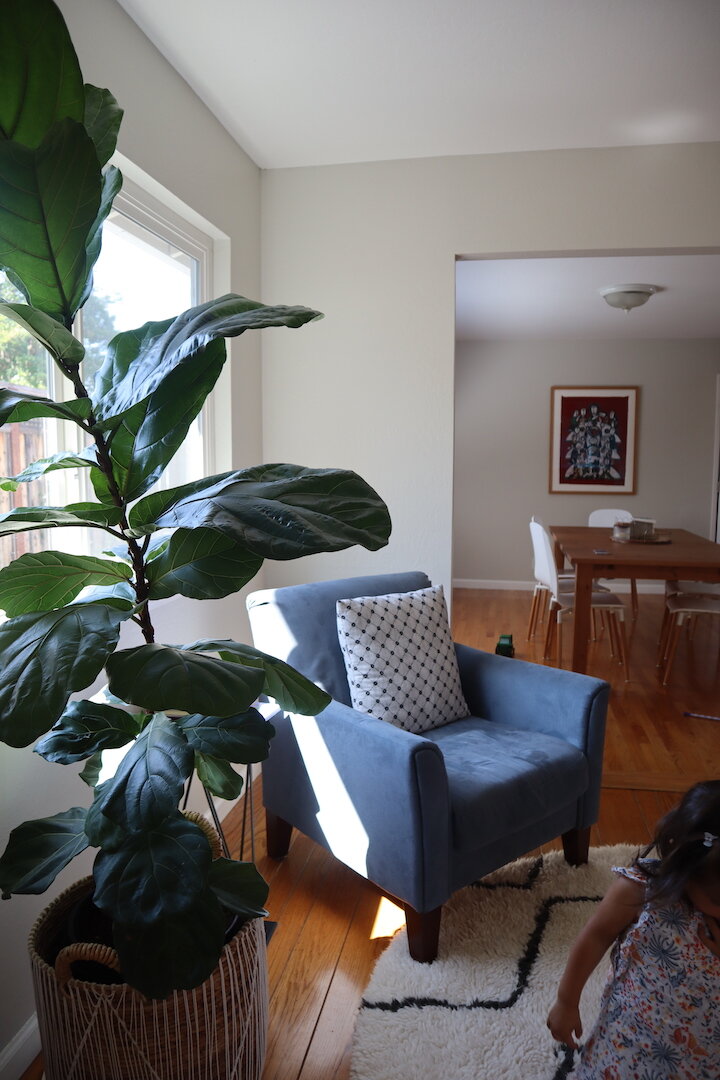
Spot 1: Above the blue chair
Spot 2: Other side of the wall in the dining room, right where that leaning painting is just barely visible
Prepare the artwork

Image from West Elm. Oversized mat collection.
FRAMING: I like to add mats between the frame and artwork but it depends on the space available. A large space doesn’t mean you have to have large artwork. You can also use a smaller piece and add a large frame and mat. Those will bring further attention to highlight the artwork!
>> Cost-saving tip: If your artwork is an unusual size, use a standard frame and get a custom mat cut for your artwork at any frame shop.
HANGING & SAFETY: Once it’s framed, add D-rings and wire on the back of the frame.
Balancing the artwork on a nail rather than hooking it securely on the wall with wire can be dangerous in any shared living space. I don’t want any chance of a heavy frame falling onto anyone shorter than 58” (like our toddler and her friends).
Many frames include D-rings and wire, but if yours doesn’t, this picture hanging kit may be helpful.
If you have a heavy frame, you may want to use two or more nails. You can use two wall anchors with screws or a three-nail picture hanger. If using wall anchors and screws, I would twist the wire around a screw to make sure it’s extra secure.
My riceball painting has a heavy wooden frame with glass so I used two picture hangers — one on each side of the original nail hole I measured.
Images below: (1) D-rings and wire on a frame and (2) single picture hanger

MEASURE & MARK the wall
The center point of all hanging work should be consistent in your line of view.
What does that mean? If you have 3 frames up, all different sizes, the center of each frame should be at the same height. There are exceptions if there is furniture right below, but it’s a general rule. The standard height of the center point from the floor is between 57-60”.
The few frames up in the living/dining part of our house are at 58” at the center so I’ll use that as my reference point with measurement examples. This is the technical part that I think may be easiest to mix up.

First measurements to write down. Seriously, this has to be written.
Width & height of the outer edges of frame (9x11” and 23x27” for my two).
Width of the part of the wall you’re centering the art on.

Measuring the width with my assistant. The measuring tape was floppy so she really was helpful holding it in place.
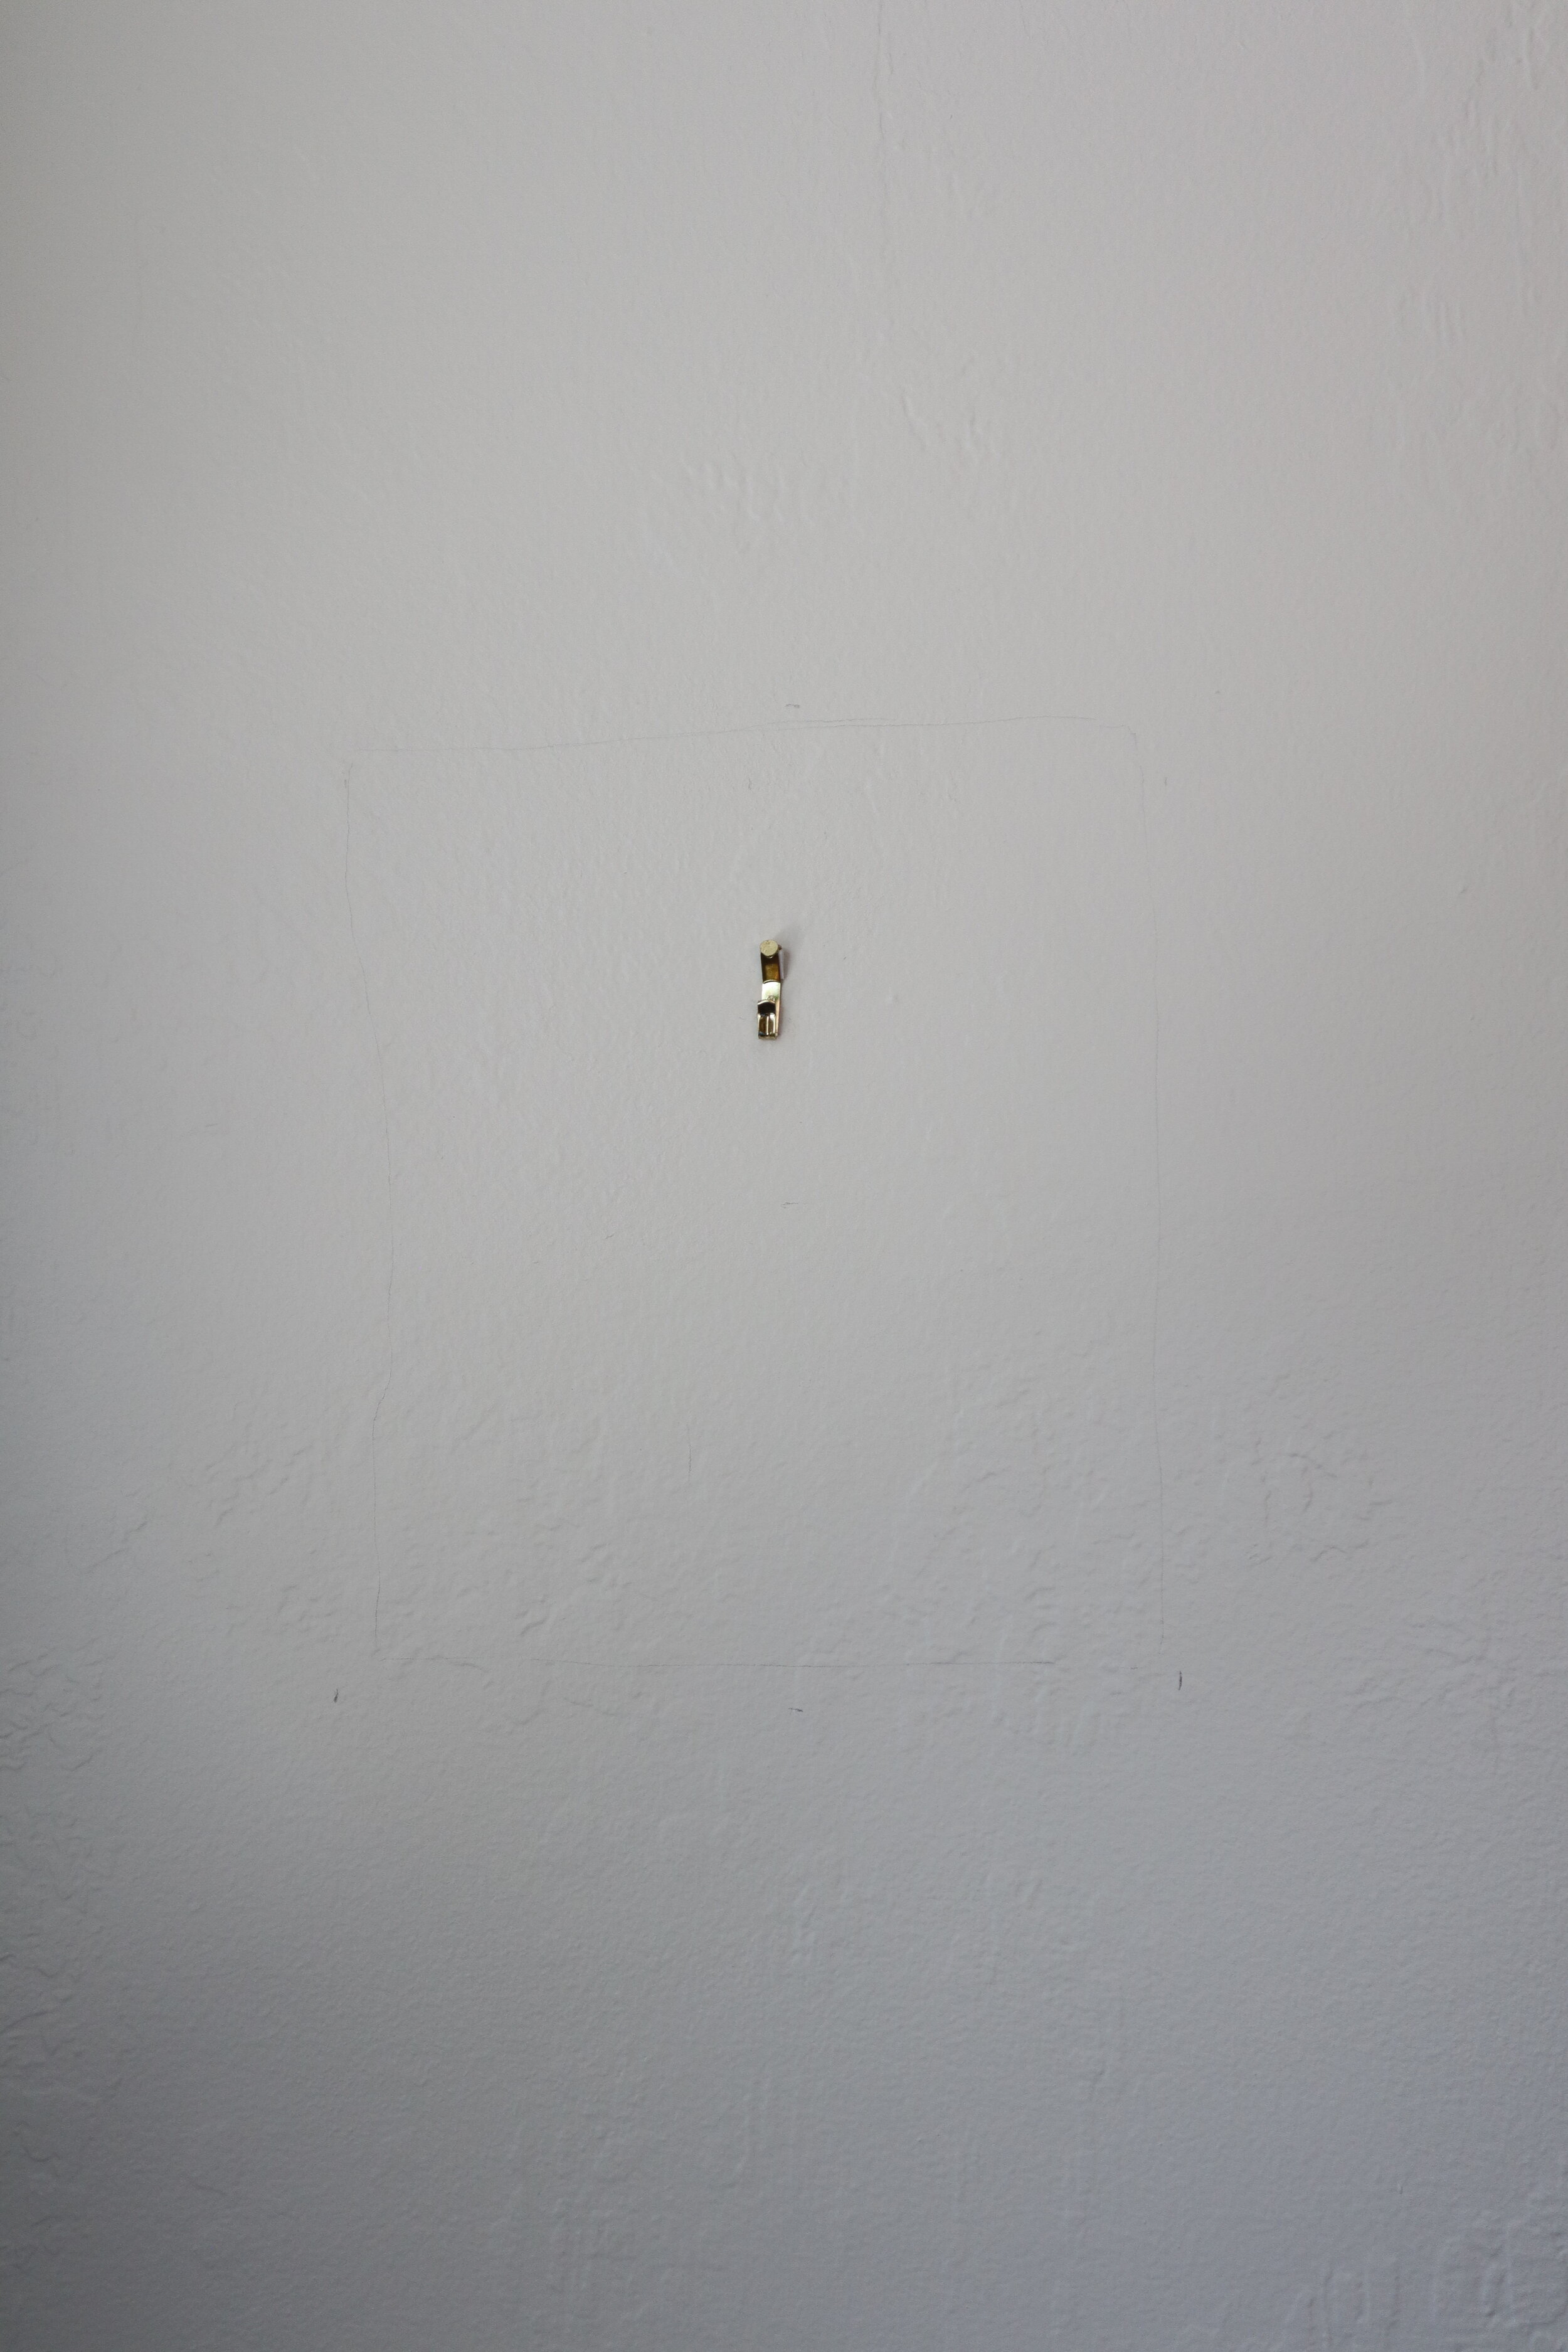
Second measurements to write down below. Then I make 6 pencil marks on the wall, in this order:
1 - Center point of painting
choose height between 58-60” from floor
e.g. 58” for this example
2 - Top of frame
center point + half of frame height
e.g. 58” + (9”/2) = 58” + 4.5” = 62.5”
3 - Bottom of frame
center point - half of frame height
e.g. 58” - (11”/2) = 58” - 5.5” = 52.5”
4 - Far left edge
width of wall - frame width, divided by 2
e.g. (30” - 9”) / 2 = 21” / 2 = 10.5”
5 - Far right edge
Same as above, 10.5”
6 - Where to put the nail
top of frame - top point of the wire
63.5” - 2” = 61.5”
The 6th pencil mark can be tricky. I circle only the 6th mark like a target because I have accidentally mixed up my top of frame mark and hole mark in the past.
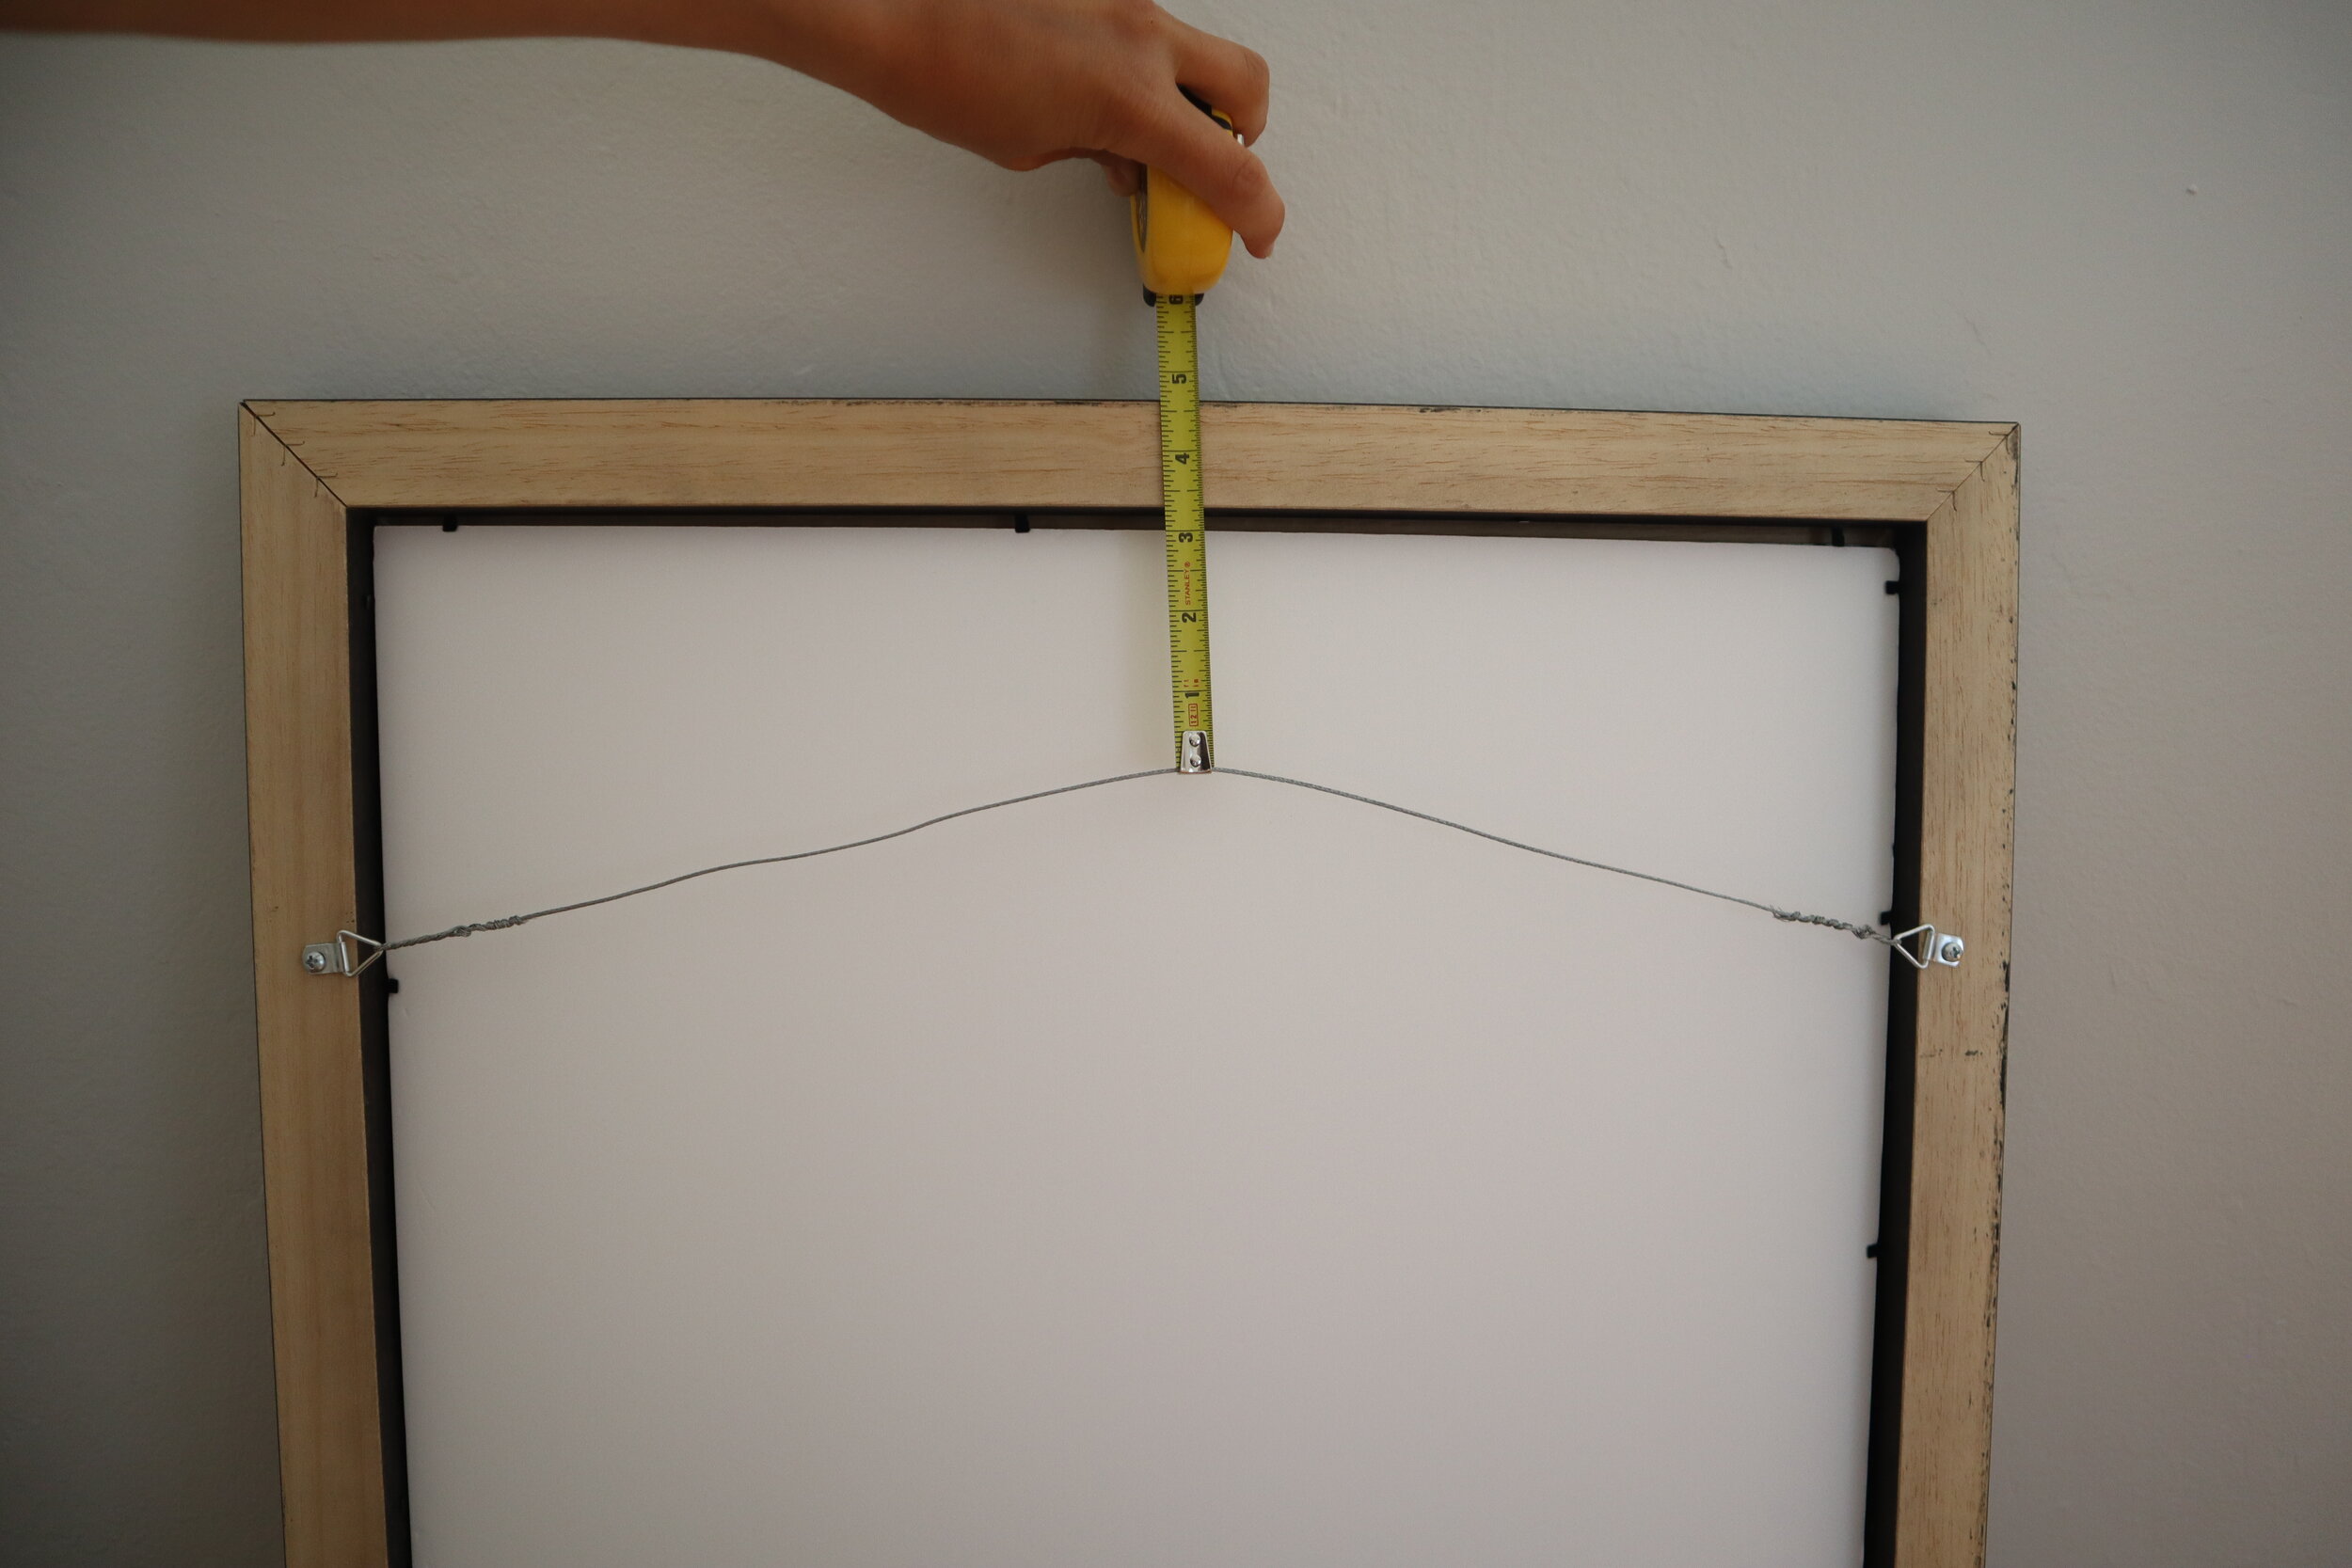
Attached D-rings and wire on the back side, about 1/3 of the height from the top.
How to measure your nail mark:
Pull the wire up to where it would be when hanging, and measure that distance from the top of the frame.
For example, if it’s 2 inches from the top, then your nail hole will be 2 inches from the top of the frame mark (mark #2).
Important note: If using a picture hanger, make sure the hook is aligned to the hole mark, not the nail itself. See below. Art will hang on the hook, not the top nail.
For my bigger painting, I ended up using 2 picture hangers, 1 on each side of the nail hole mark (mark #6), because the frame was heavy.

If using a hook like this, make sure the hanging part aligns with where you want your wire to hang. This was 1 of 2 picture hangers I put on each side of the original nail mark.
Time to hammer and hang the artwork!
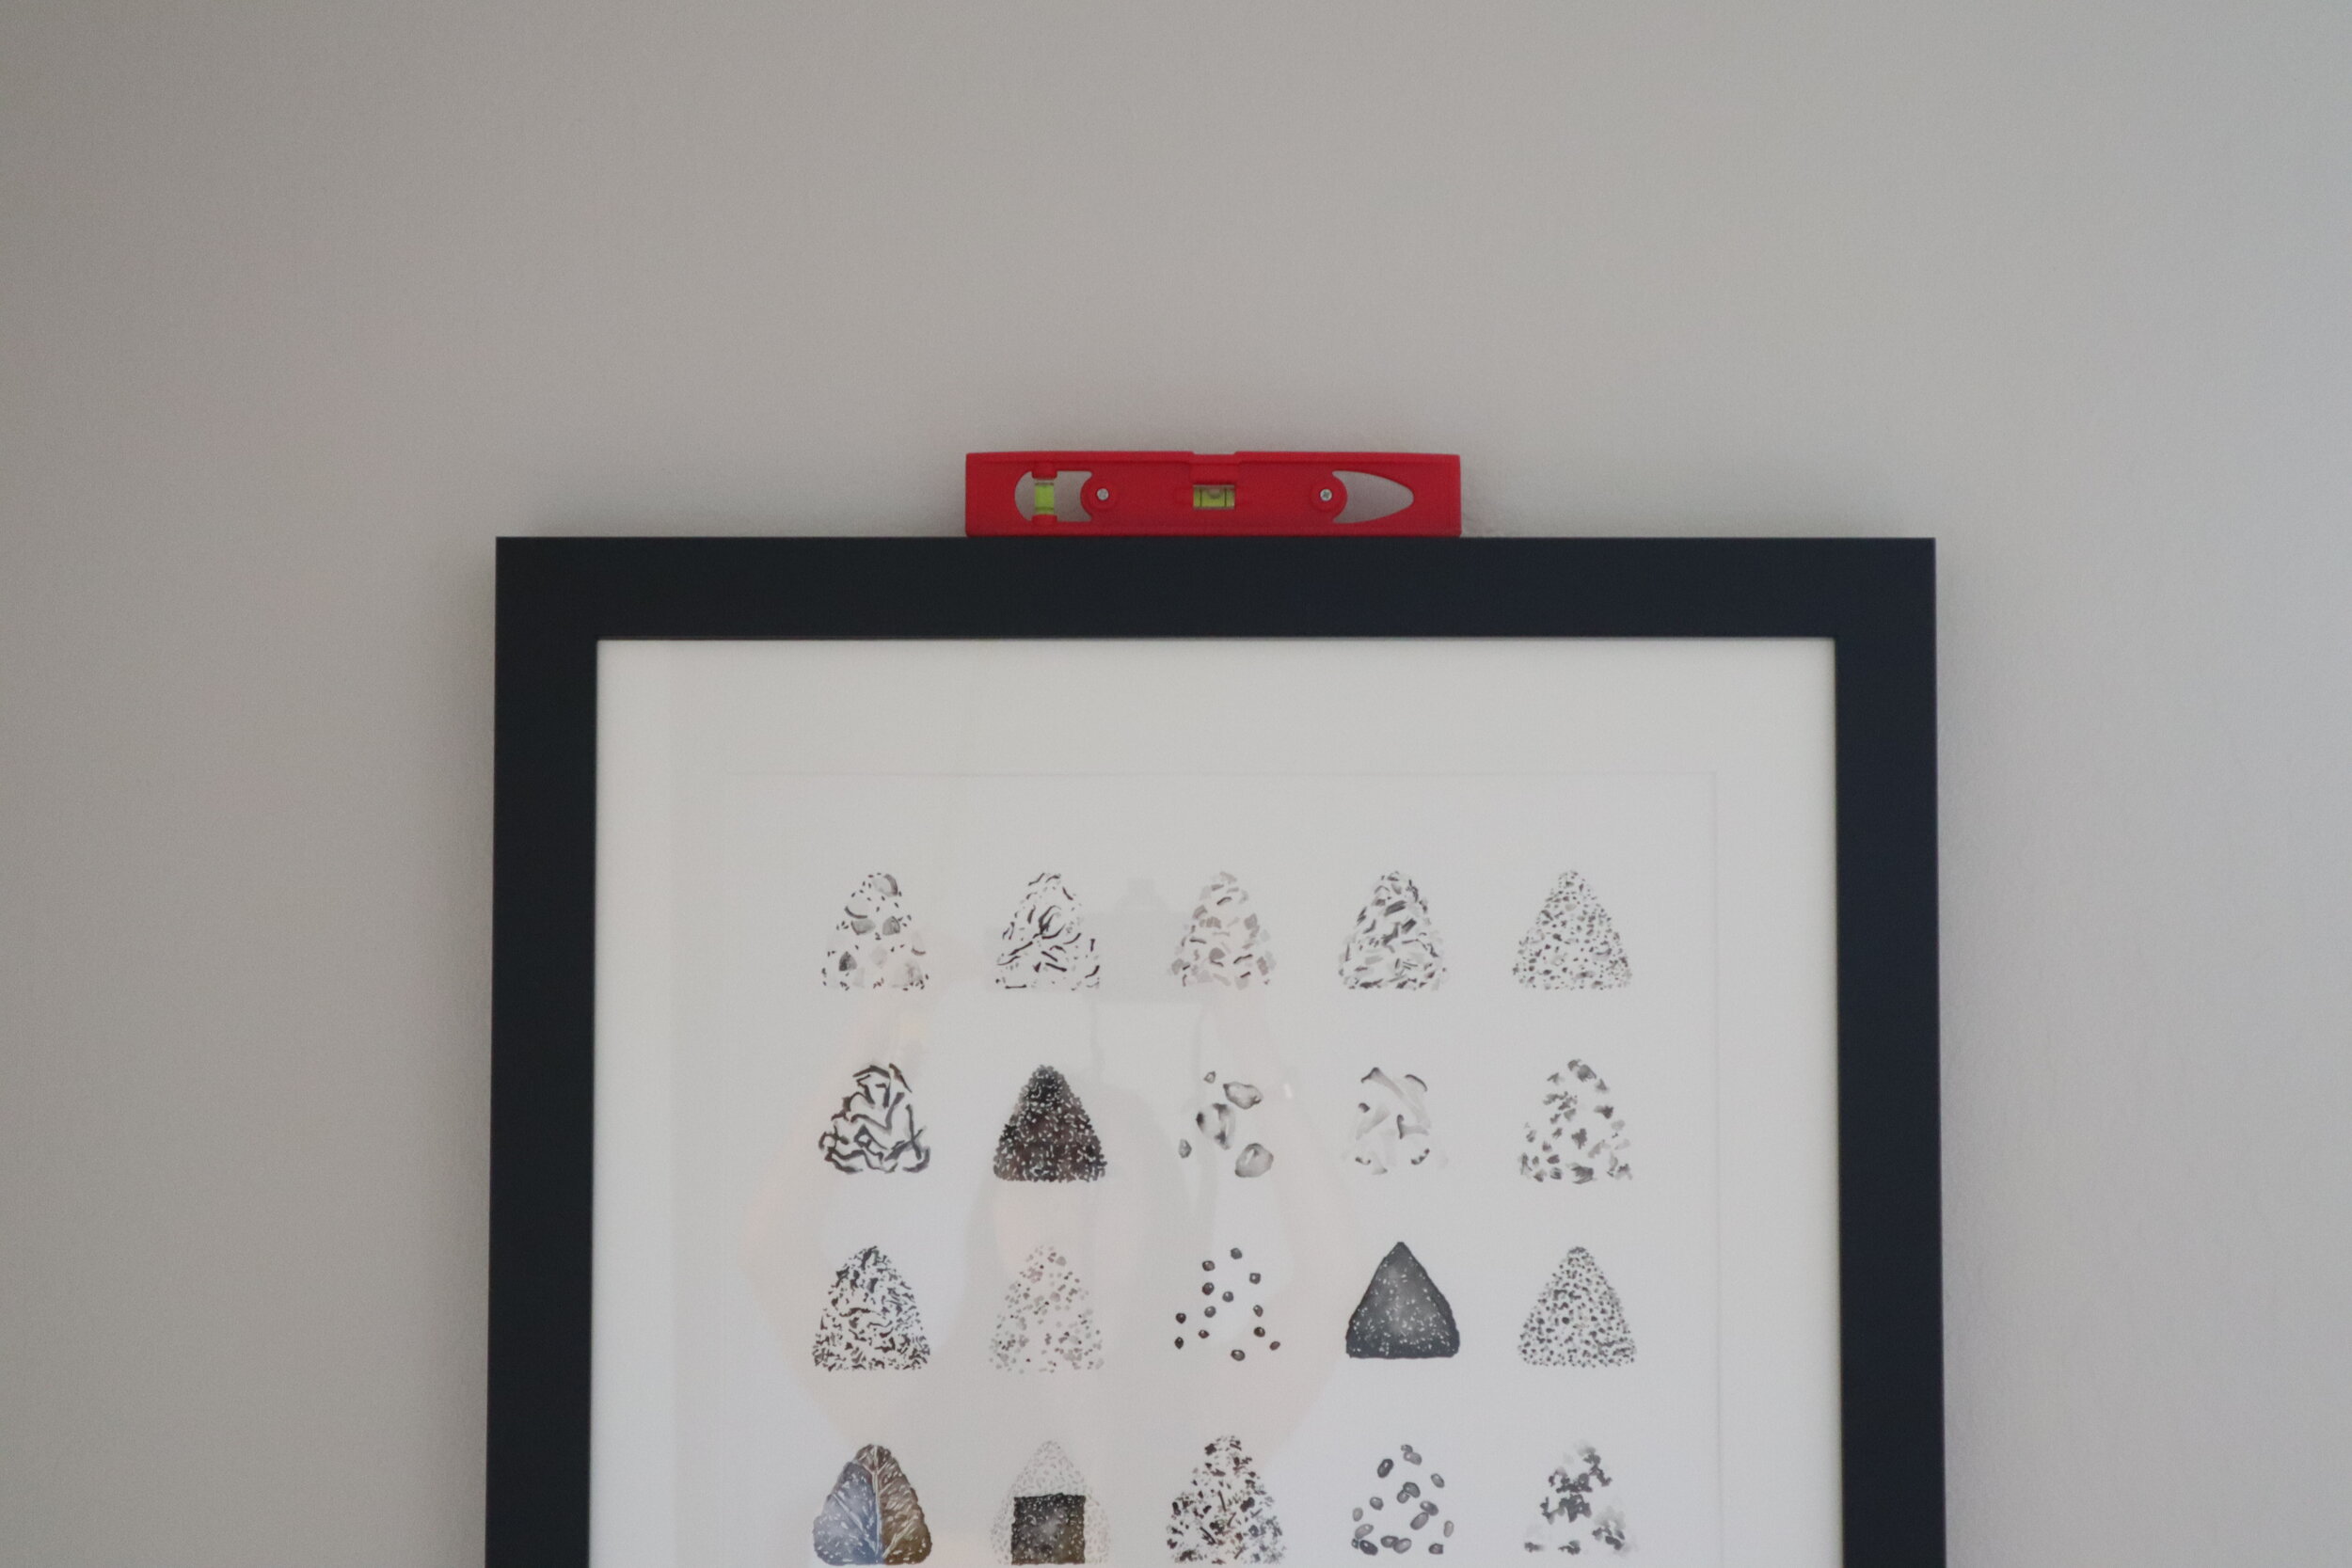
Check your work
Place a level on top of the frame to make sure it’s straight.
The benefit of wire hanging is that you can wiggle the frame around some to get it right instead of being stuck on one nail hole. You can also tighten or loosen the wire itself to move the frame up or down on the wall if needed.
Key takeaway
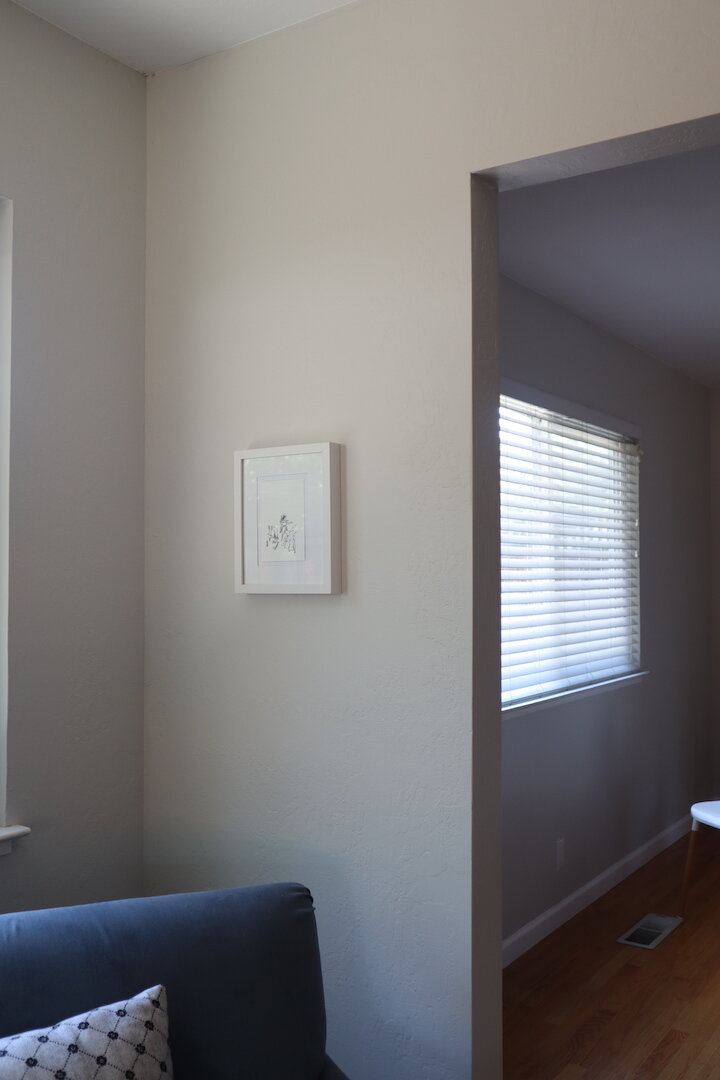
If nothing else, remember this tip! Make sure your center line is the same across your line of view.
For example in the photo below, I’m standing in the living room looking towards the dining room, and all 3 frames are centered at 58” so my eye doesn’t bounce around.
This makes a streamlined view across the room. It takes extra time to measure, but saves you time from never redoing the previously hung work when you add something else later. That empty spot in the far corner is calling my name!

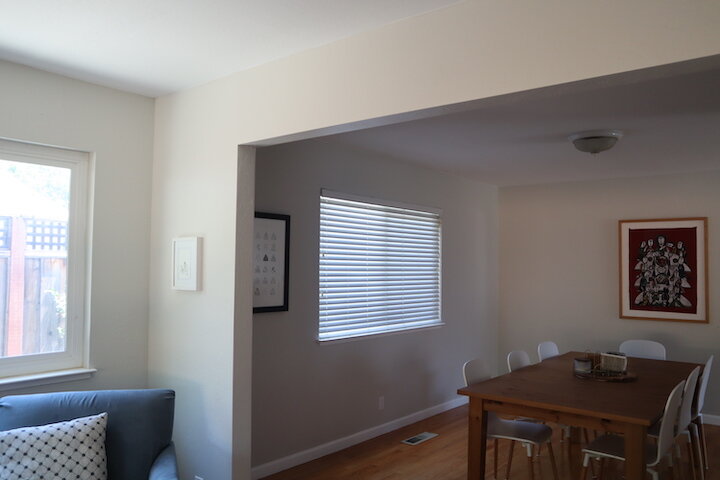
View from the living room where you can see all 3 frames along the same center line

View from the dining room
What if I’m doing a gallery wall?
Set it up on the floor first! Consider the entire gallery as one artwork, and your center point is in the center of the entire gallery.
If your frames are a variety of sizes: Using paper cut to the approximate sizes of each frame and placed on your gallery wall would make it easy to know if it’s exactly what you want.
What if there’s furniture?
For placement and size of artwork, check out this great guide by Emily Henderson: How to Hang Art Correctly with many helpful photos of artwork above furniture and in a variety of contexts.
Questions?
I’m no professional art handler, but I’d love to chat if you have any questions! Comment here, DM on Instagram or Facebook, or email through the Contact page.